On this page
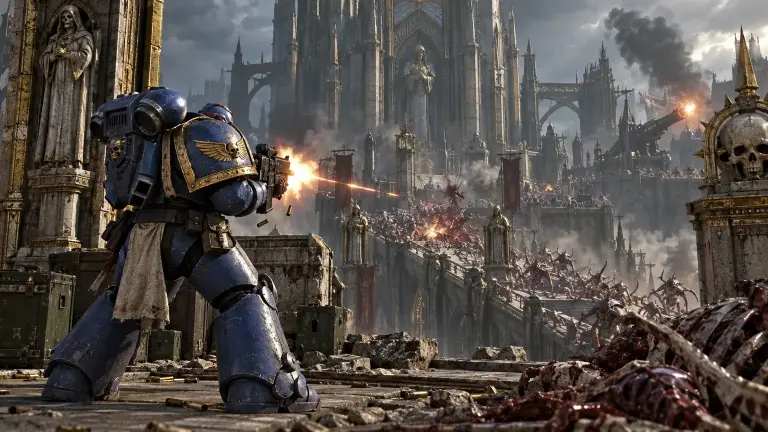
Siege Mode in Warhammer 40,000: Space Marine 2 is a wave-based horde survival mode where three-player squads defend a fortress against endless Tyranid and Chaos enemies. This guide covers the requisition economy that keeps you alive between waves, the brutal damage and resistance scaling that starts at wave 11 and makes late runs unforgiving, and the concrete priorities you need to survive five waves, decide whether to evacuate or descend, and reach the bosses that cap the hardest runs.
TL;DR
- One-minute intermissions between waves let you spend the run’s own Requisition on supplies, damage upgrades, and reinforcements; after wave 11 enemies gain 4% less damage taken per wave and deal 5% more (500% cap) — the resistance caps were 60% regular / 80% Terminus at launch and Patch 14 raised them to 72% / 88%
- Survive five waves to evacuate with your rewards or descend into a new sector facing a different faction and harder enemies
- Patch 13 (Purgation, 21 May 2026) put the Hive Tyrant and Mutalith Vortex Beast on the boss waves — 5, 10, 15 and on; Patch 14 (28 July 2026, Hotfix 14.1 on 11 August) added a Scarab Occult Terminator Sorcerer miniboss, cut the Tech Priest income and raised the resistance caps
- Prioritize economy purchases early (Tech-priest, ammo cache) over one-time reinforcements to sustain later waves when scaling makes every fight a resource drain
What Is Siege Mode in Warhammer 40,000: Space Marine 2?
Siege Mode is a wave-based horde survival mode added with Patch 8.0 on 26 June 2025, where players aim to survive as many waves as possible, developed by Saber Interactive and published by Focus Entertainment. The battle unfolds within a fortified Imperial stronghold on Kadaku, relentlessly attacked by endless waves of Tyranid and Thousand Sons enemies; the fortress has three rotating sectors (Defensive Positions, the Arsenal, and the Control Room), and in each sector you face five waves before advancing to the next sector. Waves aren’t just killing enemies—your team will occasionally be asked to complete objectives, powering generators, investigating corpses, and similar tasks. It differs sharply from Operations mode because there is no linear mission structure and no endpoint except failure or voluntary extraction.
Not everyone has the evenings for this — Space Marine 2 boosting covers the same ground with someone else on the keys.
How Siege Mode Works: Waves, Intermissions and the Extraction Loop
Your squad will be thrown into an enclosed area and must fight against waves of enemies, alternating between Tyranids and Chaos forces each sector. Brief one-minute intermissions between waves offer strategic opportunities, clearly indicated through UI notifications, and this is when you access Requisition Terminals to spend the currency you have earned. As you defeat enemies and complete objectives you’ll earn Requisition, a currency you can spend to acquire healing items, ammunition, grenades, and even AI reinforcements to assist you in battle.
Once your team completes five waves you’ll be taken to extraction, and you may choose to continue the Siege run or evacuate; leaving will grant all earned rewards, including Armory Data and Requisition Points. Choosing to descend means your squad pushes forward into a whole new sector—new arena, new scenery, new enemy faction breathing down your necks, and another five waves waiting for you. The choice is permanent for that extraction window: walk away with everything you have earned, or risk it to push higher for better loot.
Requisition Economy: What to Buy and When
Requisition is the in-run currency that determines survival. You can accelerate your Requisition earnings by completing objectives listed in the pause menu; there are challenges tied to your current run and your chosen class, and you should try to complete these as early in the run as possible to acquire buffs and reinforcements for the later rounds. Completing side objectives gives additional requisition points as a reward.
The Requisition Terminal sells supplies, upgrades, and reinforcements. Available purchases include Medicae Stimms, grenade bundles, five ammo crates, a reusable ammo cache, three armor boosters, and a self-revive relic. Patch 13 (21 May 2026) added more items: Tarantula Sentry Gun, Tarantula Sentry Gun Upgrade, Tech-priest, Minefield, Disciplined Reinforcements, Techmarine, and Explosive Resupply. Reinforcements include Imperial Guardsmen, buffs for your squad, or a mighty Dreadnought to help turn the tide, though the mighty Dreadnought will be the most expensive of the bunch and will lay waste to enemies for 3 minutes.
Early-wave economy is the most common failure point. Many squads burn Requisition on immediate supplies or one-time reinforcements and then hit wave 11 starved for resources when scaling spikes. Persistent economy purchases—Tech-priest for resource generation, reusable ammo caches, sentry guns—pay dividends across multiple waves and let you stretch your budget when every Terminus enemy becomes a bullet sponge. One Patch 14 change to plan around: the Tech Priest no longer pays out without limit — its base income is 720 for the team and falls to 300 from wave 30, so it is a mid-run investment, not a late one.
Step-by-Step: Siege Mode Survival Walkthrough
Follow this sequence to get it done fast.
-
1
Waves 1-5: Build economy and complete challenges
Prioritize in-run challenges to maximize Requisition income, buy a Tech-priest or reusable ammo cache early, and save healing/grenade purchases for waves 4-5 when enemy density increases.
-
2
First extraction decision: evaluate your squad and supplies
If you are low on Requisition, missing key perks, or a teammate is struggling, evacuate; if your economy is healthy and the team is coordinated, descend to the next sector.
-
3
Waves 6-10: manage Blessings and Atonements
Recent updates introduced a Blessing system every five waves and shifting Atonements (negative modifiers); spend Requisition to reroll bad Atonements early in the sector, and lean on sentry guns and mines to control chokepoints.
-
4
Waves 11-14: adapt to scaling
Enemy damage resistance and output begin climbing steeply; stop buying one-time reinforcements unless you are about to wipe, prioritize ammo and healing to sustain DPS, and focus fire on Majoris and Terminus enemies who become exponentially tankier.
-
5
Wave 15: boss wave and the weekly Accolade
Bosses land every fifth wave since Patch 13 — Hive Tyrant or Mutalith Vortex Beast at 5, 10 and 15, with the Sorcerer miniboss since Patch 14 — and wave 15 is where the weekly Accolade is granted; coordinate parries and abilities, spend saved reinforcements here, and decide straight after the kill whether to evacuate with your haul or push for wave 20.
-
6
Waves 16+: diminishing returns and armor piercing
Enemies begin piercing armor and dealing direct health damage; unless your squad has perfect economy and coordination, extraction at wave 15 or 20 is the smart play.
Best Requisition Spending Priorities
| Purchase Type | Priority | Cost Efficiency | Best For |
|---|---|---|---|
| Tech-priest | High | Excellent | Generates resources passively for multiple waves, pays for itself by wave 10 |
| Reusable Ammo Cache | High | Excellent | Sustains DPS through entire sector without repeat purchases |
| Medicae Stimms | Medium | Good | Emergency healing when armor is broken and waves are dense (waves 4-5, 9-10, 14-15) |
| Tarantula Sentry | Medium | Good | Passive DPS and crowd control; upgrade version is worth the extra cost for late waves |
| Cadian Guardsmen | Low-Medium | Fair | Cheap distraction for swarming Minoris, less useful after wave 11 when they die instantly |
| Dreadnought | Low (save for bosses) | Poor | Extremely expensive, only justified for wave 15/20 boss kills or imminent wipes |
Wave Scaling After Wave 11: Why Runs Fall Apart
The scaling system is what separates casual clears from deep runs and why a squad that breezes through wave 8 can suddenly wipe at wave 13. Regardless of difficulty, every time the timer reaches zero and a wave is cleared after wave 11, enemies receive 4% less damage (up to a maximum of 60% for regular enemies and 80% for Terminus-level enemies) as well as deal 5% more damage (up to a maximum of 500%). That scaling is cumulative: by wave 15, regular enemies have 16% damage resistance and Terminus enemies have reached the cap or near it, while all enemies are dealing 20% more damage. By wave 20 you are fighting enemies with 36-80% damage resist dealing double or triple damage.
From wave 16 onwards, enemy melee attacks will start piercing armor and start damaging health if the damage exceeds the armor the player has, which removes the primary defensive buffer Space Marines rely on and turns every parry miss into a potential death. Patch 13 adjusted the difficulty curve so enemies grow stronger much quicker and much earlier, and Patch 14 raised the resistance caps from 60% to 72% for regular enemies and from 80% to 88% for Terminus. This is why economy matters: a run that felt easy becomes a grind where you burn through ammo and healing twice as fast, and any lapse in Requisition spending leaves you unable to kill fast enough to survive the next spawn.
Boss Encounters: Hive Tyrant and Mutalith Vortex Beast
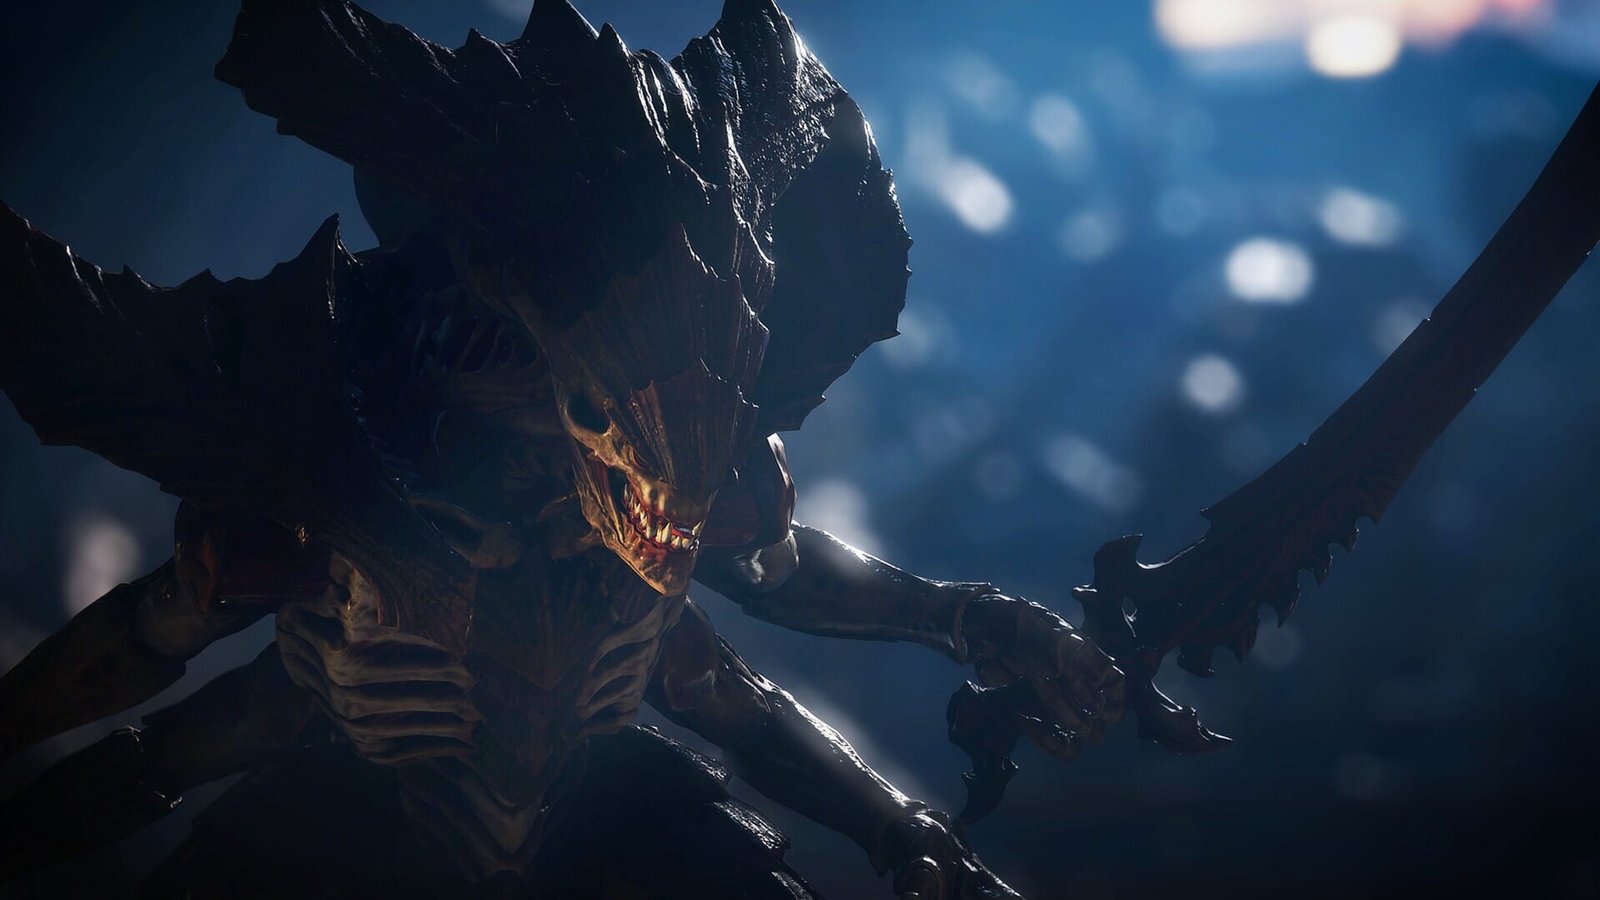
Patch 13 (Purgation, 21 May 2026) put the Hive Tyrant and Mutalith Vortex Beast on the boss waves — every fifth wave, so 5, 10, 15 and on, with wave 15 the one that carries the weekly Accolade; Patch 14 (28 July 2026, Hotfix 14.1 on 11 August) added a Scarab Occult Terminator Sorcerer miniboss and left the two bosses in place. These are the Operations-tier bosses, not smaller elites, and they inherit the full wave scaling bonuses. By wave 15 these bosses arrive with the full accumulated wave scaling stacked on their Operations-tier health pools — a regular-tier enemy sits at roughly 16% damage resistance by then, and Terminus-tier scaling climbs toward the 80% cap on deeper runs — so they deal massively increased damage and require near-perfect execution and likely a Dreadnought or full squad of Astartes reinforcements to bring down without casualties.
Boss waves are when you spend saved Requisition. If you have been building economy and saving big purchases, wave 15 is the time to drop a Dreadnought, buy every healing stim on the terminal, and coordinate abilities. The boss itself is a DPS check layered on top of the regular wave spawn, so you cannot ignore the adds and tunnel the boss or you will be overwhelmed; designate one player to kite adds while two focus the boss, rotate when armor breaks, and use parries to regain contested health and buy breathing room.
Class Roles and Squad Composition for Siege
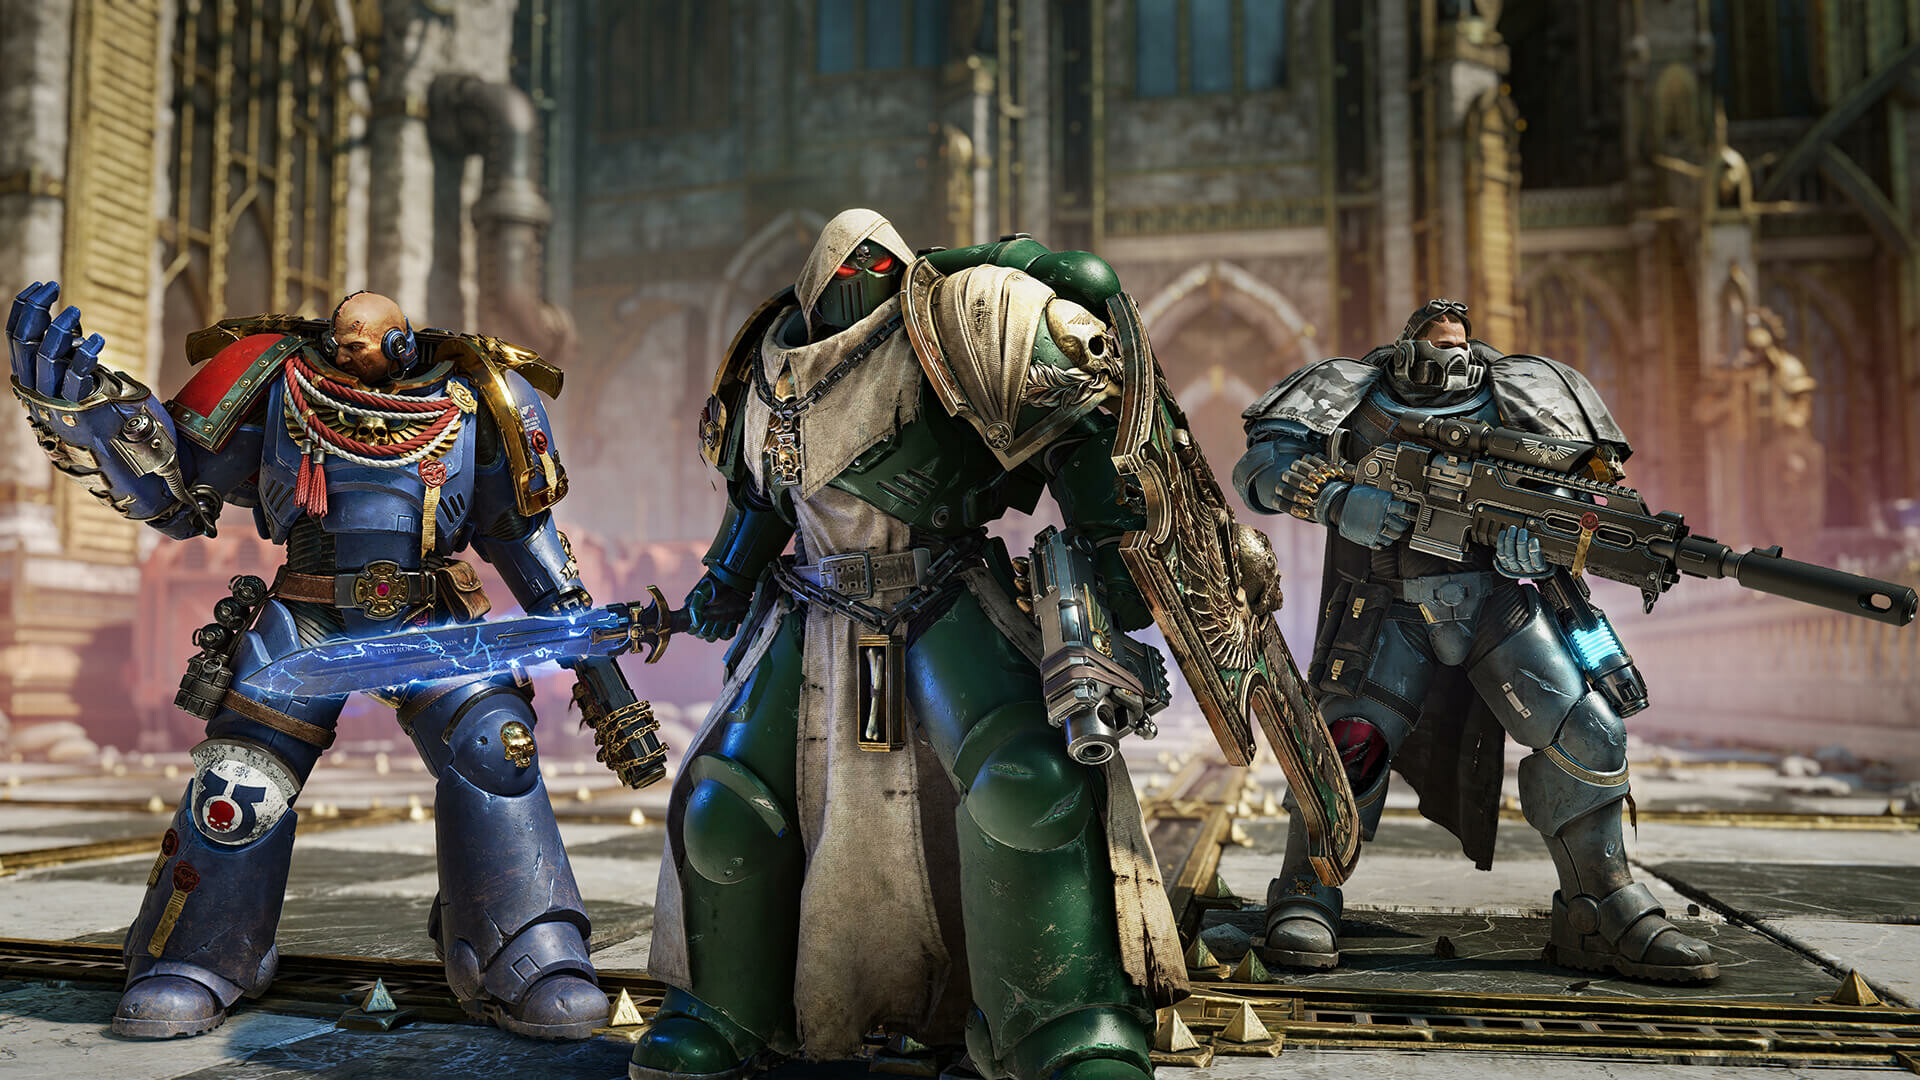
Siege rewards balanced squads more than Operations because there is no downtime and no chokepoint scripting you can rely on. Heavy is the anchor class: area-of-effect damage from the Heavy Bolter or Plasma Incinerator clears Minoris swarms and chips Majoris groups, and the class perks sustain ammo economy. Bulwark provides the defensive backbone with banner placement for contested-health regeneration and the Thunder Hammer for Terminus control. Tactical offers versatility with ammo boxes for the squad and Auspex Scanner to track priority targets during dense waves.
Assault and Vanguard are harder to justify in Siege because melee-focused classes struggle when enemy damage scaling makes every engagement a trade you cannot afford, and the lack of linear level design means fewer opportunities for safe flanking. Sniper can work if the player focuses on Majoris elimination and saves the cloak for clutch revives or boss DPS windows. The most reliable squad is Heavy, Bulwark, Tactical—maximum sustain, maximum crowd control, and enough flexibility to adapt when the wrong Atonement rolls or a bad spawn wipes your positioning.
When to Evacuate vs. Descend: Reading Your Run
The evacuation decision at waves 5, 10, and 15 is a risk-reward calculation based on three factors: your squad’s current Requisition and health state, the Atonements rolled for the next sector, and whether you have the class composition and coordination to handle the next tier of scaling. If you finished wave 5 without enough banked for a Tech-priest and a resupply, you are already behind the economy curve and descending will likely end in a wipe before wave 10. If a teammate is learning the mode or running an underleveled class, extracting at wave 10 with a solid reward haul is smarter than gambling on wave 15.
Descending makes sense when your economy is healthy (Tech-priest placed, ammo cache bought, a resupply’s worth in reserve), your squad has cleared the sector without using all healing or reinforcement purchases, and you want the exclusive cosmetics and Armory Data that only drop from higher waves. The difficulty spike between sectors is not linear—wave 11 is harder than wave 10 by a larger margin than wave 6 is harder than wave 5, because scaling starts at wave 11 and Atonements can stack negative modifiers that make certain builds unviable. If you roll an Atonement that nerfs your primary damage source and cannot afford the reroll (250 by community reports), evacuate.
Siege Mode Rewards and What You Unlock
Armory Data and Requisition Points
You earn points with each wave you defeat and spend them at Requisition Terminals to stay in the fight; extract before it is too late to earn Requisition Points, Armoury Data and XP. Two different Requisitions are in play: the run’s own income, spent at the Terminal and gone when the run ends, and account Requisition Points, paid on extraction. Requisition Points are rewarded through playing PvE or PvP and are used to unlock new versions of weapons, class perks, or Heraldry armour customization; the amount you can store is limited to a community-reported 2,000 Requisition Points. Armoury Data unlocks weapon rarity tiers (Master-Crafted, Artificer, Relic), and by community reports the tier you earn scales with the wave you reach before extraction — Saber has not published the table.
Exclusive Cosmetics and XP
Siege mode itself, alongside its exclusive cosmetic rewards, are free, meaning you do not need to purchase DLC to access the mode or earn the unique armor pieces and heraldry tied to wave milestones. Class and weapon progression in Siege is shared with Operations (Saber confirmed it at the mode’s launch), so a Siege session levels the same class you take into Operations; how the XP per hour compares is not published, so any “faster” claim is someone’s own runs. The real chase rewards are the cosmetics locked behind wave 15 and 20 clears, which require mastery of the economy and scaling systems.
Blessings System
Recent updates added Blessings and Atonements system: every 5 waves, receive a permanent blessing in the new Shrine and endure shifting atonements. Blessings are permanent positive modifiers for the run (increased damage, faster ability cooldowns, bonus armor), while Atonements are negative modifiers that last one sector. Atonements last for one sector and they are replaced every time players reach a new sector; players can reroll the atonements for the run’s own Requisition (250 by community reports). The Blessings system adds a rogue-lite layer that rewards deep runs with compounding power, but bad Atonement RNG can brick a run if you cannot afford rerolls.
Common Misconceptions About Siege Mode
Myth: Reinforcements Are Always Worth Buying
Cadian Guardsmen and Astartes reinforcements look powerful but are expensive and die quickly once scaling kicks in after wave 11. Many squads spend the price of a Dreadnought at wave 6 when that currency would have bought a Tech-priest, ammo cache, and sentry gun that sustain you through wave 15. Reinforcements are situational tools for emergencies or boss kills, not baseline purchases.
Myth: You Can Ignore Objectives and Just Kill
Side objectives are the primary source of bonus Requisition and skipping them to farm kills leaves you starved for economy in later waves. Objectives also break up the spawn rhythm and give you windows to reposition or heal without constant pressure. A squad that clears objectives has noticeably more to spend by wave 10 than one that ignores them (Patch 14 also raised wave and objective rewards by 20%), and that gap is the difference between surviving wave 15 and wiping at wave 13.
Myth: Scaling Is Linear and Predictable
Wave 11 is the cliff. Squads expect difficulty to ramp gradually and instead hit a wall where suddenly every Terminus enemy is a raid boss and Minoris swarms that were trivial now chunk armor in seconds. The 4% per-wave resist and 5% per-wave damage increase do not feel dramatic in isolation but compound exponentially, and by wave 15 you are fighting a completely different game than wave 10. Plan your economy and extraction around wave 11 as the hard breakpoint.
Warning
Recent patches have updated scaling and boss spawns; check patch notes for the latest changes. The difficulty curve is steeper and starts earlier than at launch, and Atonements can roll modifiers that make certain classes or builds unviable for that sector.
Our Take: Is Siege Mode Worth Your Time?
Our Take
Siege Mode is the best addition to Space Marine 2 since launch if you have a coordinated squad, but solo-queue and under-leveled classes make it frustrating.
The economy system is smart and rewards planning over twitch skill, which is a good counterbalance to the execution-heavy Operations mode. The problem is the mode demands coordination that random matchmaking rarely provides, and one player who does not understand Requisition priorities or wave scaling will drag the entire squad down. The post-wave-11 scaling is brutal but fair—it is a clear skill and coordination check, not artificial difficulty, and squads that master economy and class synergy can reliably reach wave 15 or 20. The cosmetic rewards are worth chasing if you enjoy the mode, though the grind to unlock them through repeated deep runs is real.
The biggest weakness is how punishing bad Atonement RNG can be, especially in solo queue where you cannot discuss reroll strategy. Spending 250 Requisition to reroll and then having a teammate immediately reroll again because they do not communicate is a common frustration that can kill an otherwise solid run. If you have a regular squad and treat Siege as a mode to learn and optimize over multiple sessions, it is excellent; if you are grinding solo for cosmetics, expect to bail at wave 5 or 10 more often than you push deep, because the mode is not designed for carry potential the way Operations can be.
Was this guide useful?
Warhammer 40,000: Space Marine 2 services
Class Leveling
Class Leveling to 25 + Perks
One class or all six at level 25 with class perks — meets the Crucible Mode level requirement (Patch 15, 1 October…
Unlocks
All Weapons + Currency
Full weapon set unlocked across your classes · Currency to kit the arsenal out
Class Leveling
Single Class — 4th Prestige
Bulwark, Assault, Vanguard, Tactical, Heavy or Sniper · Name the class after checkout