On this page
The best class for Ruthless and Absolute difficulty Operations in Warhammer 40,000: Space Marine 2 is Tactical, followed closely by Bulwark and Vanguard—but every one of the seven classes, including Techmarine, brings something vital to high-difficulty PvE when built correctly. This tier list is updated through Patch 14 and Hotfix 14.1. Patch 14 went live on every platform on July 28, 2026; its PvE class-perk changes were limited, so the overall class ranking remains useful while the new Heroic weapons are evaluated separately. This is a PvE Operations ranking; PvP Eternal War has its own meta.
TL;DR
- Tactical, Bulwark and Vanguard lead Ruthless and Absolute because of versatility, sustainability and crowd control.
- Bulwark’s value rises with difficulty as Medical Stimms and Armour Boosts get rarer.
- Techmarine and Heavy excel at zoning and sustained DPS but need team coordination.
- Assault and Sniper require more careful positioning but remain viable with the right perks.
- Updated through Patch 14 and Hotfix 14.1; Patch 14 has been live on every platform since July 28, 2026.
What Are Class Tier Lists in Warhammer 40,000: Space Marine 2?
A class tier list ranks the seven playable Operations classes—Tactical, Assault, Vanguard, Bulwark, Sniper, Heavy and Techmarine—by their effectiveness at a given difficulty and game mode. Tactical is the most versatile class, offering access to the largest arsenal of weapons including primary, secondary and melee options, while specialists like Bulwark and Assault trade primary weapons for class-defining abilities. On Ruthless and Absolute difficulties, players face reduced shields, health and dodge windows, increased enemy health and longer respawn and armour regeneration timers—meaning mistakes are more harshly punished. Class choice matters because some kits handle margin-of-error pressure far better than others. This guide ranks all seven classes for high-difficulty PvE Operations; PvP Eternal War is a separate balance question with different priorities.
If the hours are the obstacle rather than the fight itself, Space Marine 2 boosting is run hands-on by a booster from your region.
Space Marine 2 Class Tier List for Ruthless and Absolute Difficulty (Patch 14.1)
This tier list is updated through the live Patch 14 balance and Hotfix 14.1. Patch 14 added Heroic weapons and made only limited PvE class-perk changes, including a Techmarine perk fix, so the ranking framework below remains focused on each class’s core Operations kit. All seven classes are playable in Operations; the campaign uses its own three fixed characters (Titus, Gadriel and Chairon), not the Operations classes.
Tip
Bulwark cannot equip a primary weapon and Heavy cannot equip a melee weapon—build your loadout around these hard constraints.
| Class | Tier | Role | Why |
|---|---|---|---|
| Tactical | S | All-rounder / elite-killer | Widest weapon pool, Auspex Scan reveals and debuffs invisible elites, can adapt to any mission phase |
| Bulwark | S | Tank / area support | Combat shield blocks damage, Chapter Banner buffs teammates, scales with difficulty as healing gets scarce |
| Vanguard | A | Melee / life-steal sustain | Grapple hook secures finishers for health regen, strong close-range but vulnerable to ranged swarms |
| Techmarine | A | Crowd control / area denial | Servo-Gun and Omnissian Axe zone enemies, reactivates Tarantula Sentries, but needs team cover |
| Heavy | B | Sustained DPS / fire support | Iron Halo shields teammates, but no melee weapon leaves you exposed in close quarters on high difficulty |
| Sniper | B | Long-range precision | Cloak allows repositioning, but limited ammo and vulnerability during reload hurt survivability |
| Assault | B | Aerial melee burst | Jump Pack slam has a long recovery animation and there is no primary — a pistol-class secondary is the only gun; on Ruthless Assault needs careful positioning and team cover |
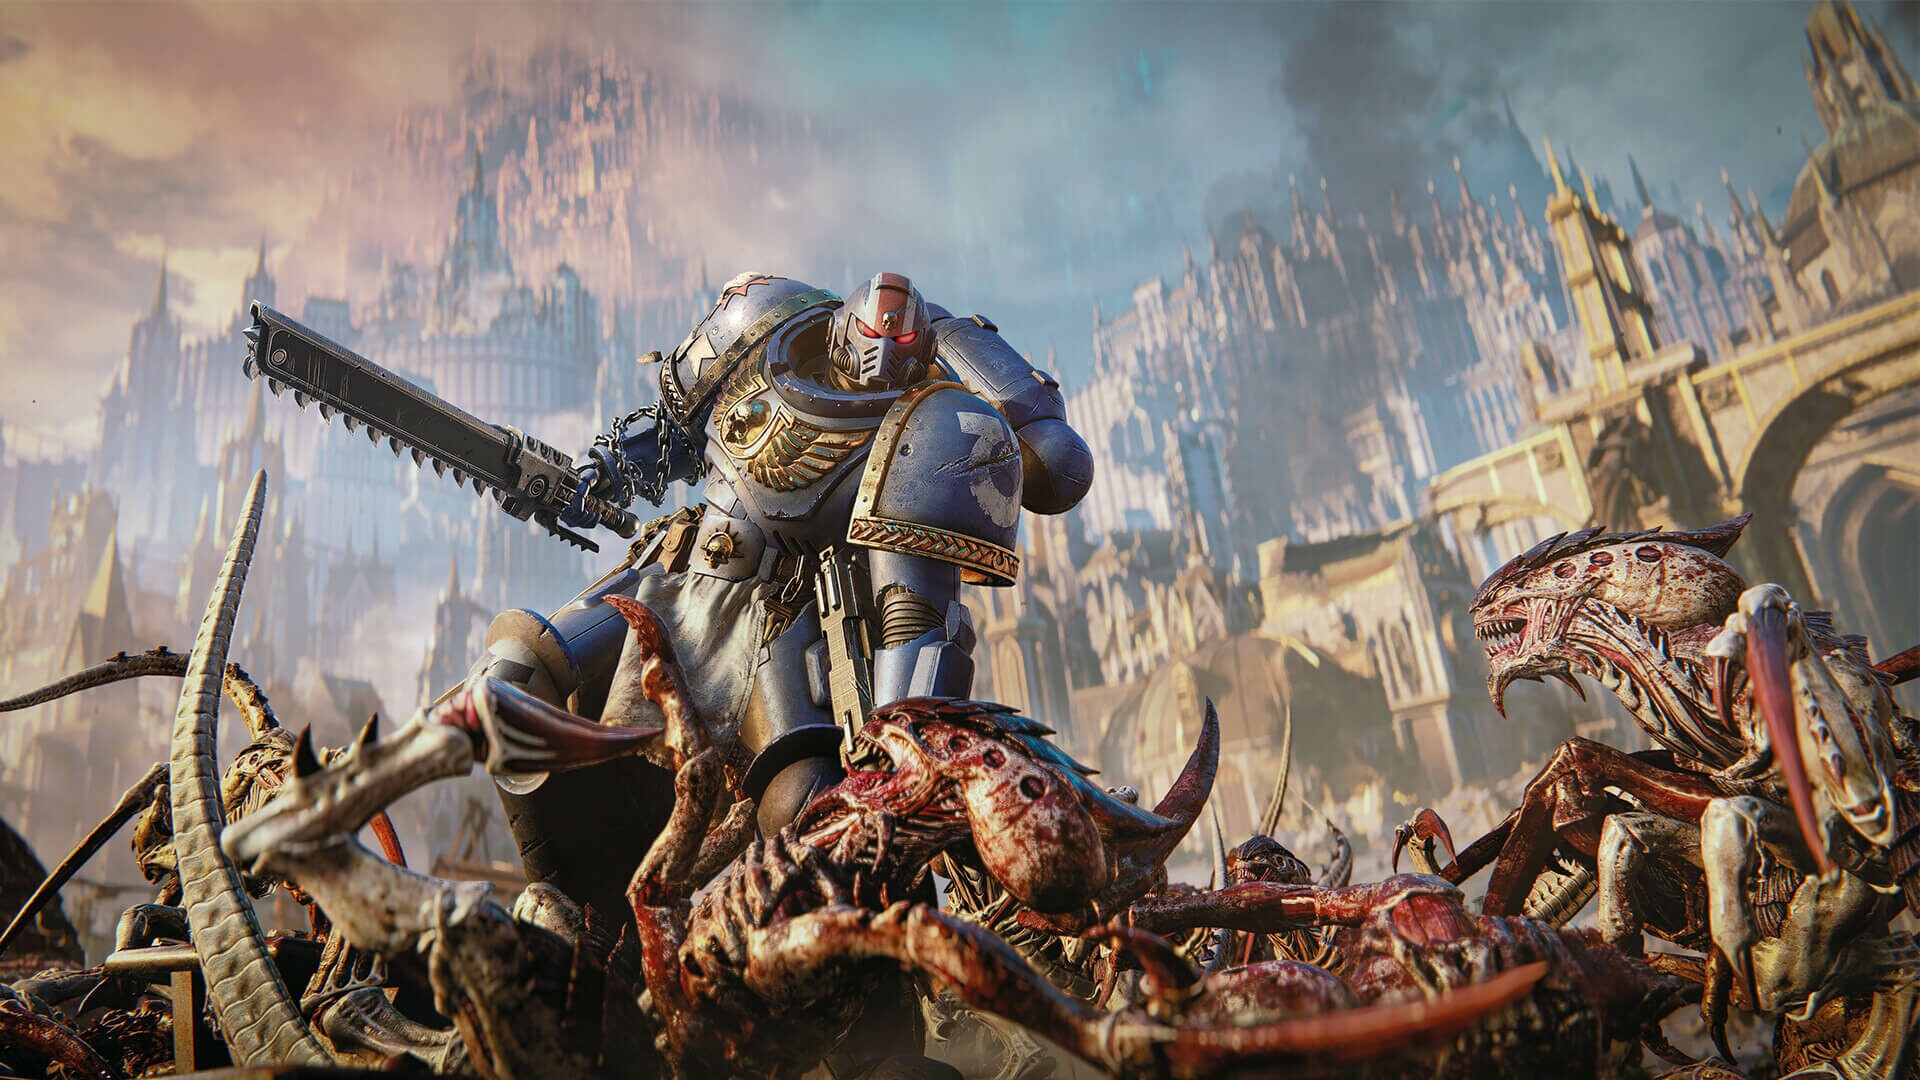
Best Endgame Build for Each Class
Each class has perks that shine on Ruthless and Absolute, and perks that become traps when margin for error shrinks. Here is one recommended endgame build per class, focusing on the perks and weapons that best express their role.
Tactical: Versatile Elite Hunter
Role: All-purpose damage and utility. Tactical has access to the largest arsenal—primary, secondary and melee—and can choose between the bolt rifles (including the Heavy Bolt Rifle — a Tactical primary, not the Heavy’s Heavy Bolter), the Plasma Incinerator and the Melta Rifle; its melee is the Chainsword. Auspex Scan reveals enemies in an area and makes them vulnerable, ideal against invisible elites.
Weapon that expresses the tree: A mid-to-long-range primary such as the Heavy Bolt Rifle or the Plasma Incinerator pairs well with perks that reward headshots and multi-target engagement.
Perks worth taking first: Abilities that reduce Auspex cooldown, increase scan duration and boost damage to revealed targets. These amplify Tactical’s core utility. Perks that restore ammo on kills help sustain long firefights.
Perks that are traps at high difficulty: Avoid perks that rely on maintaining full armour or penalise you for taking damage—Ruthless and Absolute chip away at both constantly. Survivability and crowd-control perks outweigh pure damage boosts when every mistake costs you a revive.
Bulwark: Defensive Anchor
Role: Front-line tank and team buffer. Bulwark cannot take a primary weapon—your loadout is secondary pistol, melee weapon and Chapter Banner ability.
Weapon that expresses the tree: A high-damage secondary such as the Plasma Pistol. The Plasma Pistol provides damaging ability for the Bulwark build while slashing down enemies; combined with perks it can disrupt enemy sentries and deal significant charged shot damage at longer ranges.
Perks worth taking first: Conviction reduces health damage taken when Armour is depleted; Shock and Awe boosts damage on all enemies inside the Shock area; Defensive Advantage creates a Shock area for five seconds on perfect parry. Perks that extend banner duration and reduce cooldown multiply your team support.
Perks that are traps at high difficulty: Any perk that assumes you will always have armour available. On Absolute, armour breaks constantly—build for uptime and recovery, not perfect-condition bonuses.
Vanguard: Life-Stealing Brawler
Role: Close-range melee with self-sustain through finishers. Grapple hook secures executions for health regeneration.
Weapon that expresses the tree: A combat knife or chainsword that rewards fast melee kills and pairs with grapple-hook finishers.
Perks worth taking first: Abilities that increase grapple range, reduce cooldown and grant bonus armour or health on finisher. Perks that boost melee damage after using equipment help you clear hordes faster.
Perks that are traps at high difficulty: Perks that encourage standing still or trading hits. Vanguard thrives on mobility and quick kills—any build that slows you down or relies on face-tanking will collapse on Ruthless and Absolute.
Techmarine: Crowd-Control Specialist
Role: The Techmarine is a specialist in crowd control and zoning, holding off crowds of enemies and individual dangerous opponents while allies deal damage. The Servo-Gun ability unleashes a powerful volley on nearby enemies. Techmarine can detect and activate Tarantula Sentry Guns placed on maps; these sentries automatically target larger threats until they run out of ammo or are destroyed.
Weapon that expresses the tree: The Omnissian Axe is exclusive to the Techmarine and perfect for handling multiple smaller enemies simultaneously due to its wide AoE attacks.
Perks worth taking first: Precision Enhancement prioritises dangerous targets; Lethal Perimeter reduces Servo-Gun energy cost; Scion of the Omnissiah enables turret reactivation. Without Lethal Perimeter, extended waves will collapse your energy economy. Perks that increase Equipment damage and apply debuffs to marked enemies also reward good positioning.
Perks that are traps at high difficulty: anything that spends Servo-Gun energy faster than a long wave gives it back — without Lethal Perimeter the energy economy collapses in extended fights — and anything that assumes you stand beside your own sentry. The Techmarine holds a lane from behind the front line; perks that pull it forward trade its whole value for a few kills.
Heavy: Sustained Fire Support
Role: The Heavy drowns enemies in bullets while supporting teammates by blocking ranged shots and granting buffs with the Iron Halo; reliable Heavy builds focus on defense and sustained fire, with teammates drawing aggro while you provide cover fire from a safe distance. Heavy cannot equip any melee weapons, making them vulnerable to close-quarter combat; however the Iron Halo can protect and boost ability regeneration for all squadmates.
Weapon that expresses the tree: A heavy bolter or multi-melta for sustained damage. Community discussion highlights the multi-melta as particularly effective on Ruthless.
Perks worth taking first: Auxiliary Ammunition restores ammo for the primary weapon after killing 15 enemies in quick succession when ammo reserve hits zero; Thermal Boost increases ranged attack damage when the weapon is 50% overheated; Versatility boosts secondary weapon damage for the entire magazine. Perks that extend Iron Halo duration and buff teammates are essential for team play.
Perks that are traps at high difficulty: Perks that assume you can stay stationary or ignore positioning. Heavy has no melee fallback—if a horde reaches you, you need to reposition or die. Mobility and awareness perks outweigh raw DPS boosts.
Sniper: Long-Range Precision
Role: Cloak-and-dagger eliminator of priority targets. Camo cloak allows repositioning and escape.
Weapon that expresses the tree: A bolt sniper rifle with high headshot multipliers. Perks that reward precision and punish body shots define the class.
Perks worth taking first: Abilities that extend cloak duration, reduce cooldown and grant bonus damage on the first shot out of stealth. Perks that restore ammo on headshot kills help sustain limited reserves.
Perks that are traps at high difficulty: Perks that encourage aggressive close-range sniping or ignore ammo economy. Sniper lives and dies by ammo management and safe sightlines—builds that burn through magazines or force risky positioning will leave you exposed.
Assault: Aerial Shock Trooper
Role: Assault exchanges use of a primary weapon for the Jump Pack, giving vertical mobility; they are melee-focused and can wield the Thunder Hammer to deal massive AoE damage against hordes. Assault is still viable in endgame but far more demanding to make effective on Ruthless difficulty.
Weapon that expresses the tree: The exclusive Thunder Hammer requires more skill to use since it does not have the same lunge distance that other melee weapons have.
Perks worth taking first: Perks that reduce Jump Pack cooldown, increase slam AoE damage and grant bonus armour on landing. Abilities that restore health on melee kills help offset the lack of a primary — the secondary (Heavy Bolt Pistol, Inferno Pistol or, since Patch 13, the one-handed Bolt Carbine) is your only gun.
Perks that are traps at high difficulty: There are issues with the Jump Pack that make it difficult to use, along with a long cooldown time for an ability that should be short. Avoid perks that encourage reckless dives or penalise you for retreating—Assault on Absolute is about hit-and-run, not sustained brawling.
A tier list tells you which class is worth the hours; it does not shorten them. Every class has its own unlock curve, and the order you push them in changes how long the whole set takes — our class levelling guide lays out the fastest route to maxing each one.
Step-by-Step: Levelling Your Class for Ruthless and Absolute
Follow this sequence to get it done fast.
-
1
Start on Average or Substantial difficulty
Rushing into Ruthless with an under-levelled class will teach you bad habits and waste your team's time. Build muscle memory on the combat flow first.
-
2
Unlock your first perk column by level ten
Each class needs at least one core perk online before Substantial becomes comfortable. Focus on perks that improve your class ability or survivability.
-
3
Push weapon mastery to tier three on one primary and one
Weapon perks matter as much as class perks. A fully perked weapon transforms your damage output and ammo economy.
-
4
Climb difficulties incrementally and track what kills you
If ranged chip damage is the problem, spec into damage reduction perks. If you run out of ammo, prioritise ammo-restore perks. Let your deaths guide your build.
-
5
Join a consistent squad for Ruthless and Absolute
Pickup groups often lack coordination. A team that knows each other's roles and cooldowns will clear missions far more reliably than randoms.
Best Class Combinations for Ruthless and Absolute Operations
High-difficulty Operations reward balanced squads. A common three-player composition is Tactical for utility and DPS, Bulwark for tanking and healing, and Vanguard or Techmarine for crowd control and finisher sustain. Heavy can replace Tactical if your team needs sustained fire support, and Sniper fits comfortably alongside a Bulwark and melee specialist. Assault works best when the other two players can cover ranged threats and provide escape windows. Avoid running two of the same class unless you have a specific strategy—redundant abilities waste potential.
Tactical and Bulwark: The Core Duo
Tactical’s Auspex Scan and Bulwark’s Chapter Banner create overlapping buff windows that let your squad burn down Extremis threats in seconds. Bulwark holds the line while Tactical adapts to whatever phase the mission throws at you.
Techmarine and Vanguard: Zone and Execute
Techmarine’s Servo-Gun and Omnissian Axe slow and stagger hordes, creating safe finisher windows for Vanguard to grapple and self-heal. The synergy works as long as Techmarine stays between Vanguard and ranged threats.
Heavy and Sniper: Backline Specialists
Both classes prefer distance. Heavy suppresses swarms while Sniper picks off priority targets. This pairing demands a third player—usually Bulwark or Vanguard—to hold the front and draw aggro.
Common Mistakes When Building for Ruthless and Absolute Difficulty
Ignoring Survivability for DPS
On Average and Substantial you can afford to spec pure damage because healing and armour are plentiful. On Ruthless and Absolute, healing is rare and armour breaks constantly. Perks that restore health, reduce cooldowns and grant damage reduction will keep you alive longer than raw DPS boosts.
Building for Perfect Conditions
Any perk that requires full health, full armour or no damage taken will underperform on high difficulty. The game constantly chips away at both—build for uptime and recovery, not for maintaining perfect buffs.
Neglecting Weapon Mastery
Class perks get all the attention, but weapon perks are just as important. A fully upgraded weapon with ammo-restore and damage perks will outperform a higher-rarity weapon with no perks unlocked. Prioritise mastery on one loadout before chasing new gear.
Our Take: Is the Tier List Worth Following?
Our Take
Every class is Absolute-viable with the right perks and team—but Tactical and Bulwark make your life easier.
Honestly, the gap between S-tier and B-tier narrows once you hit level 25 and unlock your full perk tree. A well-played Assault or Sniper will outperform a mediocre Tactical every time. The tier list matters most when you are learning the ropes or playing with randoms who cannot cover your weaknesses. If you have a consistent squad, pick the class that fits your playstyle and invest in mastering it—Ruthless and Absolute reward execution and teamwork more than raw tier placement.
That said, Tactical’s flexibility and Bulwark’s scaling with difficulty make them the safest picks for climbing the ladder. Vanguard and Techmarine hit a sweet spot of power and fun once you learn their quirks. Heavy, Sniper and Assault all shine in the right hands but demand more awareness and positioning—if you are willing to put in the hours, they are absolutely worth playing.
Patch 14 has been live on every platform since July 28, 2026, followed by Hotfix 14.1 on August 11. The update added Heroic weapons and only limited PvE class-perk changes, so it did not invalidate the entire ranking. Weapon-specific recommendations may continue to move as the Heroic variants are tuned.
Was this guide useful?
Warhammer 40,000: Space Marine 2 services
Class Leveling
Class Leveling to 25 + Perks
One class or all six at level 25 with class perks — meets the Crucible Mode level requirement (Patch 15, 1 October…
Unlocks
All Weapons + Currency
Full weapon set unlocked across your classes · Currency to kit the arsenal out
Class Leveling
Single Class — 4th Prestige
Bulwark, Assault, Vanguard, Tactical, Heavy or Sniper · Name the class after checkout