
On this page
In MARVEL Tokon: Fighting Souls every match runs on three connected rules: your four-character team starts locked at two fighters, all four share a single health bar, and swapping characters through the Assemble system is built to happen constantly rather than as a last resort. This guide goes through each rule in the order you actually hit it in a match, explains why Arc System Works designed it that way, and ends with practical advice on where a new player should start and why picking an assist type matters as much as picking a character.
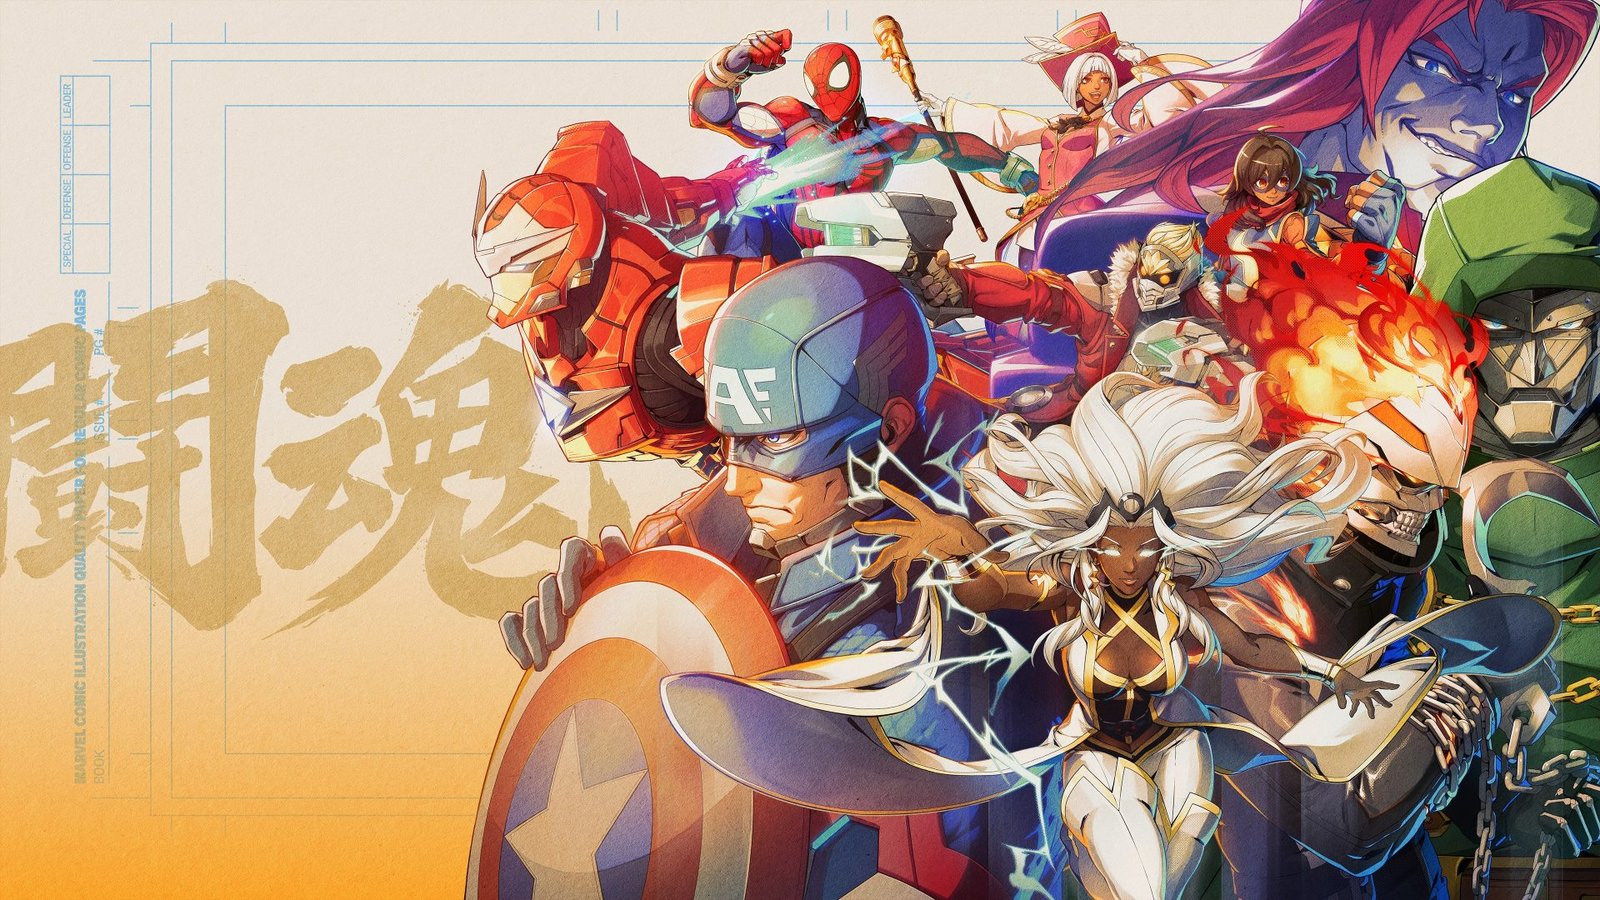
Arc System Works, the studio behind Guilty Gear and Dragon Ball FighterZ, built the game around a 4v4 tag system where teams share a single health bar and gradually unlock their full lineup mid-match. MARVEL Tōkon: Fighting Souls brings Marvel heroes and villains into a bold 4v4 tag-team fighter from PlayStation Studios, Arc System Works, and Marvel Games. The game sits in the same lineage as older Marvel crossover fighters, but instead of copying the tag-in-tag-out formula wholesale, it front-loads a resource system that punishes stalling and rewards constant pressure. That is the part players search for after a few matches, once the “why does my HP bar only have one segment” and “why did I only get two characters” questions kick in.
TL;DR
- Matches start 2v2; the other two fighters unlock through stage transitions or by losing the round, so falling behind hands you more tools, not fewer.
- All four characters share one Vital Gauge, so damage taken by anyone drains the whole team’s total health.
- The Assemble system covers both tagging and assists: a direction plus the assist button decides the assist type, and calling more than one assist can hand control to whichever fighter lands last.
- Unlocking more of your roster also raises your gauge caps, so a losing team gets bigger resources, not just more bodies on screen.
- Your assist type choice matters as much as your character pick, since it decides what that fighter actually does when called in mid-combo.
Why Does Every Match Start as 2v2 Instead of Full 4v4?
In each match, both players start with just two fighters in their arsenal, and by completing mid-match conditions, players will gradually gain access to their full team. In each match, players start with their first two available characters, and to assemble the rest of your team, you must meet one of the following conditions: trigger a break by landing certain attacks or throws, landing select Skill attacks near the edge of the screen, or lose a round. That last condition is the one that reframes the whole system: the open beta was built to give players a better idea of what to expect from optimized 4v4 team gameplay in the full release, and the studio clearly wants losing to feel like a setup for a comeback rather than a death spiral.
Marvel Tokon: Fighting Souls literally brings in the whole squad to beat up your opponent, but instead of starting with all four characters, you unlock them mid-match using various throws, stage breaks, or just losing by round. The reasoning is structural, not just narrative flavor. Gaining access to more characters also expands your Vital Gauge, a single health bar for all four characters, which encourages playing smart rather than trying to end the round as quickly as possible. That is the “why” behind the mechanic: if unlocking teammates only added offense, the team ahead on health would snowball even harder. Because it also raises the shared health pool, a team that is behind gets a bigger cushion exactly when it needs one, which keeps close matches close instead of letting an early lead decide everything. And if you do lose the round outright, you are given one of your locked support fighters at the beginning of the next one, so a bad round is never a dead end — it is the game handing you a card you did not have before.
Tip
Do not play passively just to “bank” your unused characters for later. Landing throws, breaking stages, and pushing an opponent to the wall all pull your teammates in faster than waiting around, and the sooner your team expands, the sooner your Vital Gauge and gauge caps grow with it.
Not everyone has the evenings for this — Marvel Tokon: Fighting Souls boosting covers the same ground with someone else on the keys.
Step-by-Step: How Your Team Expands Over a Match
Follow this sequence to get it done fast.
-
1
Pick your four-character lineup and slot order
the first two characters you select are your starting duo, and the other two sit in reserve until unlocked.
-
2
Fight the opening 2v2 exchange
when the match starts, you only have access to two of your characters, presumably the first two you picked, while the other two are greyed out.
-
3
Force a stage transition or land a break
the first round begins as a 2v2 battle, with additional teammates joining through stage transitions triggered by throws or specific moves.
-
4
Unlock the remaining slots and watch your gauges grow
unlocking additional characters also increases your total health and maximum possible super meter.
-
5
If you lose a round anyway, take the free unlock
a locked support fighter joins automatically at the start of the next round, so the deficit becomes extra firepower instead of a bigger hole.
-
6
Chain your full squad once assembled
with all four active, look for openings to link assists and Skill Gauge specials before the match resets to a fresh best-of-five round.

Best Ways to Trigger Team Expansion Fast
Because the system rewards specific actions rather than clock time, some approaches unlock your reserve fighters faster than others. None of these bypass the round-loss unlock, but they change how much of your team you have available before that safety net kicks in.
None of this is really “farming” in the loot-game sense — there is nothing to grind outside a match, since the unlock resets every game. If you are also tracking the wider release picture around editions and beta timing, the Marvel Tokon release date guide covers that separately from the combat systems discussed here.
| Method | Speed | Effort | Best For |
|---|---|---|---|
| Landing throws or specific stage-transition moves | Fast | Medium | Rushdown players who mix in grabs |
| Wall Break combos near stage edges | Fast | High | Combo-focused players comfortable extending links |
| Cornering and pressuring the opponent | Medium | Medium | Zoners and footsie-heavy playstyles |
| Just losing the current round | Guaranteed, next round only | None | Players already behind on the Vital Gauge |
What You Actually Get When Your Team Expands
A bigger Vital Gauge, not just more bodies
The reward for unlocking a teammate is not purely offensive. When you meet up with your ally, the maximum value of your Skill and Assemble Gauges also increases, on top of the health pool growing. That means a fully assembled team is stronger in every resource category, not just in raw character count.
Access to team supers through the Skill Gauge
A third Skill Gauge allows fighters to consume meter for higher-damage EX attacks or a cinematic Ultimate Skill when completely filled, and can be used in conjunction with the Assemble Gauge to chain multiple Ultimate Skills across a whole team together, similar to the Delayed Hyper Combo mechanic from older Marvel vs. Capcom games. A two-character team simply cannot access the full version of this chain, so expanding your roster is what unlocks the flashiest damage tools in the game.
A built-in comeback tool once your whole team is on the line
Fighting games generally need a comeback mechanic, and if your team is set to lose the match in the current round, you can activate Tōkon Assemble, initiating an invincible strike and an all-out attack with all members for maximum damage. It can be used in neutral and even at the end of a Light Link Attack combo, though it needs a sizable Skill Gauge to pull off. This only exists because the earlier systems already guarantee you will have a full team by the time it matters most.
Common Misconceptions About the Shared Health Bar and Assemble System
Myth: You can hide a weak character behind the other three
This does not work the way it would in a tag fighter with individual health bars. All four characters share a single Vital Gauge, so damage taken by your worst fighter drains the exact same pool as damage taken by your best one. There is no “safe” character to park in reserve while your favorites tank hits, because reserve characters are not in the fight yet — and once they are, their damage taken counts just as much as anyone else’s.
Myth: Tagging is only for emergencies
The Assemble system is built for constant use, not panic swaps. A different direction, along with a dedicated assist button, controls each character’s assist, assists can be performed in the air, and they’re also how tagging works — by pressing before or as an assist attack lands, you can swap out the lead character for one of the other team members. If you do multiple assists, the last character to come out is who gets switched to, which means rotation through your team is a normal offensive tool, not something reserved for when your point character is nearly dead.
Myth: Every assist type does the same thing
Assist mechanics are represented by the Assemble Gauge, with each character’s move dictated by the type of attack mode designated during character selection — Forward Assist types lean on projectile attacks for disrupting other fighters, while Downward Assists are more effective for anti-air interruptions. Some are straightforward shooter-style projectiles, while others are downward assists better for controlling air space. Choosing the wrong assist slot for a character can leave you without anti-air coverage or without a way to extend combos, regardless of how good that character is on point.
Warning
Assist and tag execution has already shifted between beta builds. The game moved to a dedicated tag button instead of tying tagging to the Assemble button like before, and the July open beta had assist and tag mapped to two separate buttons. Treat exact inputs and gauge costs as subject to change until launch on August 6, 2026, and check the in-game tutorial for the current control scheme rather than relying on older footage.
Our Take: Is This Comeback-Heavy Combat System Actually Good?
Our Take
The three mechanics work as a set, and removing any one of them would break the other two.
The 2v2 start only makes sense because the shared health bar exists — if characters had separate health pools, delaying your teammates would be pure downside instead of a trade-off. And the shared health bar only stays interesting because Assemble makes swapping constant instead of rare, so a single mistake on point does not automatically end the round. Looked at together, this is a system built around forcing the trailing player back into the fight rather than letting a lead compound itself, which is a genuinely different design goal from most tag fighters that let a strong point character farm a whole match.
The honest caveat is that this is still a pre-release read based on open beta behavior, and the developers have already reworked tag-and-assist inputs once between closed betas and the July open beta in response to feedback. Whether the round-loss unlock ends up feeling generous or like a consolation prize will depend on exact numbers Arc System Works has not locked in publicly, so anyone judging the system on beta footage alone should expect some tuning by launch.
Was this guide useful?