On this page
Void missions are the new objective type Arrowhead added with the Devoid of Liberty update, and the short version is this: targets now sit inside Illuminate structures instead of open ground, so the usual land, run, call extraction routine stops working. This guide covers what a squad actually does inside a Void mission — spire and gateway demolition, data reconnaissance, structure infiltration, the two secondary tasks, and the one decision that separates a clean extraction from a wipe: whether to bother opening the second evacuation zone.
TL;DR
- Void primary objectives put targets inside Illuminate structures: destroy spires and gateways, run data reconnaissance, or infiltrate a facility with the squad
- Secondary objectives add eradicating Void mutations and extracting research materials, both optional and quick
- A second extraction zone can be unlocked on some Void maps, but it’s an optional objective, not a guaranteed feature of every mission
- Planets get more visually and mechanically warped the closer they sit to the Void itself, so the same objective plays differently depending on the planet
Leveling
Your level and primary weapons pushed together
What Are Void Missions in Helldivers 2?
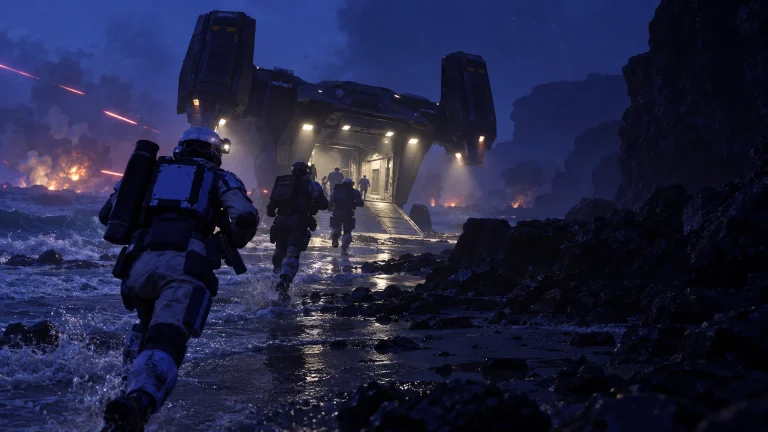
Void missions are the objective set tied to the Devoid of Liberty update and its narrative arc, Battle for the Gateway Planet. Super Earth forces are ordered into the unknown, toward worlds scarred by the mysterious influence of the Void. Instead of dropping near an open objective marker, squads get new objectives to conquer: destroy Illuminate spires and gateways, complete data reconnaissance, and infiltrate Illuminate structures with the team. On top of those, new secondary objectives also become available, from eradicating Void mutations to extracting materials for research, as well as the opportunity to open a secondary extraction zone on the map to potentially evacuate the squad faster.
| Objective type | What it involves |
|---|---|
| Destroy Spires & Gateways | Demolish structures guarded by sentries, with attached gateways that keep spawning enemies until destroyed |
| Data Reconnaissance | Gather intel on the Void for High Command rather than clearing a single point |
| Infiltrate Illuminate Structures | Enter and clear a facility from the inside, not just approach and hold a marker |
| Eradicate Void Mutations (secondary) | Kill off mutated organisms spawned near the objective area |
| Extract Research Materials (secondary) | Recover physical samples for analysis before extraction |
If the grind is the only part worth skipping, Helldivers 2 boosting runs the same route on your own account.
Where Void Missions Happen: Void Source Worlds and the Gateway Planet
The Void is a cosmic anomaly discovered by the Illuminate that possesses the power to consume surrounding planets and even entire star systems. It shouldn’t be confused with a single open-world map — instead the Void represents a new battlefield environment within the ongoing Galactic War, spread across several frontline planets rather than one location. The update also introduces entirely new Void Source Worlds, planets that appear to have been consumed by the Void and are becoming a vital source for its expansion. Some of these frontline pushes have a named focal point — at the time of the update’s launch, the Illuminate are trying to take Rirga Bay, described as a massive city, meaning close-quarters fighting. Several of these planets also carry the SEAF modifier, which is covered in detail in the SEAF support troops guide rather than here.
| Location type | What you get | Requirement | Who it suits |
|---|---|---|---|
| Frontline planets bordering the Void | Standard Void primary objectives, mild environmental change | Active Major Order rotation touching the Void front | Squads wanting fast, predictable Void missions |
| Void Source Worlds | Heaviest environmental warping, darker maps, tougher mutation density | Deeper progression into the Void-adjacent campaign | Experienced squads after the hardest version of the fight |
| Gateway Planet frontline (e.g. Rirga Bay) | The current narrative push for Battle for the Gateway Planet | Following the live Major Order | Squads tracking the main campaign story |

How to Run a Void Mission Without Wasting Extraction Time
Follow this sequence to get it done fast.
-
1
Read the objective before moving
check whether it's a spire/gateway, a recon task, or an infiltration marker, since each calls for a different squad split.
-
2
Kill the gateway, not just the spire
Warp Gateways are constructed around the spire's structure and will constantly spawn enemy units unless destroyed, so leaving one alive means endless reinforcements while you work.
-
3
Call demolition and hold the line
the spire requires a heavy demolition force, meaning it can only be destroyed with a Hellbomb-class charge or SEAF artillery, and someone needs to cover the charge timer.
-
4
Clear infiltration objectives room by room
structures are enclosed, so splitting the squad outside and inside gets people cut off from support.
-
5
Grab secondary objectives only if time allows
mutations and material extraction are optional add-ons, not requirements to finish the mission.
-
6
Decide on the second extraction zone early
commit to it before the squad is already low on time, not as a last-minute scramble.
Destroying Spires and Gateways: What It Gives, What Delay Costs
Each Gazer Spire is heavily guarded by sentries and Warp Gateways that spawn Illuminate enemies, on top of the spire itself attacking Helldivers once alerted. After spotting a Helldiver within its detection range, it visibly charges up before firing a laser, and evasive action is recommended since the beam is highly lethal. The fix is straightforward on paper — the beam can be outmaneuvered by walking to the side or taking cover — but doing that while gateways keep pumping out fresh enemies is where squads lose time and lives.
Warning
Delaying a spire kill doesn’t just cost time — the attached gateway keeps spawning enemies the entire time it’s alive, so a slow demolition turns into a snowballing firefight instead of a one-time push.
Data Reconnaissance and Infiltrating Illuminate Structures
Data reconnaissance objectives exist because High Command has ordered reconnaissance missions to gather as much intel as possible in order to give the war effort an advantage, which plays out as an intel-gathering task rather than a straight kill objective. Infiltration is the bigger departure from normal Illuminate missions: instead of approaching and holding a point in the open, the squad has to physically enter and clear a structure. That distinction matters on Void Source Worlds specifically, since these planets are shrouded in darkness for extended periods, with erratic weather, and also feature temporal anomalies and space-time fluctuations, which makes clearing a structure from the inside noticeably harder to read than a normal outdoor firefight.
Secondary Objectives: Void Mutations and Material Extraction
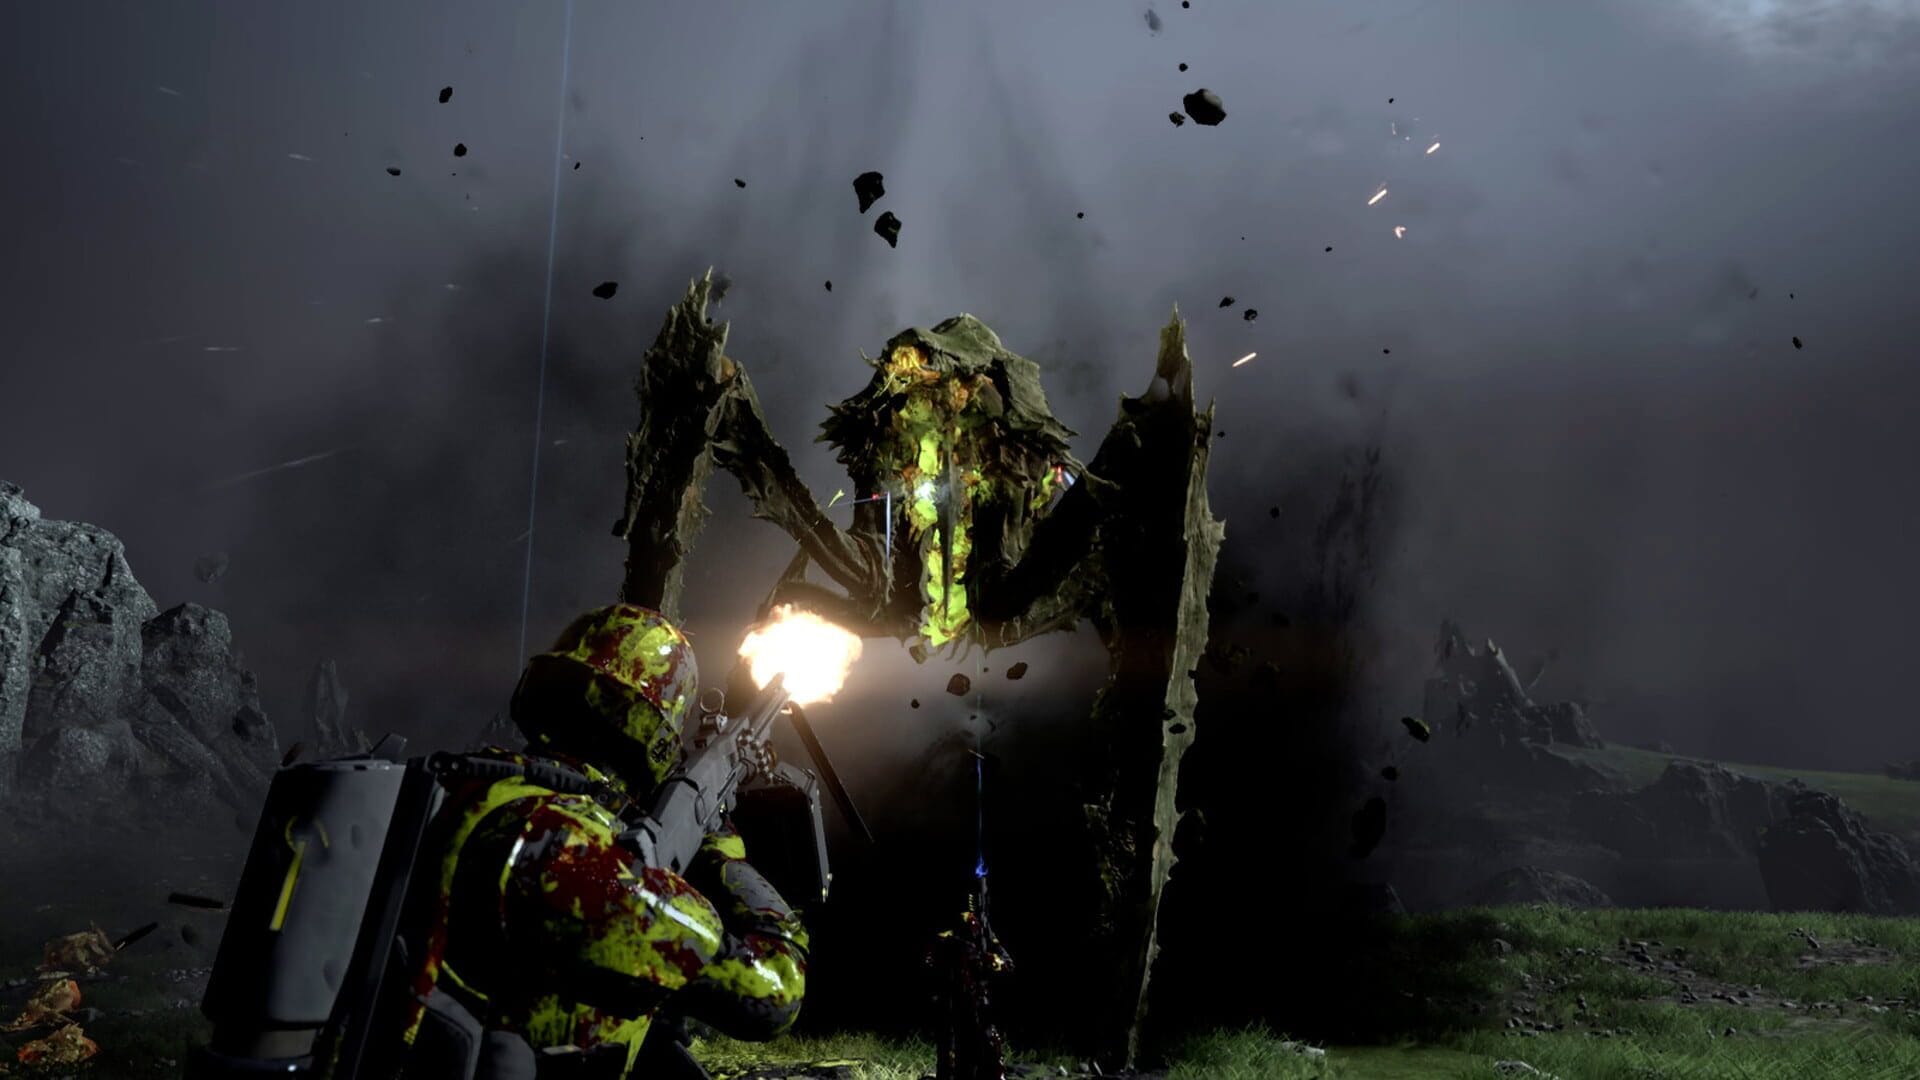
Alongside the primary tasks, squads can also take on eradicating Void mutations and extracting materials for research as optional side work. Both are quick add-ons rather than mission-defining tasks, and the update also lets squads scavenge for loot and locate additional extraction points to facilitate future battles while they’re at it. The mutated enemies you’re clearing in these objectives are the same new threats covered separately in the Crusher and Wretch weak points guide, so this piece won’t repeat their behavior here.
Samples Packages
Common, Rare and Super Samples farmed
The Second Extraction Zone: When Opening It Is Worth It
The secondary extraction zone is particularly useful during longer operations, and completing the corresponding objective gives a squad another location from which it may evacuate, potentially shortening the journey to extraction. That said, this is an optional objective rather than a permanent rule, and not every mission automatically provides two extraction zones. Players have to find and complete the relevant objective before gaining access to the alternative evacuation point, which is exactly why it’s a judgment call and not a checklist item.
The honest math on that last row: unlocking the second zone means detouring for an extra side objective, which costs real time before the squad can even call extraction. Based on how these objectives are laid out on the map, expect that detour to run somewhere around two to four minutes of extra clearing and travel. What it buys back is a shorter sprint if the primary zone ends up on the far side of the level or gets swarmed by reinforcements — a save that can easily be worth more than the two to four minutes spent, but only if the primary zone was genuinely going to be a problem. If it’s already close and clear, that time is better spent finishing the mission outright.
| Task | What the squad needs | Common mistake |
|---|---|---|
| Destroy Spires & Gateways | A dedicated demolition carrier plus someone suppressing gateway spawns | Focusing the spire while ignoring the gateway, letting spawns overwhelm the group |
| Data Reconnaissance | Patience and ranged suppression while intel is gathered | Rushing the point without clearing patrols first, dragging in more reinforcements |
| Infiltrate Illuminate Structures | The full squad moving together with a close-quarters loadout | Splitting inside and outside the structure and losing line of sight on each other |
| Second Extraction Zone | One member scouting the objective early while the rest holds primary tasks | Opening it out of habit even when the main zone is already close and clear |
How Void Influence Reshapes Planets at the Region's Edge
Planets within the Void’s reach have been permanently altered, with intelligence reports suggesting the changes get more significant the closer a planet sits to the Void itself. In practice that means the same mission type feels progressively rougher the deeper the campaign pushes: standard frontline planets carry mild warping, while Void Source Worlds — planets that appear to have been consumed by the Void and are becoming a source for its expansion — carry the heaviest version of it, with the darkness and anomalies described earlier stacking on top of the usual Illuminate resistance. For loadout planning against that kind of environmental pressure, the ship module priority guide covers which stratagem cooldown upgrades pay off fastest when a mission calls for repeated demolition charges or extended firefights.
Myth: Void Missions Are Just Reskinned Illuminate Maps
They aren’t a visual reskin — the objectives themselves are structural. Spires and gateways don’t exist in standard Illuminate missions, and infiltration specifically requires entering a building rather than standing near a marker.
Myth: You Should Always Open the Second Extraction Zone
It’s an optional objective rather than a permanent rule, and not every mission automatically provides two extraction zones, so treating it as a default step wastes time on missions where the primary zone was never going to be a problem.
Myth: Ignoring the Gateway Is Fine as Long as the Spire Dies
Warp Gateways constantly spawn enemy units unless destroyed, so leaving one standing while focusing the spire just means fighting an unbroken stream of reinforcements during the demolition timer.
Our Take: Are Void Missions and Second Extractions Worth the Detour?
Our Take
The objective design is a genuine change in routing, and that’s the point worth taking seriously.
Putting targets inside structures and attaching endless-spawn gateways to them forces squads to actually clear rather than sprint past, and the optional second extraction zone rewards squads that read the map instead of defaulting to habit. The update is only days old, so exact timer values and how consistently every Void map spawns a second zone are still being worked out by the community — treat the minute estimates here as a planning guide, not a guaranteed number, until more missions have been run.
Was this guide useful?
Helldivers 2 services
Ship & Warbonds
Warbond Unlock & Level
The number of Warbonds you set on the slider, each opened and completed to the last page · Done when every ordered…

Warbond Medals & Samples
Warbond Medals
Medals earned through operations · Unlocks Warbond pages and what sits on them

Leveling
Mission Run — 50 Missions
50 missions played with you in the squad, on your own account · Around 500,000 experience by the end