On this page
SEAF Support troops are a planet modifier, not a stratagem, which means you don’t pick them before a drop, the Galactic War map does. SEAF Support turns the Super Earth Armed Forces from background scenery into a real battlefield asset, and it is a planet modifier, not a Support Stratagem, so you do not equip it before a drop. If you land on an operation without the right modifier active, there is no menu option that summons them. You plan around this before you commit a loadout, not after you’ve already burned a stratagem slot expecting backup that isn’t coming.
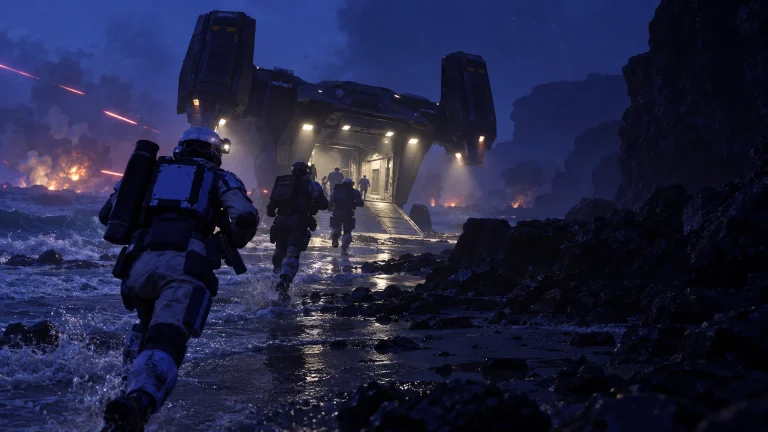
Super Earth Armed Forces (SEAF) can now appear as a planet modifier, joining you in battle in your missions and enhancing your combat capabilities with a range of new tools, with Super Earth High Command mandating the SEAF be deployed directly to the frontlines of the Galactic Campaign, and Helldivers able to be supported by friendly SEAF NPC troops with new and improved behavior, weaponry and updated visuals. Each SEAF squad will have a squad leader, a rifleman, a heavy weapon-wielding specialist, and a medic capable of stimming wounded Helldivers.
The four soldiers are named, not interchangeable grunts: C. Zhang leads the squad, STIMmothy is the medic, A. Aaronson is the rifleman and B. Devaux carries the heavy weapon. They arrived with the Devoid of Liberty update on 12 August 2026, and Arrowhead introduced them by name and gear in the rollout post.
TL;DR
- SEAF Support is a planet modifier, not a stratagem, so the game picks it, not you
- Four named soldiers arrive together: C. Zhang (leader), STIMmothy (medic), A. Aaronson (rifleman) and B. Devaux (heavy), each with different gear
- They add firepower and healing but are not a substitute for a coordinated squad
- Friendly fire runs both ways, and old habits like careless AoE placement get punished harder
- Low-difficulty runs benefit more than high-difficulty ones, and that’s the honest answer
| Squadmate | Role | Kit | Job on the Ground |
|---|---|---|---|
| C. Zhang | Squad Leader | Modified AR-23 Liberator firing AR-23P Penetrator rounds, G-12 High Explosive grenades, radio pack | Leads the SEAF infantry and coordinates them to take cover and focus fire, with unique voice lines; can engage medium armoured targets |
| STIMmothy | Medic | Stim pistol and syringes | Heals and stims wounded Helldivers directly on the field, which is what keeps a long firefight going |
| A. Aaronson | Rifleman | Standard-issue SEAF infantry loadout | General firepower against light and medium waves — no specialty gear, just extra bodies and bullets on the objective |
| B. Devaux | Specialist | MG-43 Machine Gun and EAT | Sustained anti-armour pressure the squad leader cannot provide alone, and the answer to bigger enemy pushes |
Leveling
Your level and primary weapons pushed together
Where to Find the Heavy SEAF Presence Modifier
You find SEAF Support the same way you find any planet modifier: by checking the Galactic War map before you queue a mission. You can confirm which planets carry the modifier by highlighting them on the Galactic War map or by pressing Z on PC or L2 on controller to open the Dispatches. At the launch of the update, that planet was Rirga Bay, but which planet carries the tag rotates as the Galactic War moves, so treat any specific planet name as a snapshot rather than a fixed location. Once you’re actually on the ground, the modifier stops being abstract. SEAF troops appear as green dots once you open your map, and they also drop in from Pelicans at random points during the fight, so you keep getting fresh allies for as long as the modifier is active.
| Source | What You Get | Requirement | Who It Suits |
|---|---|---|---|
| Galactic War map highlight | Confirms which planets carry Heavy SEAF Presence before you queue | None, just check before deploying | Squads planning a session in advance |
| Dispatches panel (Z / L2) | Fast list of active modifiers without hovering every planet | None | Players scanning options quickly between missions |
| In-mission tactical map | Live SEAF squad positions as green dots | You have to already be on the ground | Squads deciding whether to link up mid-mission |
| Pelican dropship spawns | Fresh SEAF squads delivered mid-mission | Modifier has to stay active for that operation | Long missions where an earlier squad got wiped |
If the grind is the only part worth skipping, Helldivers 2 boosting runs the same route on your own account.
Step-by-Step: Finding and Using SEAF Support
Follow this sequence to get it done fast.
-
1
Check the Galactic War map before queueing
highlight planets to see which ones currently carry the Heavy SEAF Presence modifier.
-
2
Open Dispatches if you're scanning fast
Z on PC or L2 on controller gives you the modifier list without hovering every planet by hand.
-
3
Deploy normally on a tagged planet
there is no stratagem slot to reserve, so build your loadout as you normally would.
-
4
Watch the tactical map for green dots
that's where SEAF squads are patrolling or where a Pelican just dropped a fresh one.
-
5
Let them work light and medium waves
use the breathing room to push objectives instead of expecting them to clear anything alone.
-
6
Call your own hardware for anything heavy
a bile titan or a factory strider is still your squad's problem, not theirs.

What SEAF Troops Actually Do in a Fight (and What Not to Expect)
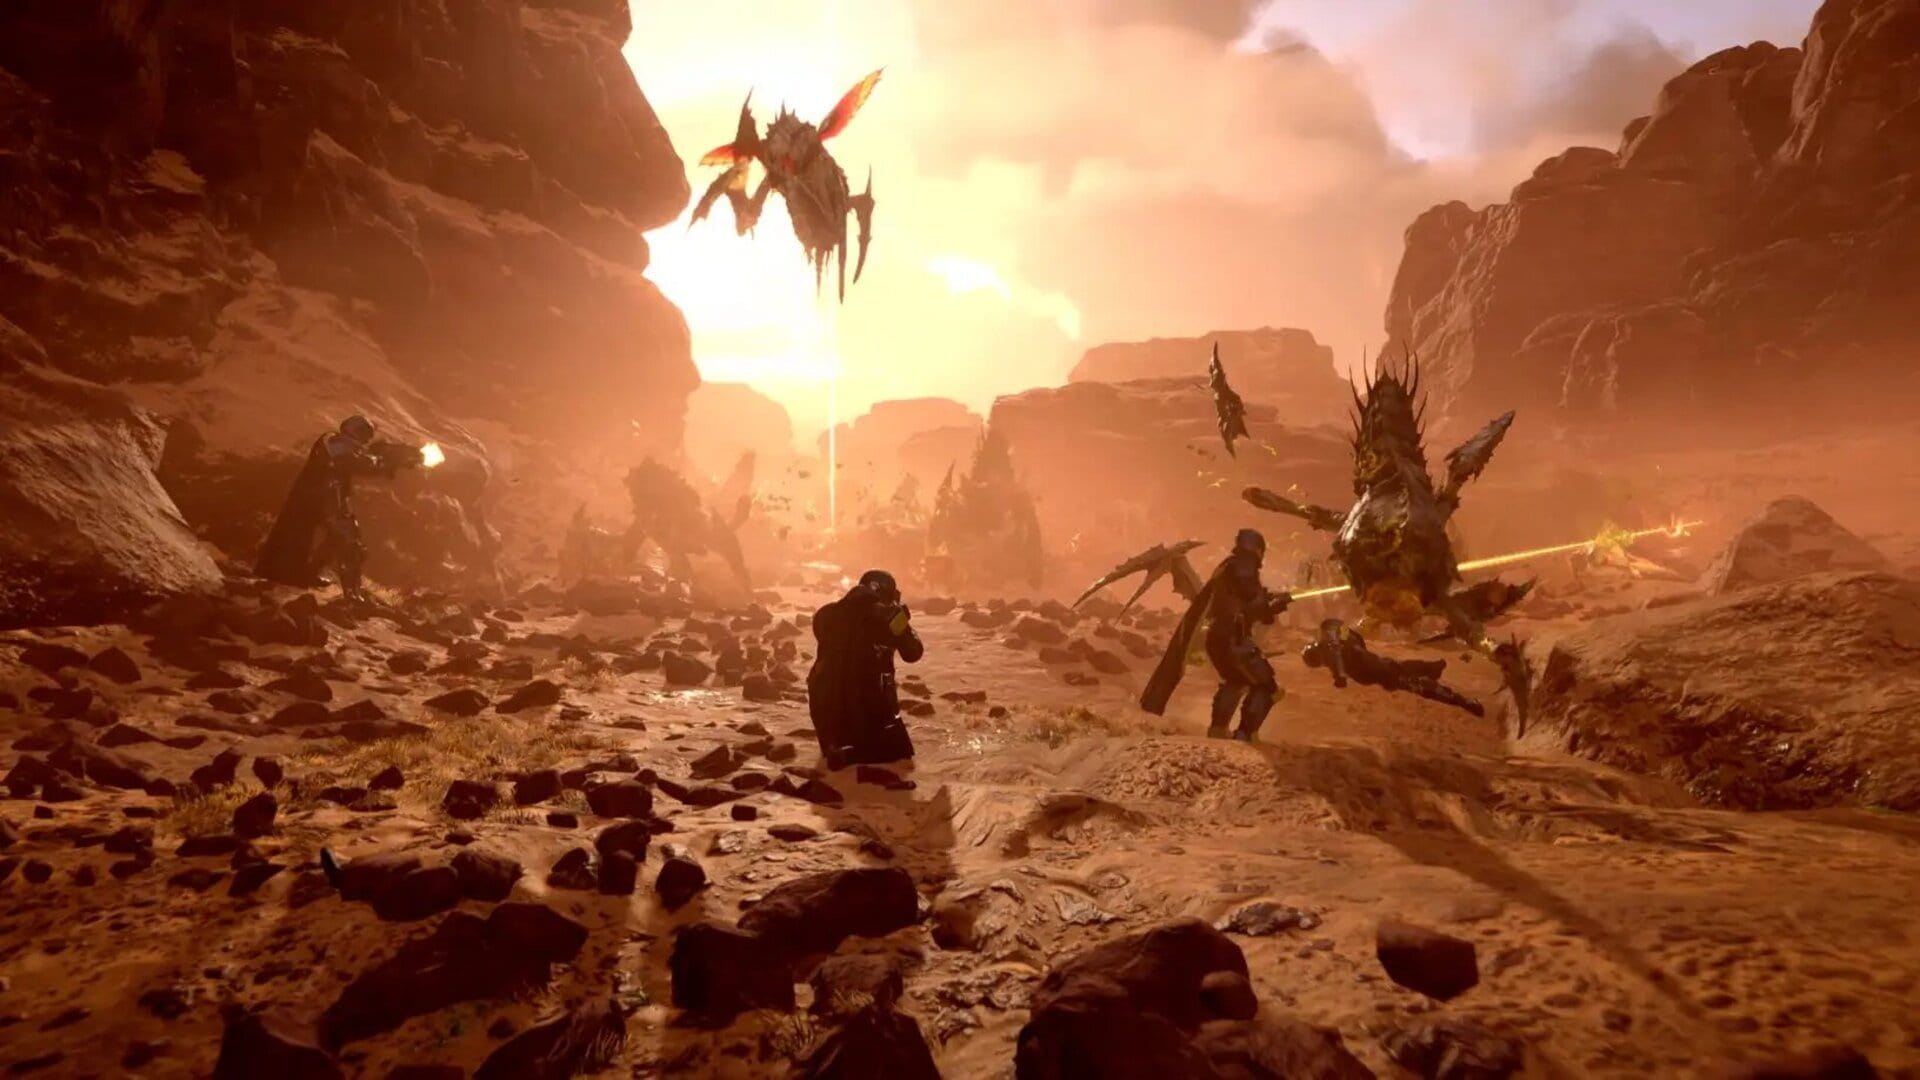
In practice, SEAF Support behaves like a second, weaker fireteam rather than an extra pair of hands for your existing one. The soldiers arrive with their own weaponry and tools, including Stim Pistols and Heavy Machine Guns, and are capable of destroying enemy spawners themselves rather than leaving all of democracy’s dirty work to the Helldivers. That’s a genuine change from earlier versions of these NPCs, where they mostly stood around and occasionally shot at things. The limits are just as important as the upside, though. These soldiers are not on the level of a Helldiver — they handle themselves for a while, but they are ultimately cannon fodder and are not great at clearing objectives or heavy enemies on their own.
| Behavior | What Actually Happens |
|---|---|
| Extra firepower on trash waves | Reliable — as part of a larger fireteam they can dispatch dozens of light and medium enemies |
| Chip damage on bug holes and fabricators | Reliable — they can destroy enemy spawners themselves |
| Stims and revives from the medic role | Present, but situational — they need to actually reach you first |
| Clearing a full objective alone | They are not a replacement for a coordinated four-player squad, and can die quickly when overwhelmed |
How Squad Roles Shift When AI Shares the Fire
The obvious change is that some incoming fire gets absorbed by soldiers who aren’t your problem to keep alive. That sounds like a straight buff, and on paper it is — used correctly, they provide extra guns, distractions, healing, anti-armor assistance, and valuable breathing room during chaotic engagements. What it actually does to squad composition is subtler: a dedicated crowd-control player suddenly has less to shoot at during a SEAF-heavy patrol, which frees them to push toward the next objective instead of holding a chokepoint. A support-weapon player pointed at armor gets less pressure from trash mobs while a SEAF squad chews through them nearby. None of this shows up as a stat, but it changes where your squad physically stands and what it prioritizes shooting first. Anyone still running the same rotation from their underrated build in 2026 should notice the crowd-control slot gets a little less demanding on SEAF planets specifically.
The Habits That Break: Friendly Fire With Allies on the Map
This is the part that actually costs runs. Helldivers players have spent two years training themselves to treat the map as empty except for their own squad, and SEAF Support removes that assumption entirely. Friendly fire still applies to SEAF Soldiers and it goes both ways — a careless Helldiver can get killed by standing in front of an SEAF Trooper’s line of fire, or standing near one of their live grenades. Old-guard orbital and Eagle habits — drop the barrage on the horde, walk away, don’t check who’s standing in it — stop being safe the moment a SEAF squad is patrolling that same horde.
Warning
Killing a SEAF Soldier applies a Requisition Slip penalty on the final mission payout, and killing a consecutive combination of nine SEAF Soldiers and/or civilians will get you branded a traitor. Sloppy AoE placement on a SEAF-heavy planet is a fast way to eat both.
Some players also report the reverse problem — SEAF AI occasionally firing without properly accounting for a Helldiver standing in its line of sight. That behavior isn’t officially documented by Arrowhead and reports are inconsistent, so treat it as an unconfirmed community observation rather than a guaranteed mechanic, but it’s one more reason to stop treating green dots as scenery.
What Else Devoid of Liberty Changed
The SEAF squad itself doesn’t hand out loot, but running with them changes how a mission plays out, and the wider update brought its own set of unlocks. The level cap increase is the biggest structural change: Arrowhead confirmed the SEAF squad’s roles and gear directly on Xbox Wire, and separate patch-note coverage confirms the rank system now goes up to level 300 with 15 new ranks and titles layered on top of the old cap.
New Enemies Sharing the Update
Devoid of Liberty also introduced two new Illuminate enemy types alongside the SEAF squad: the Crusher, a heavily armored enemy that regenerates while taking damage and needs sustained focus fire, and the Wretch, a fast, evasive enemy that dodges and leaps at players. Anyone dealing with either enemy for the first time can check the breakdown in the guide to Crusher and Wretch weak points and what actually kills them before relying on SEAF squadmates to tank the damage for you.
Titles, Ranks, and the Warbond Riding Along
The level cap increase to 300 and its 15 new ranks are covered in more depth in the guide to the new titles from level 160 to 300. Devoid of Liberty also shipped alongside the Warhammer 40,000 crossover Warbond, which is a separate purchase track from the SEAF squad and enemy changes, and is broken down in the guide covering whether the Warhammer Warbond is worth it a week in.
| Reward | How You Get It | Why It Matters |
|---|---|---|
| Extra spawner cleanup | Playing on a SEAF-modifier mission | Frees your squad from clearing every bug hole or nest solo |
| New veterancy titles | Leveling past the old 150 cap toward 300 | Gives long-time players a reason to keep grinding XP |
| Expanded emote wheel | Automatic with the update, now 8 slots instead of 4 | Lets you interact with both human squadmates and SEAF soldiers |
| New Illuminate enemy variants | Encountered on Void and Illuminate-front missions | Changes how fights against the Illuminate play out |
Two Smaller Changes That Break Old Reflexes
SEAF Support landed alongside a couple of smaller changes that quietly kill old reflexes too, and both are worth knowing even though they’re not the SEAF modifier itself. The heavy landing state used to make you feel like you recovered from a high fall, but players lost control for a long time when landing on their feet from a higher fall, so the duration was decreased by around 40%. If your Helldiver cannot stim at the exact moment when the stim button is pressed, they will automatically stim as soon as they are able to, up to 2 seconds later. Both changes remove a beat you used to wait through by habit. If you’ve been pausing after a hard landing before moving, or mashing stim and giving up when nothing happened, stop — the game is handling that recovery window for you now.
Samples Packages
Common, Rare and Super Samples farmed
The Real Cost: Runs It Takes to Retrain Squad Habits
Nobody rewires two years of muscle memory in one drop. Based on how habit changes like this usually shake out for a regular squad, expect somewhere around eight to twelve runs on SEAF-tagged planets before checking for green dots before an airstrike becomes automatic instead of an afterthought. That’s roughly four to six hours for a squad playing a couple of sessions a week, not a single evening. The cost isn’t the mechanic being complicated — it’s unlearning the assumption that the map is empty of anyone you need to watch out for.
Who Benefits More: Low Difficulties or High Difficulties?
The honest answer is the boring one: low and mid difficulties get more real value out of this modifier than the top tiers do. SEAF soldiers can die quickly when overwhelmed, but used correctly they provide extra guns, distractions, healing, anti-armor assistance, and valuable breathing room — and that breathing room matters a lot more when the enemy density and armor scaling are already low. On the high end of the difficulty scale, enemy numbers and toughness outpace what cannon-fodder infantry can meaningfully blunt, so a squad already running the right ship modules for the mission will barely notice the difference SEAF makes against the harder waves.
Myth: SEAF Troops Can Solo an Objective
They can’t. They are not a replacement for a coordinated four-player squad, and relying on them to complete a mission independently is a good way to disappoint yourself. Use them to buy time, not to babysit a terminal while your squad wanders off.
Myth: You Recruit Them Like a Support Stratagem
SEAF Support is not a traditional Stratagem or side objective, and you cannot simply unlock it from your Super Destroyer and call soldiers down whenever you want. There is no cooldown, no beacon, no equip slot. It’s environmental, tied entirely to the planet you picked.
Myth: Friendly Fire Doesn’t Count Against SEAF
It does, and it’s punished the same way civilian casualties always have been. Accidentally killing them still applies a Requisition Slip penalty, and racking up nine consecutive SEAF or civilian kills gets you branded a traitor. Treat green dots with the same care you’d give a downed teammate.
| Difficulty Band | How SEAF Behaves | Why |
|---|---|---|
| Trivial – Medium | Meaningfully thins light and medium waves, frees you to push objectives | Enemy density and armor are low enough for cannon-fodder infantry to matter |
| Suicide – Helldive | Gets overwhelmed fast, mostly a brief distraction | Enemy scaling outpaces what non-Helldiver infantry can absorb |
Our Take: Is Planning Around SEAF Support Worth It?
Our Take
Worth checking the map for, not worth chasing across the galaxy for.
SEAF Support is a genuine quality-of-life addition for lower and mid-difficulty runs where the extra bodies actually change the pace of a fight, but it’s not a reason to reroute a Helldive-difficulty squad’s plans. The real value here isn’t the troops themselves, it’s that the modifier forces a squad to relearn spatial awareness they’d let slip — which is a good habit to have regardless of whether the planet you’re on next week still carries the tag.
Was this guide useful?
Helldivers 2 services
Ship & Warbonds
Warbond Unlock & Level
The number of Warbonds you set on the slider, each opened and completed to the last page · Done when every ordered…
Warbond Medals & Samples
Warbond Medals
Medals earned through operations · Unlocks Warbond pages and what sits on them
Leveling
Mission Run — 50 Missions
50 missions played with you in the squad, on your own account · Around 500,000 experience by the end