On this page
The Crusher punishes any pause in your fire, and the Wretch punishes anyone still aiming for the head out of habit — both are new Illuminate mutants added on August 12, and both kill squads that fight them the way they fought the rest of the Illuminate roster. This guide covers what actually breaks each one, what wastes ammo, and where old tactics stop working.
TL;DR
- Crusher: keep continuous fire on it — any gap lets it regenerate health it already lost
- Break the Crusher’s armored helmet first with a heavy-penetration weapon, then finish the exposed head
- Circle the Crusher instead of backing away — it’s slow and has one melee attack, and retreating just extends the fight
- Wretch: the head is a decoy, shoot the limbs instead
- Wretch danger comes from pack size and weapon-jamming, not raw individual strength
Leveling
Your level and primary weapons pushed together
What the Crusher and Wretch Actually Are
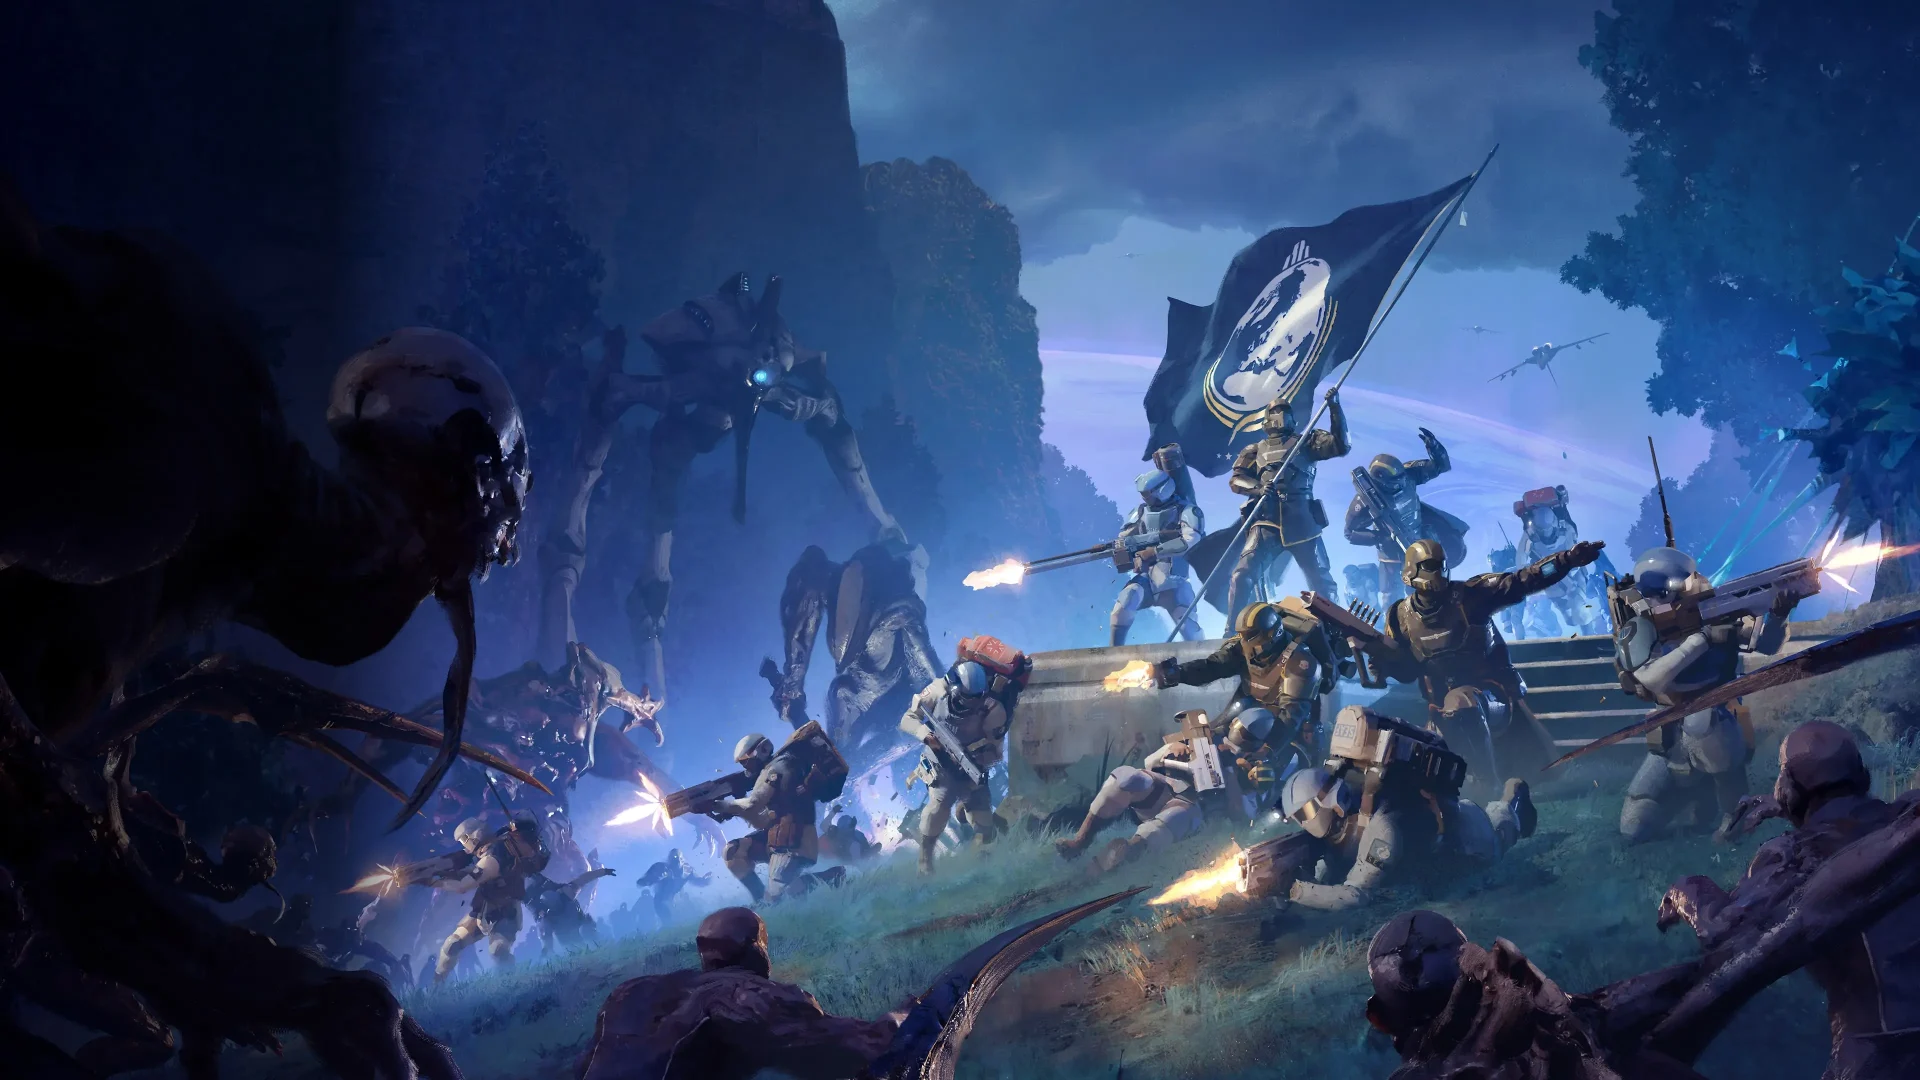
Both enemies belong to a new Illuminate subfaction called the Vote Snatchers, added with update 1.007 (“Devoid of Liberty”) on August 12. The game’s latest major update, Devoid of Liberty, has unleashed upon Super Earth’s finest the Vote Snatchers, a new subfaction built around mutated Voteless and two particularly nasty additions: the Crusher and the Wretch. If you want the full story on why the Illuminate are back and what that means for the wider campaign, that’s covered separately in the Illuminate return breakdown — this guide sticks to the two enemies themselves. The same patch also doubles the level cap from 150 to 300, which is worth knowing if you’re planning your progression around the level 300 cap.
| Trait | Crusher | Wretch |
|---|---|---|
| Role | Single tanky melee brute | Fast swarm unit |
| Typical group size | Usually alone or paired | Packs, commonly cited as five to eight |
| Movement | Slow, lumbering | Fast, dodges and leaps |
| Signature attack | One melee club swing | Pounce that tries to disarm you |
| Regenerates health | Yes, on body and limbs | No confirmed regen |
If the grind is the only part worth skipping, Helldivers 2 boosting runs the same route on your own account.
Crusher Weak Point: Why It Regenerates and What That Means for Your Squad
The Crusher is the first Illuminate unit built around a regen mechanic, and it changes how you should think about damage. Crushers possess the ability to regenerate health for all limbs and Main, except for their helmet and head at a rate of 30 health per second 0.5s after taking damage. That half-second window matters more than it sounds — the Crusher is unique since it is the first Illuminate enemy that can regenerate health for its individual limbs, and it requires Helldivers to focus on constantly damaging it in order to kill it. In practice, this means the size of a single hit matters less than whether the stream of hits ever stops. A squad landing steady mid-tier damage beats a squad landing occasional big hits with gaps between them.
The actual kill point sits under armor. It can regenerate health, shown by the blue effect around its body, so any damage you have dealt can quickly be undone if you stop shooting. Its helmet has Heavy (AP4) armor. Break through it, and the exposed head becomes an easy target for your primary weapon. You need something with heavy penetration or better to crack that helmet at all — anything lighter just pings off and wastes the window before regen kicks back in. Focus Heavy Pen on their heads so that you can reveal their flesh head under the helmet.
Tip
Its only attack is a slow melee swing, so circling around it while keeping fire on the helmet is safer than backing straight away. Retreating in a straight line just adds distance the Crusher has to close, which stretches the fight and gives it more chances to regenerate.
The Crusher is a massive, Lovecraftian-looking giant holding a club that can one-shot even the most heavily armored Helldiver, but that attack is telegraphed and slow. Outside of shooting their helmets off, just try to sustain fire with stratagems and your fellow Helldivers — these are enemy units you aren’t going to want to tackle alone, and thankfully, they are slow enough that you can just keep moving and avoid them. That last point is the important one: this is not a solo target. One diver alone has to break AP4 armor, hold continuous fire, and dodge a one-shot swing at the same time, with zero margin if a reload lines up badly. Individual strength isn’t the issue with these two, but with the Crusher specifically, teaming up with other players is the best strategy because splitting reload timing across a squad is the only reliable way to keep the damage window open.

Step-by-Step: Taking Down a Crusher Without Wasting Ammo
Follow this sequence to get it done fast.
-
1
Confirm heavy penetration
check that your primary or support weapon actually punches through Heavy (AP4) armor before you engage; light-pen weapons will just bounce off the helmet.
-
2
Spread the squad around it
angle around the Crusher instead of clustering in front, since its only attack is a single melee swing you can sidestep.
-
3
Dump sustained fire on the helmet
keep the stream constant rather than trading shots, since any gap over half a second lets regeneration restart.
-
4
Stagger reloads across the team
call out magazine changes so at least one diver is always still firing when someone else reloads.
-
5
Finish the exposed head
once the helmet breaks, land the follow-up shot on the now-vulnerable flesh before it can duck back into cover.
-
6
Keep circling, never straight-line retreat
lateral movement keeps you at a safe range without giving the Crusher free distance to close.
The Honest Cost of Fighting a Crusher Wrong
The regen numbers above aren’t abstract — they add up fast. At a confirmed rate of 30 health per second starting half a second after the last hit lands, a single three-second lapse in fire (one diver’s awkward reload, one diver ducking a swing) hands back roughly 90 health the squad already spent ammo removing. Three of those lapses across one fight — which is easy when a squad isn’t coordinating reloads — erases close to 270 health, which is most of a spare magazine from a machine-gun-class support weapon spent doing nothing but repeating work that was already done. Against a Crusher, sloppy pacing doesn’t just slow the fight down, it can double the ammo cost of the same kill.
Wretch: Why the Head Is a Decoy and What to Shoot Instead
The Wretch inverts the instinct every Helldiver has built up against Illuminate units: the key detail is that its head is a decoy, not a weak spot. For the Wretch, ignore the head entirely and blast off its limbs to immobilize and kill it. Headshots don’t waste the kill entirely, but they burn time and ammo you don’t have when several of these things are closing in at once.
What makes the Wretch dangerous isn’t its individual damage — it’s the way it moves and the numbers it shows up in. It behaves a lot like a Terminid, constantly moving, dodging, and leaping at you while trying to dismantle your weapons. It requires quick trigger fingers and focused aim, as they are able to dodge and leap at the player while advancing to quickly dismantle its weapons along with their will to live. That weapon-disarm behavior has a direct effect on loadout choice: don’t build your whole plan around one primary you can’t afford to lose contact with mid-fight. A dependable secondary that doesn’t rely on precise aim-down-sights matters more against Wretches than it does against most other Illuminate targets, since you may end up fighting through a pounce rather than lining up a clean shot.
Pack size is the other half of the threat. Make sure to stick with your squad, because Wretches can easily surround you and apply quite a bit of close-range pressure you’ll need to manage. Against a group, single-target precision loses to raw output. When facing a group of Wretches and Voteless, weapons with a high amount of DPS such as the MGX-42 Bullet Storm and MG-43 Machine Gun are highly effective at killing them. Alternatively, crowd control options such as fire or gas weapons can disrupt Wretches, preventing them from closing the distance to Helldivers. If you’re still filling out your stratagem loadout and unsure which support weapons are worth the slot, the ship module priority guide covers which upgrades actually shorten cooldowns on calls like these.
Warning
Do not engage a Crusher alone expecting to out-DPS its regen with a single weapon. Between the AP4 helmet, the 30 health-per-second regen, and a melee attack that can one-shot even armored divers, solo Crusher fights are the fastest way to burn a life for no progress.
| Enemy | Weak point | What doesn't work | What to shoot with |
|---|---|---|---|
| Crusher | Exposed head, after helmet breaks | Light-penetration weapons, sporadic bursts, backing away in a straight line | Heavy-pen weapons on the helmet; burn damage (flamethrower, Cremator, laser weapons) reportedly slows regen per community testing |
| Wretch | Limbs (arms and legs) | Headshots, single precise shots against a full pack | High-DPS options like MG-43 Machine Gun or MGX-42 Bullet Storm; fire or gas to slow the approach |
Samples Packages
Common, Rare and Super Samples farmed
Old-Meta Habits That Get Punished Now
Retreating from a big, slow enemy
Kiting a lumbering unit backward has worked against plenty of Illuminate and Terminid heavies for a long time. Against the Crusher it backfires, because distance costs time, and time is exactly what lets the regen tick back on. Circling keeps range without handing the Crusher free recovery seconds.
Universal headshot instinct
Aiming center-mass-up has been a safe default against almost everything in this game. The Wretch breaks that rule specifically — its head reads as a weak point but isn’t one, and players defaulting to old muscle memory burn shots that do nothing useful while the pack closes distance.
Solo-pushing side objectives
Peeling off alone to clear a point of interest is normal Helldivers 2 play. It stops working the moment a Crusher is guarding that point, since one diver can’t both break AP4 armor and keep fire uninterrupted at the same time without a gap the enemy will exploit.
Our Take: Are the Crusher and Wretch Actually a Difficulty Spike
Our Take
Both enemies are less about raw stats and more about breaking specific habits the game spent two years teaching you.
The Crusher isn’t hard because it hits hard — its one attack is slow and avoidable. It’s hard because it turns “spray and reposition” into a losing strategy, which is how a lot of players have handled tanky targets until now. The Wretch is the opposite problem: it’s not tough at all, it’s just fast, numerous, and specifically built to punish the reflex to always go for the head. Neither is a wall on its own. Together, in a mixed Vote Snatcher patrol with a squad that hasn’t adjusted, they can chew through a mission fast. The fix in both cases isn’t a specific weapon so much as a mindset change, which is exactly why it’s confusing players in the first few days — stat callouts don’t explain habit-breaking, only fighting them a few times does.
Was this guide useful?
Helldivers 2 services
Ship & Warbonds
Warbond Unlock & Level
The number of Warbonds you set on the slider, each opened and completed to the last page · Done when every ordered…
Warbond Medals & Samples
Warbond Medals
Medals earned through operations · Unlocks Warbond pages and what sits on them
Leveling
Mission Run — 50 Missions
50 missions played with you in the squad, on your own account · Around 500,000 experience by the end