On this page
Samples and medals are Helldivers 2‘s two progression currencies, and they gate completely different things. Samples are a dedicated resource currency used exclusively to unlock ship modules at the Ship Management terminal, located across from the cryo chamber on your destroyer. They come in three tiers — Common, Rare, and Super — and higher tiers only start appearing once you push into harder missions. Medals are the separate currency spent on Warbond pages, unlocking the weapons, armor, and cosmetics tied to each battle pass track, including the incoming 40K Warbond. Both currencies only bank if you actually extract, so a wipe near the end of a run costs you everything you were carrying.
TL;DR
- Blitz Search & Destroy is the fastest loop for Common and Rare samples thanks to small maps and dense points of interest.
- Super Samples scale with difficulty, so grinding below difficulty 6 (where they start appearing) wastes time, and yields only become worthwhile at Helldive (9) and Super Helldive (10).
- Medals cap at 250 and any overflow is deleted outright, so spend before you farm, not after.
- Low-difficulty point-of-interest sweeps are the efficient medal loop because the loot pool is smaller and faster to clear.
- Difficulty 5 Eradication missions double as a Requisition Slip farm using the same fast, repeatable structure.
Where to Get Samples and Medals in Helldivers 2
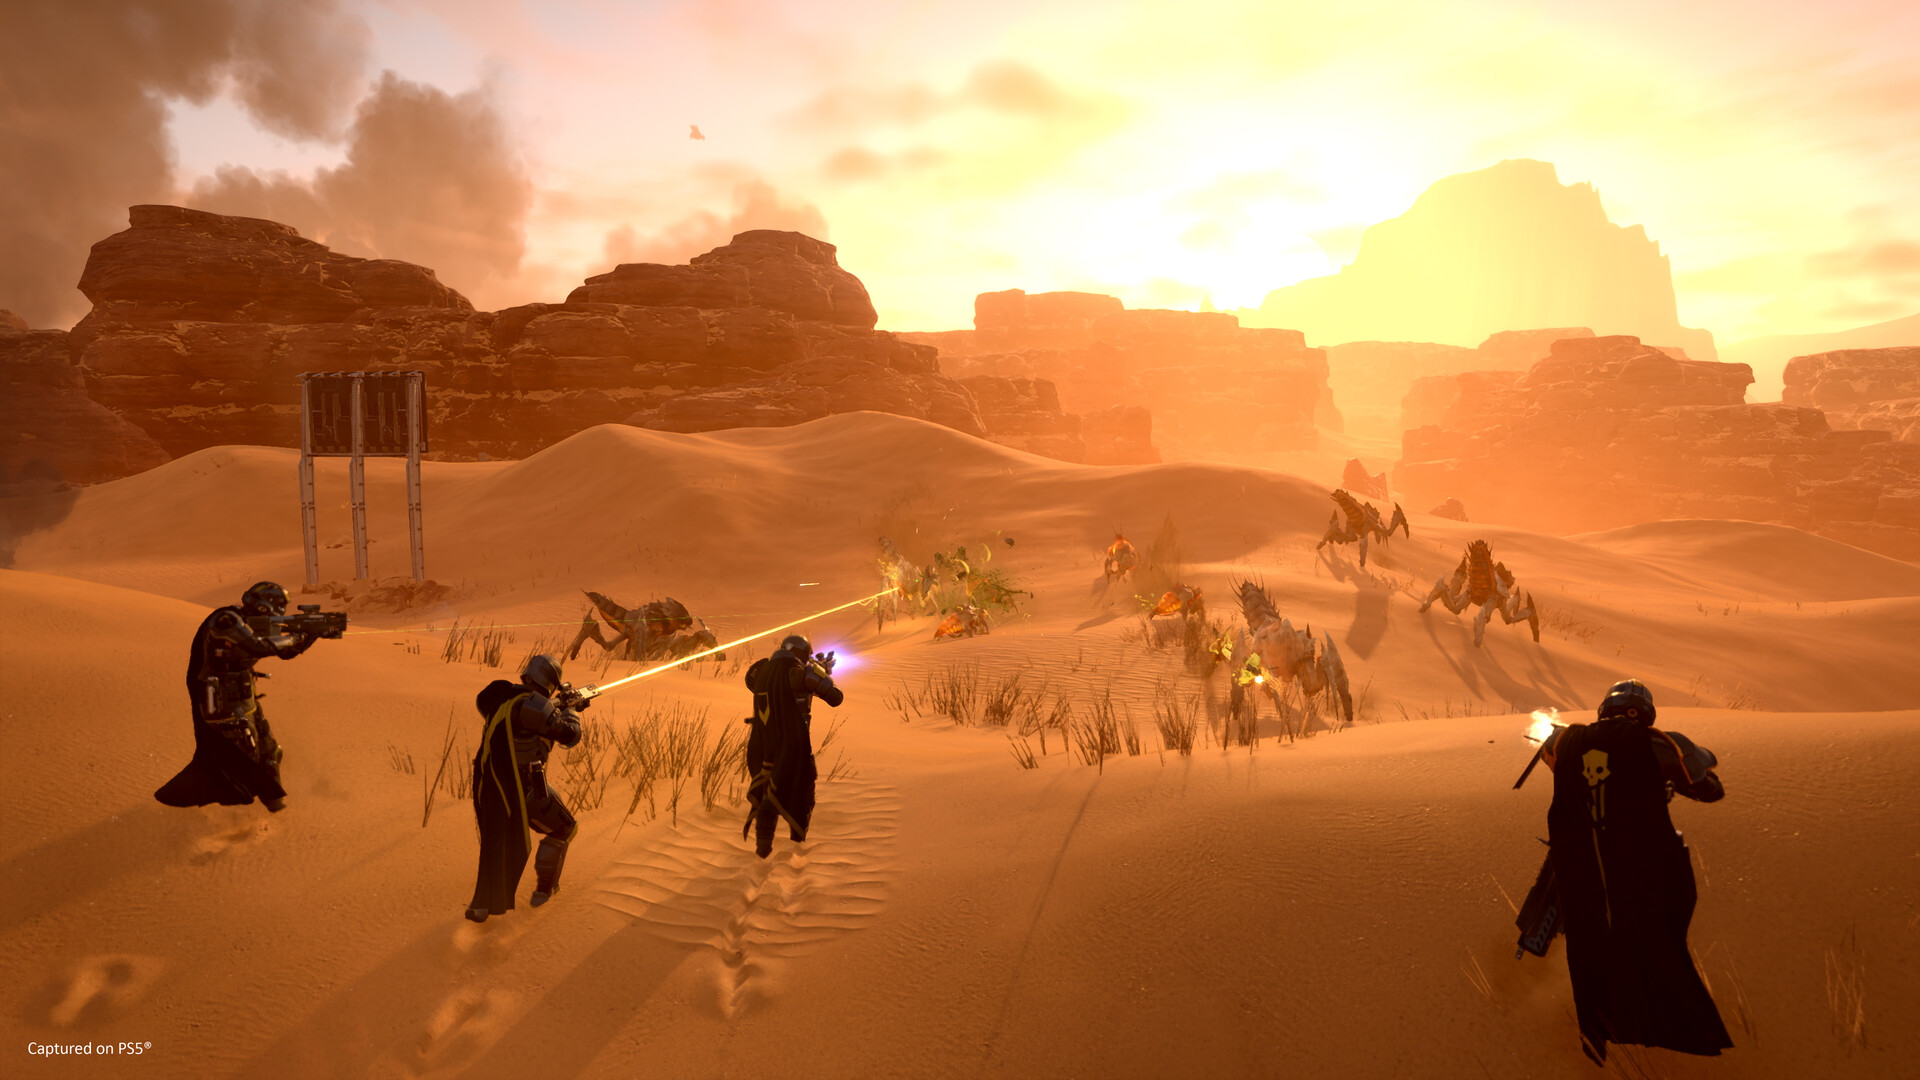
Common samples show up on almost every difficulty and every mission type, so the fastest way to stack them is picking missions with more ground to cover rather than harder ones. Attack and Blitz missions consistently yield more Common Samples because they generate on larger maps with more points of interest to explore. Rare samples follow a similar logic but reward a bit more difficulty: difficulty 4 or 5 is the sweet spot for stacking Rare Samples without the punishment of Suicide Mission modifiers. Super Samples are gated much harder — they’re found on difficulty level 6 and above, ranging from 3 – 6 samples per mission — and the yield keeps climbing as you go up from there, which is the core reason low-difficulty grinding never pays off for that specific resource. For extended, sample-dense maps, Terminid stronghold operations tend to spread more sample caches across a larger area than a single Blitz run, trading speed for total volume per sitting. If you’re building toward Super Helldive-tier loadouts, the Super Helldive guide covers what your squad needs before pushing that far.
Medals come from mission completions, Personal Orders, and Major Orders, and the fastest farm is simply repeating short, low-difficulty missions with a lot of points of interest rather than grinding hard content for marginal extra payouts per run. Requisition Slips ride along on the exact same routes since Eradication missions and POI sweeps both spit them out in bulk.
If the hours are the obstacle rather than the fight itself, Helldivers 2 boosting is run hands-on by a booster from your region.
Step-by-Step: Fast Sample and Medal Farming Walkthrough
Follow this sequence to get it done fast.
-
1
Spend medals first
check your medal count before you queue anything; if you're within striking distance of 250, buy Warbond items now because overflow medals are deleted, not banked.
-
2
Queue Blitz Search & Destroy for samples
these missions run short, roughly 12 minutes, and their smaller maps still pack a high density of sample-bearing points of interest.
-
3
Push to difficulty 9 or 10 for Super Samples
anything below Helldive either locks Super Samples out entirely or gives you a fraction of what higher difficulties drop, so don't farm them below that threshold.
-
4
Rotate into a Terminid stronghold run when you want volume
these longer operations spread more sample caches across the map, useful once you've got a squad and more time per session.
-
5
Drop to a low difficulty for a medal sweep
difficulty 3 – 4 point-of-interest runs clear faster because the loot pool per map is smaller, so you cycle through more runs per hour.
-
6
Slot in a difficulty 5 Eradication run for Requisition Slips
same short-mission structure, and it repeats quickly even solo.
Best Sample and Medal Farming Methods
Warning
The limit is 250 medals, and once you’ve reached the limit, any extra medals you earn are lost forever — spending some afterward doesn’t refund what already vanished. Check your total before a long session, not after.
| Method | Speed | Effort | Best For |
|---|---|---|---|
| Blitz Search & Destroy | Fast, roughly 12 min/run | Low-medium | Common & Rare samples |
| Terminid stronghold extended ops | Slow, 25 – 40 min/run | Medium-high | Bulk sample hauls, including Supers |
| Low-difficulty POI sweep (diff. 3 – 4) | Fast, high run turnover | Low | Medals |
| Helldive / Super Helldive (diff. 9 – 10) | Medium, 15 – 25 min/run | High | Super Samples specifically |
| Difficulty 5 Eradication | Very fast, 5 – 6 min/run | Low-medium | Requisition Slips |
Sample and Medal Rewards and What You Unlock
Samples of all three tiers feed the same destination: ship module upgrades at the Ship Management terminal, covering things like stratagem cooldowns, resupply capacity, and Eagle rearm speed. Super Samples specifically gate the top tier of those upgrades, which is why the difficulty-9-and-above requirement matters so much — you physically cannot finish certain modules by farming lower difficulties, no matter how many hours you put in. Medals unlock everything on the Warbond pages: weapons, armor sets, boosters, and cosmetics, tier by tier as you spend. Requisition Slips buy stratagems and stratagem slot upgrades, and they’re the one currency in this loop that doesn’t have a hard cap, so overflow isn’t a concern there the way it is for medals.
Ship Modules vs. Warbond Pages
These two systems look similar but never overlap: samples never touch Warbond pages, and medals can’t buy ship modules. Confusing the two is a common reason players think they’re “stuck” when they’re actually just farming the wrong currency for what they want.
Why Requisition Slips Matter Here
Slips don’t gate cosmetics or ship upgrades, but running dry on them mid-session means you can’t call in a fresh loadout after a costly stratagem cooldown, which quietly slows every other farm on this list.
Common Misconceptions About Sample and Medal Farming
“I Can Bank Medals for the Next Warbond”
The maximum number of medals your Helldiver can carry is 250, and any medals you earn after hitting this ceiling are lost forever. There’s no vault, no overflow wallet, and spending some after the fact doesn’t return what already disappeared. Treat 250 as a hard spend-now line, not a savings goal.
“Grinding Trivial Missions Gets Me Super Samples Faster”
Super Samples don’t appear at all on the lowest difficulties, and even where they do start showing up the yield only becomes meaningful once you’re deep into Helldive and Super Helldive territory. Farming below that band for this specific resource is close to a wasted run, even if it’s efficient for Common samples.
“Eradication Farming Is Only Good for Requisition Slips”
The same short, repeatable Eradication structure that pays out Requisition Slips also awards XP and a modest medal trickle per run, so it’s a reasonable filler loop between sample runs rather than a one-note grind. Pair it with a proper loadout from the patch 6.3 meta guide and clear time drops further.
Our Take: Is Grinding Samples and Medals Worth It
Our Take
Worth it, but only if you respect the two hard limits: the medal cap and the Super Sample difficulty floor.
Most of this loop is genuinely efficient once you know the routes. Blitz Search & Destroy for samples and low-difficulty POI sweeps for medals aren’t secret tech, they’re just the missions with the best time-to-loot ratio, and Arrowhead’s own difficulty and reward scaling pushes you toward them naturally. The Eradication-for-Requisition-Slips loop is close to a freebie since it shares infrastructure with everything else you’re already doing.
The part that actually loses players progress isn’t the farming, it’s the caps. Medals disappearing above 250 is a design choice meant to keep people spending into new Warbond content instead of hoarding, and it works, but it also punishes anyone who plays in long, currency-agnostic sessions without checking their total. Super Sample scaling is the other trap: it’s tempting to farm what’s comfortable, but if you’re not at Helldive or higher, you’re not meaningfully progressing that specific currency no matter how many runs you log. Know both limits going in and the whole system stops feeling like a grind.
Was this guide useful?
Helldivers 2 services
Ship & Warbonds
Warbond Unlock & Level
The number of Warbonds you set on the slider, each opened and completed to the last page · Done when every ordered…

Leveling
Leveling
Your level and primary weapons pushed together · Unlocks gear and ship slots as it goes
Super Credits & Medals
Samples Packages
Common, Rare and Super Samples farmed · Funds the ship module upgrades they gate