On this page
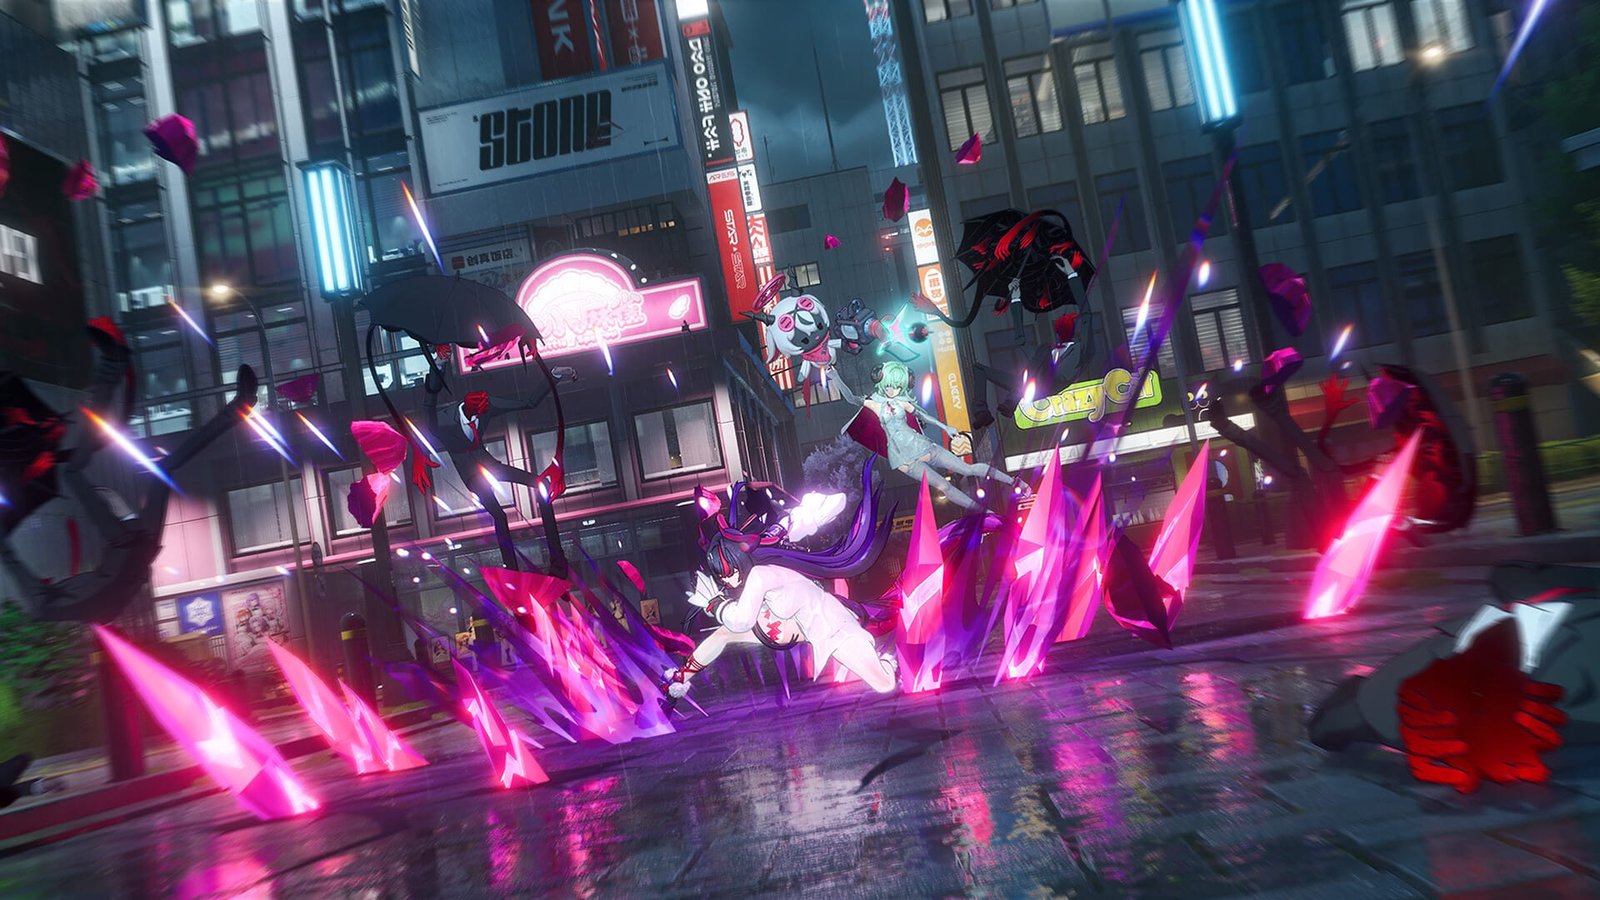
Neverness to Everness drops new players into Hethereau’s neon streets with four-character parties, real-time action combat, and a synergy system called the Esper Cycle that determines whether your damage output is respectable or embarrassing. This guide covers the three systems every new player needs to understand—Espers and the Esper Cycle reaction mechanic, Arcs as your character-specific weapon system, and Scarborough Fair as the dice-board gacha—plus what to prioritize in your first two weeks and what to ignore until you have a functioning team.
TL;DR
- Esper Cycle is NTE’s elemental reaction system—deal damage to fill a meter, swap to adjacent-element teammates, trigger powerful combo effects
- Arcs are character-specific weapons with stats and passives that improve through leveling, ascension, and Mixing duplicates to tier 5
- Scarborough Fair is a dice-board gacha: roll dice, land on tiles, collect characters and Arcs—pity carries between banners
- Build one functional four-character team around adjacent Esper types before chasing duplicates or signature Arcs
- Standard banner gives you a free S-rank character pick at 50 rolls—finish that before spending Solid Dice on limited banners
What Are Espers and the Esper Cycle in NTE: Neverness to Everness?
Espers are the six elemental types in Neverness to Everness: there are currently six elements/Espers in Neverness to Everness—Cosmos, Anima, Lakshana, Psyche, Incantation, and Chaos. Every character in Neverness to Everness belongs to one of six elemental types — collectively called Espers. These elements govern damage types, team-building decisions, and most importantly, a reaction system called the Esper Cycle that sits at the heart of every combat encounter. The Esper Cycle is the core damage mechanic: an Esper Cycle is triggered when a player fills their Cycle Rate and switches onto a new character, triggering that character’s intro skill accompanied by the Esper Cycle. Esper Cycles can only be triggered with 2 or more adjacent attributes on the Cycle wheel. Think of it as Genshin’s elemental reactions or Wuthering Waves’ Outro-Intro chains—triggering abilities in the right sequence is where your team damage actually comes from.
Players short on time can put Neverness to Everness boosting alongside a normal playthrough rather than in place of one.
How the Esper Cycle Meter and Reactions Work
Each character has an Esper Meter — a circular gauge shown next to their portrait in the party HUD. When it is full, the portrait lights up bright, signalling that an Esper Ability is ready to fire. Dealing damage builds up your character’s Cycle Rate. At max rate, compatible teammates’ avatars will glow. Switch to them to unleash their Support Skill and trigger powerful Esper Cycle Effects. The key rule: adjacent elements react; non-adjacent elements do not. If you swap from Cosmos to Anima, you trigger the Blossom reaction; if you swap from Cosmos to Incantation (opposite side of the wheel), nothing happens and you waste the meter.
The damage dealt by the Esper Cycles scales with the Cycle Intensity of the characters that participated in creating the Cycle. Each character also has a Cycle Rate stat, which acts as a flat multiplier on all Esper Meter generation. Stacking Cycle Rate is one of the cleanest ways to tighten your rotation speed. While you can just trigger Esper attacks whenever they are available, the biggest benefit comes from your ability to chain them for even more powerful combos. This is called the Esper Cycle, and there are 8 possible combinations.
Tip
Build your first team around three or four adjacent Esper types on the wheel so every swap can trigger a reaction—random element teams waste half your swaps.
What Are Arcs in NTE: Neverness to Everness?
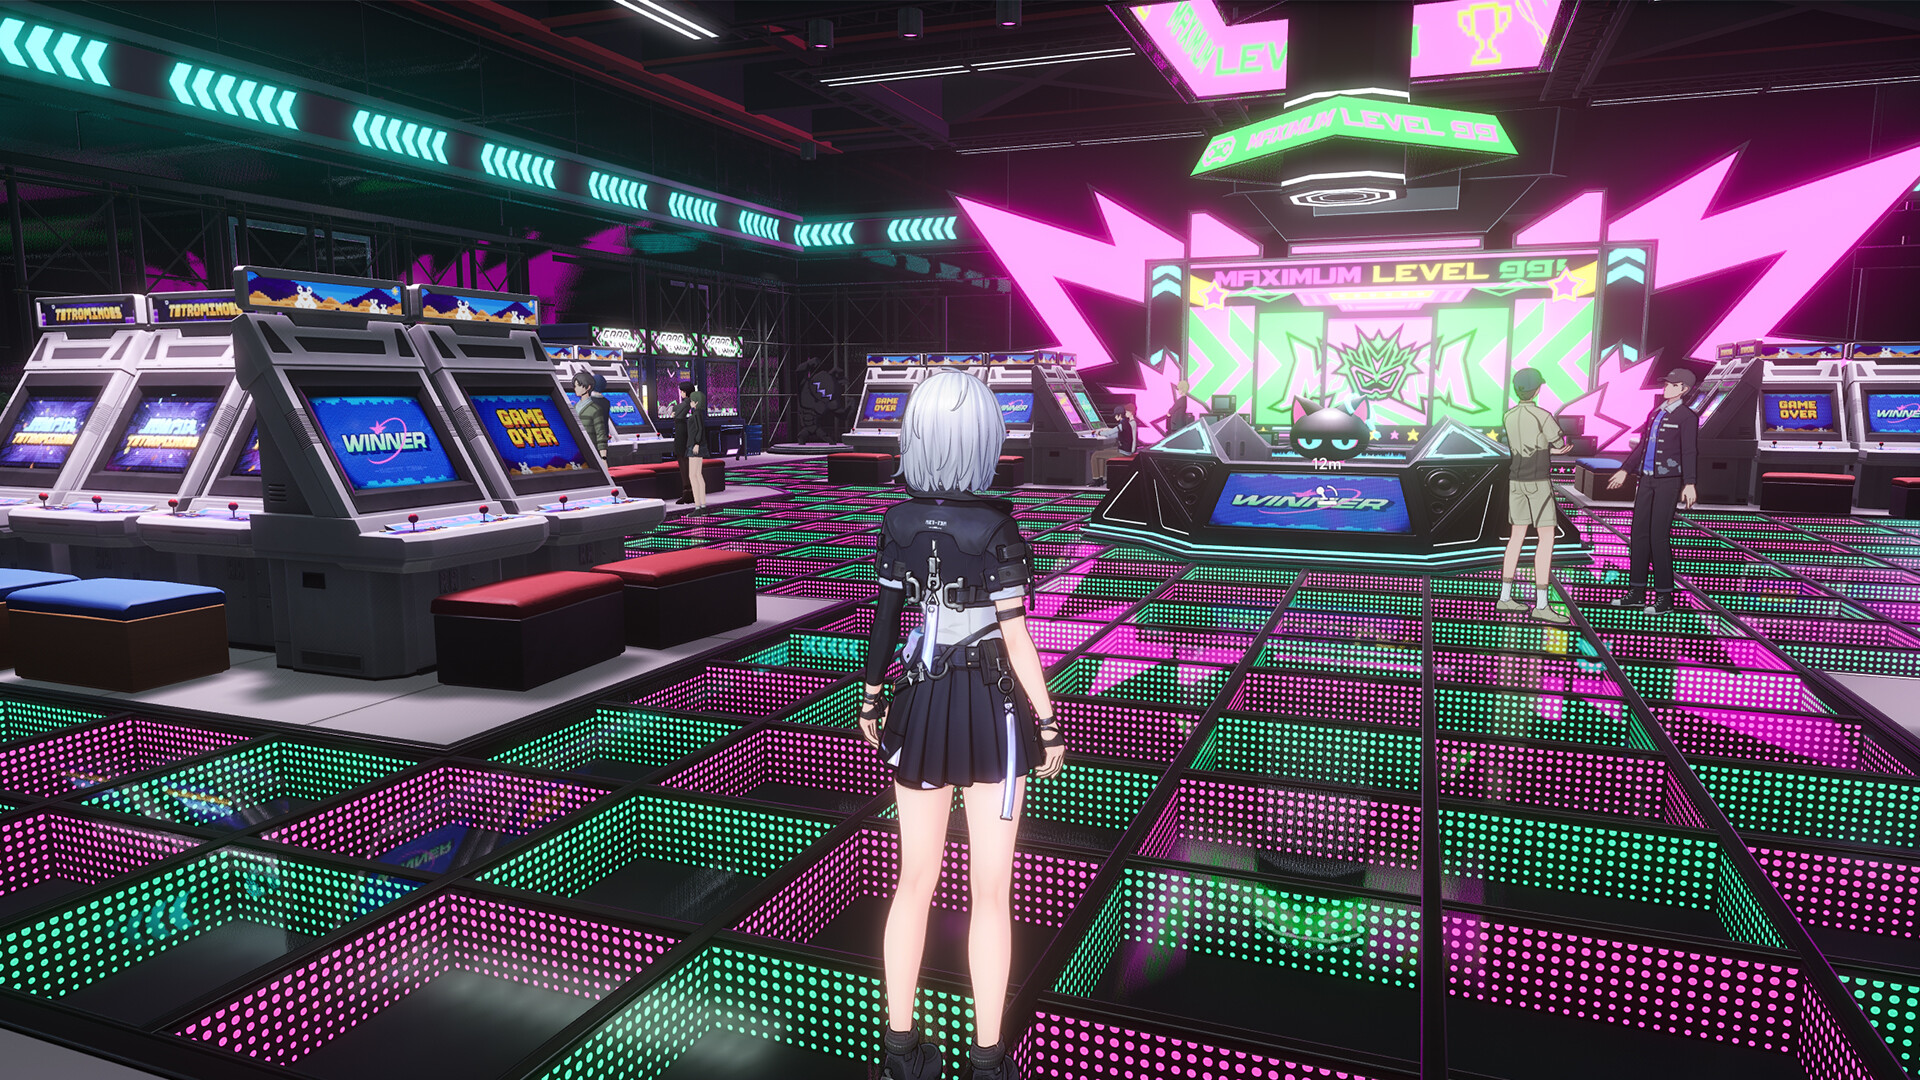
Arcs are the equivalent of weapons in Neverness to Everness, as they provide the equipping character additional stats and different unique effects. All Arcs provide a Base ATK bonus regardless of its type and rank. Each playable character wields a specific type of weapon that is tied to their identity and fighting style. Unlike games where any character can equip any weapon type, NTE locks each character to their designated Arc category through a compatibility system. Arcs come in three rarity tiers—S-rank, A-rank, and B-rank—and each Arc has a varying substat that also increases along with the Base ATK stat as the Arc’s level increases. On top of the two fixed stats, each Arc also has a unique effect that activates in combat.
The two stats an Arc has can be increased by enhancing. You can find upgrade materials in the game specifically used in enhancing and leveling up Arcs up to Level 80. An Arc’s effect, on the other hand, can only be improved through mixing until it reaches Tier 5, or Mixing T5. This requires duplicates of the same Arc—feeding one duplicate raises the passive effect from T1 to T2, and reaching T5 requires a total of 5 copies of the same Arc: the original plus 4 duplicates consumed through Mixing.
How to Get Arcs and Characters in NTE: Neverness to Everness
Arcs are primarily obtained from the Gacha (Scarborough Fair). Characters and Arcs share the same system but use different currencies. The standard banner “Stranger Encounters”, is always available and requires Fabricated Dice to roll. After 50 rolls, you are given the opportunity to pick an S Class character of your choice. Limited-time Event banners require Solid Dice instead of Fabricated Dice. They have one promotional S-Class character and three featured A-Class characters. Both the promotional S-Class and A-Class characters will have an increased probability for players to roll them when compared to the basic rates when the guarantees are factored in. Solid Dice can only be used on limited-time boards. Vice versa, Fabricated Dice can only be used on the Strange Encounters standard board.
Developed by Hotta Studio and published by Perfect World, NTE also offers free S-rank Arcs through progression: best free S-Rank Arcs come from Anomaly Commissions — every standard S-Rank Arc can be earned once without pulling. This means you can equip a full team with high-tier weapons without spending gacha currency on the Arc banner, which should be your lowest priority as a new player.
Step-by-Step: Setting Up Your First Team and Esper Rotation
Follow this sequence to get it done fast.
-
1
Check your roster's Esper types
open each character's details and note their element; group characters whose elements sit next to each other on the wheel.
-
2
Pick three or four adjacent-element characters
for example, Cosmos-Anima-Lakshana or Psyche-Incantation-Chaos; this ensures every swap can trigger a reaction instead of wasting the meter.
-
3
Equip the highest-rarity Arc you have for each character
match the Arc type to the character (the game shows compatibility); level the Arc using enhancement materials before worrying about Mixing duplicates.
-
4
Practice the swap rotation in open-world combat
deal damage with character A until their portrait glows, swap to character B (adjacent element), watch the intro skill and reaction trigger, repeat with character C.
-
5
Complete the standard banner 50-roll milestone
claim your free S-rank pick to fill any role gap (DPS, support, or tank) your starter team is missing.
-
6
Farm Anomaly Commissions for free S-rank Arcs
equip one per main team member before spending resources on the limited Arc banner or chasing Mixing tiers.
Understanding Scarborough Fair: The Dice-Board Gacha
The dice board gacha system in Neverness to Everness is called Scarborough Fair (or simply Fair). You make pulls by rolling the dice, and depending on the number you get, you move one to six places. There’s an item waiting on every tile of the board (in both standard and limited banner), each of which offers unique rewards. Instead, you roll dice and move a piece called a Chuppa across a board. Each roll moves you between 1 to 6 tiles. Tiles include character drops, Arc drops, currency, cosmetic skins, and bonus dice. This mechanic is the main reason why the pity system in NTE feels much more comfortable compared to most competing gacha games.
Yes, pity in Neverness to Everness carries over between banners. If you make a certain number of pulls without obtaining an S-Class character, your progress does not reset when the banner ends. For example, if you spend 60 pulls on one limited banner, the next banner will continue counting pity from that same value. Soft pity starts around 70 rolls, and hard pity guarantees an S-rank at 90. The standard banner has discounted cost of Fabricated Dice needed to roll. On top of that, players will also get to choose one of the standard S-Rank Characters after 50 rolls on the Standard Banner.
Note
Finish your 50-roll standard banner milestone before spending Solid Dice on limited banners—the free S-rank pick lets you patch roster gaps and the discounted dice cost saves currency.
Best Esper Cycle Farming and Upgrade Methods
| Method | Speed | Effort | Best For |
|---|---|---|---|
| Anomaly Commissions | Medium | Medium | Free S-rank Arcs, character materials, consistent daily grind |
| Houdini's Magic Stage (Kaleidoscope) | Fast | High stamina cost | Arc enhancement materials (Dye), bulk farming when you have stamina |
| Main story Episodes and Spinoffs | Slow | Low | Early account progression, unlocking systems, passive currency income |
| Standard banner to 50 rolls | One-time | Save Fabricated Dice | Free S-rank character pick, highest new-player value per roll |
| Daily login and event rewards | Passive | Zero | Free dice, Annulith currency, and limited character/Arc copies over time |
What You Unlock Through Esper and Arc Progression
Character Power Through Esper Cycle Mastery
Learning to chain adjacent-element swaps consistently doubles or triples your effective DPS compared to button-mashing a single character. Every character also has a unique interaction with a specific Esper Cycle. For example, the MC can trigger healing when a character gains Ultimate Energy from Charge. Some characters obtain buffs, debuff enemies, or simply deal more damage with the Cycle. These character-specific bonuses stack on top of the base reaction effects, so team-building around one or two core reactions amplifies both sources.
Arc Stat Scaling and Passive Effects
These effects have a huge impact on the equipper’s performance and playstyle in battle. Leveling an Arc from 1 to 80 roughly triples its base ATK and secondary stat contribution. Mixing from T1 to T5 can double a passive’s effectiveness—turning a 10% damage bonus into 20% or more—but requires five total copies of the same Arc, making it a long-term investment rather than an early-game priority.
Gacha Milestone Rewards
While the Limited Board is live, reaching a certain number of pulls will reward the player with cosmetic skins for gliders, cars, and even the rate-up character! These milestone rewards are separate from the character and Arc drops, so every roll on a limited banner contributes to both pity progress and guaranteed cosmetic unlocks at specific thresholds.
Standard banner free S-rank pick
Hard pity S-rank guarantee
Esper elements in NTE
Common Misconceptions About the Esper Cycle and Arcs
Myth: You Need Signature Arcs to Clear Content
Signature Arcs—the character-specific weapons featured on limited banners—are optimized for their matching character but not required. Best free S-Rank Arcs come from Anomaly Commissions — every standard S-Rank Arc can be earned once without pulling. The free S-Rank Arcs available through Anomaly Commissions mean you can fully equip your team with powerful weapons without spending a single Tri-Key on the Arc banner. Ready-Ready, Day Off, Raging Flames, Blow Up the Crowd, and Song of the Whale alone can carry you through all story content and most endgame activities. Save your gacha currency for characters first, Arcs second.
Myth: Random Element Teams Work Fine if Characters Are Strong
Random teams are clunky and wastes Esper Meter. If you build a team with Cosmos, Incantation, Anima, and Psyche—four non-adjacent elements—half your swaps will fail to trigger reactions, cutting your damage output in half. The Esper Cycle is not optional flavor; it is the primary damage multiplier in NTE’s combat system. The ability itself deals damage, but the more impactful outcome is the elemental reaction it produces with whatever element the outgoing character was.
Myth: You Should Mix Arcs as Soon as You Get Duplicates
In the early game, it’s fine to use the Arcs you obtain without Mixing until you have enough copies. If you Mix too early, you may run out of Arcs to equip when you obtain new characters. Do not rush Mixing in the early game. If you mix your only copies of an Arc before you have enough characters to equip it, you will leave roster slots running weaker weapons than necessary. Build up your character roster first, then invest duplicates. Mixing locks the duplicates into one weapon; spreading four copies across four characters gives you four functional weapons instead of one slightly stronger one.
New-Player Priority Order: What to Focus First
Our Take: Is the Esper Cycle System Worth Mastering Early?
Our Take
The Esper Cycle is the difference between a functional account and a struggling one—master it in week one or spend twice as long clearing the same content.
Most gacha games let you ignore their synergy mechanics for the first twenty hours while you coast on character rarity and levels. Neverness to Everness does not. The Esper Cycle is not a bonus system for theorycrafters—it is the primary damage multiplier baked into every combat encounter. A properly built team with three adjacent-element characters and consistent swap rotations will clear content twice as fast as a random four-character roster with higher rarity pulls, because half of the random team’s swaps are dead turns that waste the Esper Meter.
The good news is that the system is honest about its rules. Adjacent elements on the wheel trigger reactions; non-adjacent do not. Build around three or four neighbors, level one Arc per team member to 40, and practice the swap timing until it clicks. The muscle memory takes a day to build and carries you through the entire endgame. The Arc system is more forgiving than most gacha weapon systems—free S-ranks from Anomaly Commissions mean you will never hit a hard paywall, and Mixing duplicates is a long-term scaling project you can ignore for your first month without consequence. Finish your standard banner 50-roll milestone before touching limited banners, pick an S-rank that completes your Esper-adjacent team, and postpone chasing signature Arcs or duplicate Mixings until you have four functional characters with leveled Arcs and a working rotation.
Was this guide useful?
NTE: Neverness to Everness services
Quests & Events
Events & Endgame
Limited events and repeatable endgame content cleared · Their currency and exclusive rewards land on your account
Quests & Events
Quests
Story and side quests cleared on your account · Includes the gated exploration and puzzle steps inside them

Farming & Currency
Hourly Farming
A booster booked by the hour on whatever you need · Materials, currency, drops or progress on one named target