
On this page
The Matriarch is the toughest optional boss encounter in ARC Raiders, and killing her is not won by chipping away at her hull. It’s won by hammering her exposed core the instant she opens up to fire, while someone on your team drops every Rocketeer and Bombardier she summons before they drop you. This guide covers her weak points, the gear that actually matters, the reward you’re really there for, and whether that reward is worth the trip.
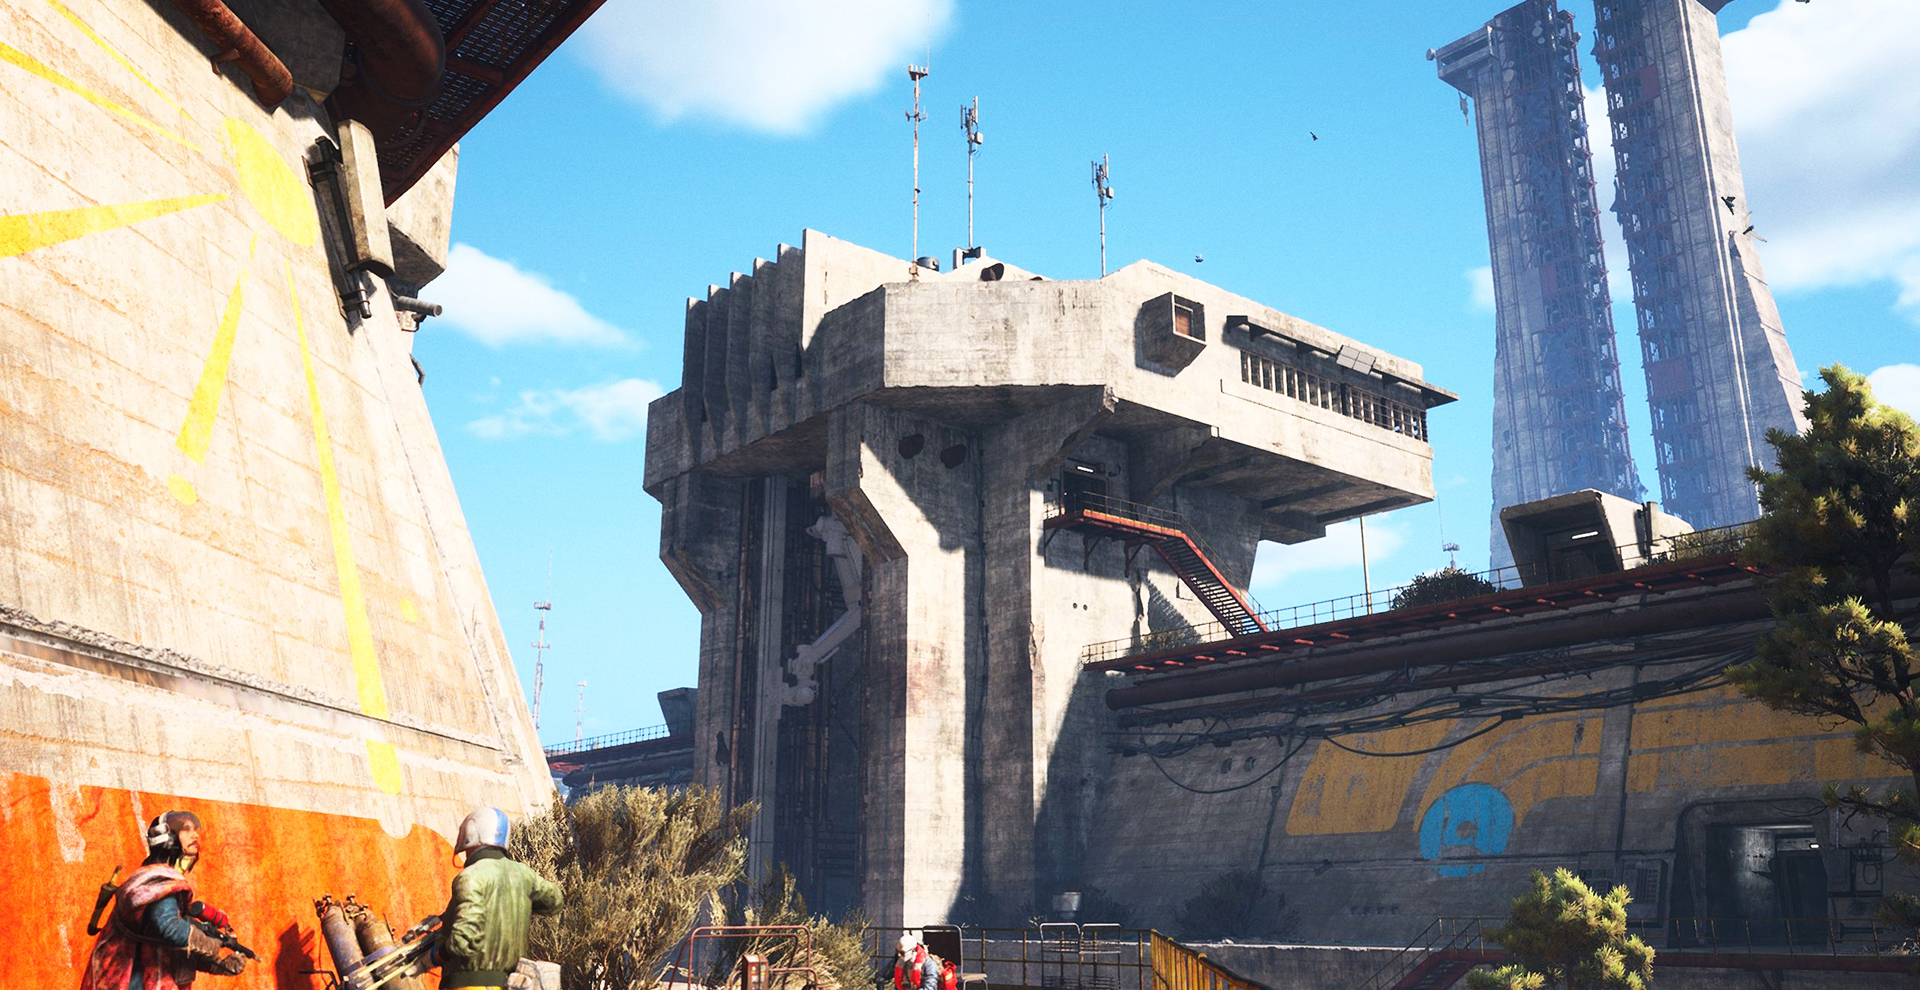
The Matriarch is an ARC machine tied to a specific map event rather than a fixed spawn point, which is why community write-ups disagree slightly on where she shows up. She’s described as an imposing ARC machine found during a specific map condition on Spaceport, while other guides point to the Dam map, noting the safest place to fight her is Dam Battlegrounds since the terrain gives more cover than Blue Gate, with the boss sitting near the Floodgates POI when the event goes live. When Embark introduced her, the studio’s own framing was blunt: the new enemy “makes the Queen look friendly by comparison.” She sits above the Queen in the game’s ARC hierarchy and is treated as the current pinnacle non-human threat, which is why players plan entire loadouts and squads around a single attempt rather than stumbling into her mid-raid.
TL;DR
- The fight is won on the core, not the hull: it opens when she fires rockets or right after her shield drops
- Rocketeer and Bombardier summons are the real killers in this fight, not the Matriarch herself
- High ground helps against her rockets, her summons, and your own shot at the core, all at once
- The only reason to go is the Matriarch Reactor, which feeds directly into crafting Aphelion
- XP numbers below are player-reported, not official patch figures
Account Leveling
Account level pushed raid by raid on your profile
Matriarch Weak Points: What to Hit and When
Her body is layered, so where you shoot depends on what stage of the fight you’re in. The frontal plating has to come down before anything else matters, the core only shows for a window, and the legs are the fallback target when that window isn’t open. One recurring detail across guides is what the frontal armor actually looks like: Matriarch has two big plates in front of her, right underneath her horn, looking like two eyes or nostrils, and when you break them there’s a core-looking thing right behind them. The main prize is the glowing core itself, and once her armor plates move away as she’s firing rockets, her red core is shown.
Not every guide agrees on how often that core window actually appears. One breakdown even calls it a very rare chance that you actually get a chance to shoot at it, making the legs the more realistic second-best target. Treat the core as the priority when it’s there and the legs as the thing you fall back on rather than plan around. This matches the logic behind the ARC Raiders skill tree guide‘s advice on building for sustained damage output over burst: a Matriarch fight rewards a build that can keep firing through a long engagement, not one that peaks early and runs dry.
Why Rocketeer and Bombardier Matter More Than the Boss
Her own attack pattern is actually short. Her ARC summon ability is probably the biggest threat, since it can call in ground bosses, but the real danger lies in the Rocketeer and Bombardier summons; if she summons them, focus on those first or they won’t let you live. Other write-ups widen the summon list further, noting she also calls in Leapers, Rocketeers, Bastions, and Bombardiers when pressured. The pattern across every source is the same: her missiles are predictable and blockable with a shield, but a Bombardier or Rocketeer left alive for even a few seconds can wipe a squad that’s fully focused on the boss. Break the spawned adds first, then go back to the core.
Why High Ground Wins on Three Fronts
Elevation is the single most repeated piece of advice in every Matriarch write-up, and it’s not just about safety. Defeating the Matriarch isn’t an easy task, and it’s recommended to have a high ground for an easier challenge, and terrain like Dam Battlegrounds is favored precisely because the boss sits in a pit surrounded by high ground, giving teams plenty of sniping angles, flanks, and push routes. That high ground pays off three ways at once: it puts distance between you and her rocket barrages, it gives whoever is on add-duty a clean sightline to snipe Rocketeers and Bombardiers before they close in, and it lines up a straight shot into the core the moment it opens, which is exactly why guides recommend that a raider takes an upper position while the rest of the team distracts the Matriarch, allowing a shot at the biggest weak point.
Warning
Her energy shield blocks all outside damage, and standing under the dome to bypass that is described as a dangerous spot rather than a shortcut. Stop shooting the moment the shield goes up and use the pause to reload, heal, and top off shields instead of wasting ammo on a barrier.
| Weak Point | When It's Open | What to Hit It With |
|---|---|---|
| Frontal armor plates | Targetable throughout, but takes sustained fire to crack | A grenade launcher such as Hullcracker to strip the plating first |
| Red core | Exposed as she fires rockets, and again right after her energy shield fades | A hard-hitting, armor-piercing rifle aimed straight at the glow |
| Leg joints | Open the whole fight, but with heavier plating than the Queen's legs | Sustained fire as a backup if the core window is missed |
| Crown / upper hull sections | Visible once the outer shell has been broken down | Follow-up fire after the initial armor-cracking pass |
Anyone who would rather not spend the evenings on it can hand ARC Raiders boosting to our crew instead — same account, same progress, played by hand.
Best Loadout and Gear for the Matriarch Fight
This is a durability check as much as a damage check. One breakdown puts it plainly: with anything less than six players, it takes a lot of time to bring down a Matriarch and you need to be equipped for that sort of long fight, with extra reserves of everything and preparation for the inevitable mistakes. The gear list below reflects what shows up across multiple independent guides, not a single source’s opinion.
Her shield doesn’t just block bullets. Guides note it also denies bullets, Wolfpacks, grenades, and even Jupiter shots, so the right move is saving ammo until it fades and then immediately resuming focus on the core. If you’re still building toward this loadout, the crafting stations covered in the ARC Raiders workbench upgrades guide are worth prioritizing before you commit to an attempt, since a half-finished armor-piercing rifle or an under-leveled shield will end the run faster than the boss does.
| Item | What It Covers | How Mandatory |
|---|---|---|
| Heavy Shield | Absorbs long-range barrages and tracking rockets that are otherwise lethal | Essential, most guides treat it as non-negotiable |
| A grenade launcher (Hullcracker-type) | Cracks the frontal armor plating fast enough to open the core window | Core tool, hard to substitute |
| Long-range armor-piercing rifle (Anvil-type) | Finishes exposed core and leg weak points from a safe distance | Strongly recommended |
| Shield recharge consumables | Keeps shields topped up between barrages | Recommended, bring more than feels necessary |
| Fast-acting healing items | Patches HP before the next missile wave lands | Recommended |
| A secondary sidearm or SMG for adds | Handles the constant stream of Rocketeers, Bombardiers, and rival raiders | Situational but common in successful loadouts |
Step-by-Step: Matriarch Attempt Walkthrough
Follow this sequence to get it done fast.
-
1
Gear up fully before you leave
Heavy Shield, an armor-cracking launcher, an armor-piercing rifle, and stacked healing and shield-recharge items are the baseline, not optional extras.
-
2
Wait for the map condition
the Matriarch only appears when her event is active, so check the map state before committing a raid to hunting her.
-
3
Take high ground before engaging
position above her pit or arena rather than approaching at her level, since this covers rockets, adds, and the core shot at once.
-
4
Crack the frontal armor first
dump the launcher into the plating under her horn until it breaks and the core-adjacent section is exposed.
-
5
Hold fire the second her shield goes up
use the pause to reload, heal, and recharge shields, and immediately shift focus to killing any Rocketeer or Bombardier she's summoned.
-
6
Burst the core the instant it opens
commit your hardest hitting weapon to the glowing core the moment her plates swing open to fire, then repeat the armor-shield-adds-core loop until she's down.
Matriarch Rewards and What You Unlock
The entire reason players organize a Matriarch attempt is the item that drops from her wreck. Everything else is a bonus.
What the Matriarch Reactor Actually Does
The Matriarch Reactor is a legendary item obtained by defeating the Matriarch, recyclable into crafting materials and used to craft Aphelion, and with a stack size of one and noticeable weight, it’s the kind of drop you plan a run around rather than casually pick up. Community item trackers list it at roughly 10 KG of carry weight, which matters if your extraction plan involves a firefight on the way out. Crafting the rifle itself needs more than the Reactor alone: player-compiled recipes point to 3 Magnetic Accelerators, 3 Complex Gun Parts, and 1 Matriarch Reactor, with Gunsmith 3 required to craft Aphelion, and other guides confirm the Gunsmith station needs to be Level 3 before Aphelion shows up as a crafting option at all.
Community-Reported XP: Take These as Estimates
Player reports circulating around the fight put the kill itself at roughly 1,000 XP, with another 500 XP for looting the wreck afterward. These are not official patch-note figures, they’re numbers raiders have pieced together from their own runs, and boss XP has shifted with balance patches before. Treat them as a rough sense of scale rather than a guarantee, and check the current numbers in your own end-of-raid summary before planning a leveling strategy around them.
| Reward | How You Get It | Why It Matters |
|---|---|---|
| Matriarch Reactor | Looted from the wreck after the kill | The confirmed ingredient for crafting Aphelion |
| Aphelion Blueprint | Reported as a rare chance drop from the same encounter | Unlocks the recipe if you don't already own it |
| High-end ARC crafting materials | Scavenged from the wreck alongside the Reactor | Feeds other legendary-tier crafting projects |
| Bonus scrap | Picked up from debris during the fight itself | Minor, but offsets ammo spend |
Solo vs Squad: Best Matriarch Farming Approach
Going in without a full squad is possible but not how most successful kills happen, since the fight is built around splitting attention between the core, the armor, and a constant stream of summoned adds.
Squad size interacts with matchmaking in ways worth understanding before you commit, which is covered in more depth in the playstyle matchmaking guide — a fight this loud tends to draw rival raiders, so knowing how your group gets matched matters as much as your gear.
| Approach | Speed | Effort | Best For |
|---|---|---|---|
| Solo attempt | Slow, if survivable at all | Very high, no one to cover the core window or the adds | High-skill testing runs, not reliable farming |
| Small squad (2 – 3) | Moderate | High, needs a strict split between add control and core damage | Coordinated groups who know the callouts |
| Full squad (5 – 6) | Fastest, matches the durability check the fight is built around | Distributed across the group | Most players actually farming the Reactor |
| Joining a fight already in progress | Opportunistic | Low prep but high PvP risk from other raiders drawn to the same fight | Not recommended without a finished loadout |
Matriarch Boss Kill
The Matriarch cleared, the hardest ARC machine
Common Misconceptions About the Matriarch Fight
“Just Shoot the Legs the Whole Fight”
Leg damage limits her mobility, but she barely moves during the encounter anyway, so the payoff is smaller than it looks. It’s a fallback target for when the core isn’t open, not the fight’s main damage source.
“The Shield Phase Is a DPS Check”
It isn’t. The shield denies essentially everything thrown at it, and the phase exists to punish players who keep firing instead of repositioning, healing, and dealing with summons. Treat it as a reset, not a race.
“Any Squad Can Walk In Unprepared”
Given how the fight is described as a long durability check with heavy ammo and healing demands, showing up without a stocked loadout just means a faster wipe, not a shorter fight.
Our Take: Is the Matriarch Worth Fighting?
Our Take
Go only if Aphelion is actually on your build list.
The Matriarch Reactor has exactly one confirmed use case: crafting Aphelion. If that rifle doesn’t fit your current loadout or skill tree direction, there’s no separate reason to organize a squad, stock up on Heavy Shields, and burn a raid on this fight. If Aphelion is the goal, though, this is a controlled, repeatable target rather than a random encounter, and a coordinated squad with the gear above has a real shot rather than a coin flip.
Was this guide useful?
ARC Raiders services
Leveling & Progression
Quest Completion
The quests you named, completed on your profile · Quest rewards handed in to the trader

Gear & Items
Trophy Display
Five-stage Display Case worked through · ARC parts collected and submitted to the Project

Currency & Resources
Hourly Farming
Coins, XP, materials and rare loot, by the hour · You set how long, we keep the gains coming