On this page
ARC Raiders workbench upgrades decide how fast you stop dying to the same problems every raid, and the fastest fix for most new Raiders is the Gunsmith. This guide walks through what each workshop station actually unlocks, the order the community tends to run, and the one workbench that will never level up no matter how many materials you dump into it.
Warning
The base Workbench you spawn with cannot be upgraded under any circumstances. It stays at Level 1 forever and only ever provides ammo and entry-level basics — new players regularly waste dozens of materials on it before realizing the “Level Up” option simply isn’t there.
TL;DR
- Start with the Gunsmith — better weapons mean more surviving raids, which means more materials for everything else
- The starting Workbench is permanently stuck at Level 1 — don’t waste materials trying to upgrade it
- Gear Bench Level 2 unlocks the Heavy Shield, which does more for survivability than any single weapon
- Use the Track button on required materials so they glow during raids instead of guessing what to loot
- There’s no universal correct order — it depends on whether you’re dying in fights or not making it to extraction
Account Leveling
Account level pushed raid by raid on your profile
What Are Workbench Upgrades in ARC Raiders?
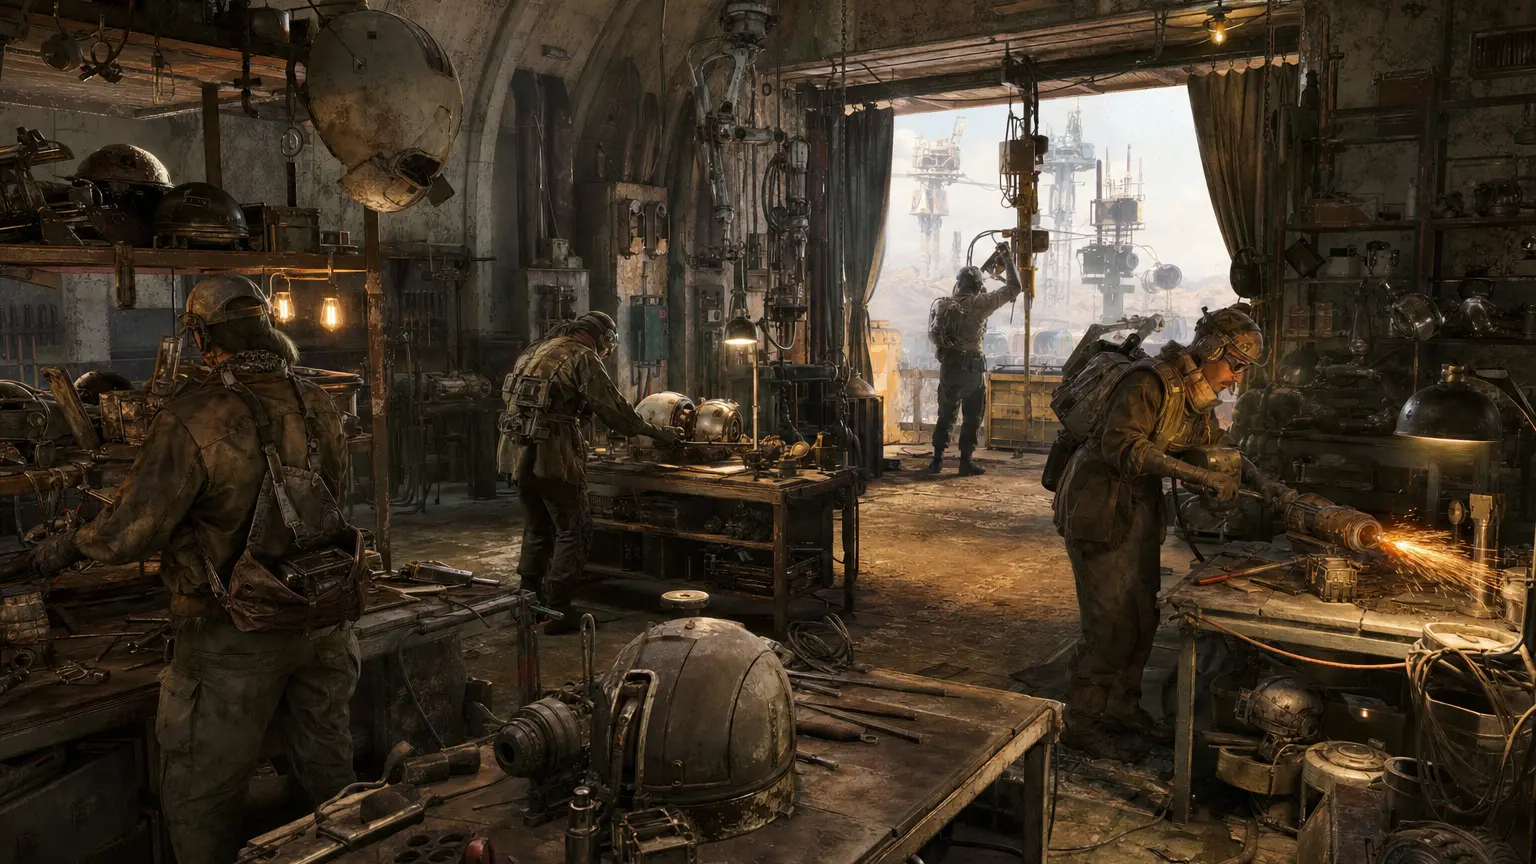
Your Workshop in ARC Raiders is split into the free starting Workbench and six specialized stations that actually scale with investment. Your progression happens through the six specialized stations (Gunsmith, Gear Bench, Medical Lab, Explosives Station, Utility Station, and Refiner), each of which can reach Level 3. The starting Workbench sits outside that system entirely — the base Workbench is permanently locked at Level 1, and to upgrade crafting, you must level up specialized Workshop stations like Gunsmith, Gear Bench, and Medical Lab using the “Level Up” tab. Alongside those six, Scrappy the rooster runs a separate passive-material track rather than a craftable bench.
| Station | What it handles | Max level |
|---|---|---|
| Workbench (starting bench) | Basic ammo and entry-level crafts only | Locked at 1 — no upgrade |
| Gunsmith | Weapon crafting and advanced mods, crucial for reducing time-to-kill against heavy ARC enemies | 3 |
| Gear Bench | Shields and Raider augment suits, your primary source of survivability | 3 |
| Medical Lab | High-tier healing items and enhanced shield rechargers to keep your squad alive | 3 |
| Explosives Station | Grenades and heavy explosives for crowd-controlling Wasps and Ticks | 3 |
| Utility Station | Tactical gadgets, mobility tools, and stealth tools | 3 |
| Refiner | Converts basic materials into rare advanced components, cutting down grinding time | 3 |
| Scrappy (passive) | Gathers passive materials while you are offline or out on raids | 5 |
Anyone who would rather not spend the evenings on it can hand ARC Raiders boosting to our crew instead — same account, same progress, played by hand.
Where to Get Materials for Workbench Upgrades
Materials for upgrades come from three overlapping sources: scavenging specific points of interest, recycling loot you’d otherwise sell, and killing ARC units for their components. Power Cables are a blue rarity material found in Electrical, Residential, and Commercial POIs, while other Gunsmith materials come from recycling household and mechanical items — Metal Parts come from recycling almost any metal household item, tool, gadget, or damaged mechanical scrap. If you’re farming toward a specific bench, it pays to actually plan the raid rather than loot blindly, which is the same logic covered in the ARC Raiders skill tree guide for prioritizing early unlocks. Some materials only drop from ARC enemies, and since later workbench upgrades require taking down massive ARC like Bastions or Sentinels, it’s not a bad idea to focus the Gunsmith early since its materials come from weaker enemies.
| Source | What you get | Requirement | Who it suits |
|---|---|---|---|
| Scavenging marked POIs | Blue-rarity components tied to specific zones | None, just exploration time | Players who'd rather loot than fight |
| Recycling household/mechanical items | Metal Parts, Rubber Parts, Rusted Tools | Access to a recycling option in-raid | Anyone doing normal loot runs |
| Killing ARC enemies | ARC-specific components and drivers | Confidence in a fight, ideally a squad | Combat-focused Raiders |
| Scrappy passive drops | Metal parts, fabric, plastic, rubber, chemicals, and even seeds in small batches | Scrappy leveled up beforehand | Anyone who raids often and lets it stack |
Which Workbench to Upgrade First in ARC Raiders
The direct answer: Gunsmith first. Better weapons and attachments improve both your kill speed and your extraction rate, and every raid you survive is more materials for the other five stations. Prioritize the Gunsmith Workbench first, as better weapons and attachments directly improve your combat effectiveness and ability to farm materials from tough enemies. A common community order after that is Gunsmith into Scrappy Level 2 into Gear Bench Level 2 — worth stating plainly that this is a community-favored sequence, not a rule the game enforces, since your death cause should override it. One outlet’s breakdown puts it this way: upgrade Scrappy to Level 2 first since he is your automated scavenger drone, then push the Gunsmith to Level 2, which unlocks the Arpeggio burst rifle, a massive upgrade over basic Workbench options.
| Workbench | What it gives | When to grab it | Unlocks specifically |
|---|---|---|---|
| Gunsmith | Weapon crafting, mod slots, upgrade tiers | Immediately after intro quests | Arpeggio assault rifle, craftable once you collect the right materials and reach Gunsmith 2; a sniper rifle of your own crafting at its highest level |
| Gear Bench | Shields and augments | Right after Gunsmith hits Level 2 | Light Shield, Medium Shield, and Mk. 1 Combat/Looting/Tactical augments at Level 1; Heavy Shield and Mk. 2 augment variants at Level 2 |
| Medical Lab | Advanced healing and shield recharge | Once your loadout survives fights | High-tier healing items like the Vita Spray and enhanced shield rechargers |
| Explosives Station | Grenades and mines | Situational, when ARC packs or armored targets are the problem | Grenades and heavy explosives for crowd-controlling Wasps and Ticks |
| Utility Station | Mobility and stealth tools | If your deaths come from bad positioning, not gunfights | Tactical gadgets, mobility tools like the Snap Hook, and stealth tools like the Photoelectric Cloak |
| Refiner | Converts junk materials into rarer ones | Mid-game, once you're sitting on excess low-tier mats | Rare advanced components from your basic material stockpile |
Gear Bench vs Gunsmith: The Only Order That Actually Matters
Here’s the part most build-order arguments skip: the real debate isn’t between all six stations, it’s between two of them. Once Gunsmith is functional, the Heavy Shield from Gear Bench Level 2 does more for your run-to-run survival than another weapon tier would. Gear Bench to Level 2 dramatically increases survivability through the Heavy Shield, and that single item changes how much punishment you can absorb before an engagement goes bad — which is a bigger swing than most attachment upgrades. Medical Lab, Explosives Station, Utility Station, and Refiner all matter eventually, but none of them front-load survival the way Gunsmith and Gear Bench do, so treating this as a four-way toss-up is the wrong framing entirely.
Tip
On any material listed under a workbench upgrade, hit the Track option. This will add a magnifying glass icon to required materials, making them glow during raids and easier to spot — instead of alt-tabbing to a materials list mid-raid, you just look for the glow.
Workbench Rewards and What You Actually Unlock
Why the Arpeggio Matters as an Early Gunsmith Payoff
The Arpeggio is the weapon most guides point to as the reason to push Gunsmith first, because it’s craftable rather than luck-dependent loot. Crafting is faster than finding it since you don’t need to locate the blueprint first, though you’ll need to collect the right components and reach Gunsmith 2. It isn’t top-tier — most of the community places it in mid-tier, and it doesn’t match stronger rifles like Anvil, Bettina, or Ferro — but as a first real upgrade off the base Workbench, it’s a clear step up.
What Heavy Shield Actually Solves
Heavy Shield exists to answer the “I die in fights, not on the way out” problem. If your runs end in a gunfight rather than a failed extraction, Gear Bench Level 2 solves that more directly than any weapon change, which is exactly why the Gunsmith-vs-Gear-Bench debate matters more than any other station comparison in the Workshop.
| Reward | How you get it | Why it matters |
|---|---|---|
| Heavy Shield | Gear Bench Level 2 | Dramatically increases survivability more than a weapon tier would |
| Arpeggio assault rifle | Gunsmith Level 2, crafted with the right materials | Well-balanced, mid-range performer effective against players and ARC enemies alike |
| Vita Spray / advanced healing | Medical Lab upgrades | Restores health without waiting out a slow heal timer |
| Photoelectric Cloak, Snap Hook | Utility Station upgrades | Opens stealth routes and repositioning options in a fight |
| Master Hoarder Scrappy | Scrappy Level 5 | Increases the amount of passive materials generated during raids at every level |
Matriarch Boss Kill
The Matriarch cleared, the hardest ARC machine
Step-by-Step: Your First Week of Workbench Upgrades
The Base Workbench Trap
This is the single most common early mistake. Players see the “Workbench” listed alongside Gunsmith and Gear Bench and assume it scales the same way. It’s just for basics like ammo and the entry-level gear — you cannot upgrade it, so don’t even try. If you’re hoarding materials for it, redirect them to Gunsmith immediately.
Ignoring Scrappy Because He Feels Cosmetic
Many players skip Scrappy upgrades entirely, but the passive material generation compounds over time, eventually providing thousands of basic materials without any effort. Treating him as flavor rather than a resource multiplier is a mistake that compounds the longer you wait to fix it.
Upgrading Every Station Evenly for “Balance”
Specialized builds perform better than generalist approaches — spreading thin materials across all six stations at Level 1 leaves you weaker everywhere than committing to two or three and actually getting the payoff unlocks. This same logic shows up in how matchmaking and difficulty scale with your loadout, covered in the playstyle matchmaking guide.
Follow this sequence to get it done fast.
-
1
Install the Gunsmith immediately
it's available as soon as the intro quests wrap, so there's no reason to delay it.
-
2
Push Gunsmith to Level 2
this is what unlocks the Arpeggio and meaningfully better attachments over base Workbench options.
-
3
Level Scrappy alongside it
his upgrades are cheap and passive, so there's no opportunity cost to running this in parallel.
-
4
Track every material before you raid
hit Track on whatever the next bench needs so it glows in the field instead of guessing.
-
5
Move into Gear Bench once Gunsmith 2 is done
aim for Level 2 specifically, since that's where the Heavy Shield unlocks.
-
6
Reassess based on your actual deaths
dying in fights points to Medical Lab or more Gunsmith, dying before extraction points to Utility Station.
Our Take: Is Gunsmith-First Actually Right for Everyone?
Our Take
Gunsmith first is the safer default, but it’s not universal.
If you’re dying mid-fight, better weapons compound fastest and Gunsmith-first is correct. If you’re surviving fights but not making it to extraction, you’re bleeding materials on the wrong problem, and Gear Bench for the Heavy Shield or Utility Station for repositioning tools will fix more runs than another weapon tier would. The honest answer is that there’s no single correct order here — there’s a correct order for your specific failure mode, and it’s worth being blunt with yourself about which one you actually have before committing materials.
Was this guide useful?
ARC Raiders services
Leveling & Progression
Quest Completion
The quests you named, completed on your profile · Quest rewards handed in to the trader
Gear & Items
Trophy Display
Five-stage Display Case worked through · ARC parts collected and submitted to the Project
Currency & Resources
Hourly Farming
Coins, XP, materials and rare loot, by the hour · You set how long, we keep the gains coming