On this page
The best Mortal Shell 2 Shell to commit to first is Tiel the Acolyte, once you’re past the mandatory Harros prologue section. His stealth-and-dodge kit is forgiving against the game’s harder one-on-one fights, and it’s the pick that recurring early breakdowns of the roster keep landing on. This guide walks through what each confirmed Shell actually plays like, how cheap it is to change your mind at a Tarstone shrine, and whether sticking to one Shell for the whole run is realistic.
TL;DR
- Tiel the Acolyte is the strongest permanent first pick for most players
- Harros the Vassal is forced during the prologue and gets lost for good afterward
- Eredrim the Venerable is the tank pick, best once you’ve got a few hours in
- Switching Shells at a Tarstone shrine isn’t a heavy commitment – your own upgrade time is the real cost
- Seals and Tarstones carry across every Shell you unlock, so gear choices aren’t wasted if you switch
Character Leveling
Fifteen Harbinger levels paid for in Gloom
Which Shell to Start With in Mortal Shell 2
Among the Shells you actually keep for the long run, Tiel is the one nearly every early guide points to first. The objectively best Mortal Shell 2 Shells for standard gameplay are Tiel and Eredrim, with Tiel being undoubtedly the best early-mid game Shell thanks to his swift movement and cloaking ability. No enemy in the game has any answer to Tiel’s invisibility, making him the most beginner-friendly Shell in the game. Eredrim follows as the natural second pick once you want raw durability over finesse.
Warning
Don’t get attached to Harros. You unlock him during the prologue, but by the time the prologue ends, you’ll lose access to Harros – completely and irreversibly, as part of the narrative arc.
Harros the Vassal
Harros the Vassal is a balanced class that starts with a Two-Handed Blade, the Iconoclast, and an explosive Naylshotte sidearm, and excels in melee combat by learning enemy attack patterns and triggering his unique abilities at the right time. By using Stone Stun and Harden, Harros can petrify enemies to strike them freely, building up the Break meter, or petrify himself to avoid getting damaged. It’s a genuinely solid teaching tool, but it works against nothing specific and falls apart the moment the story moves past the prologue – you simply lose him.
Tiel the Acolyte
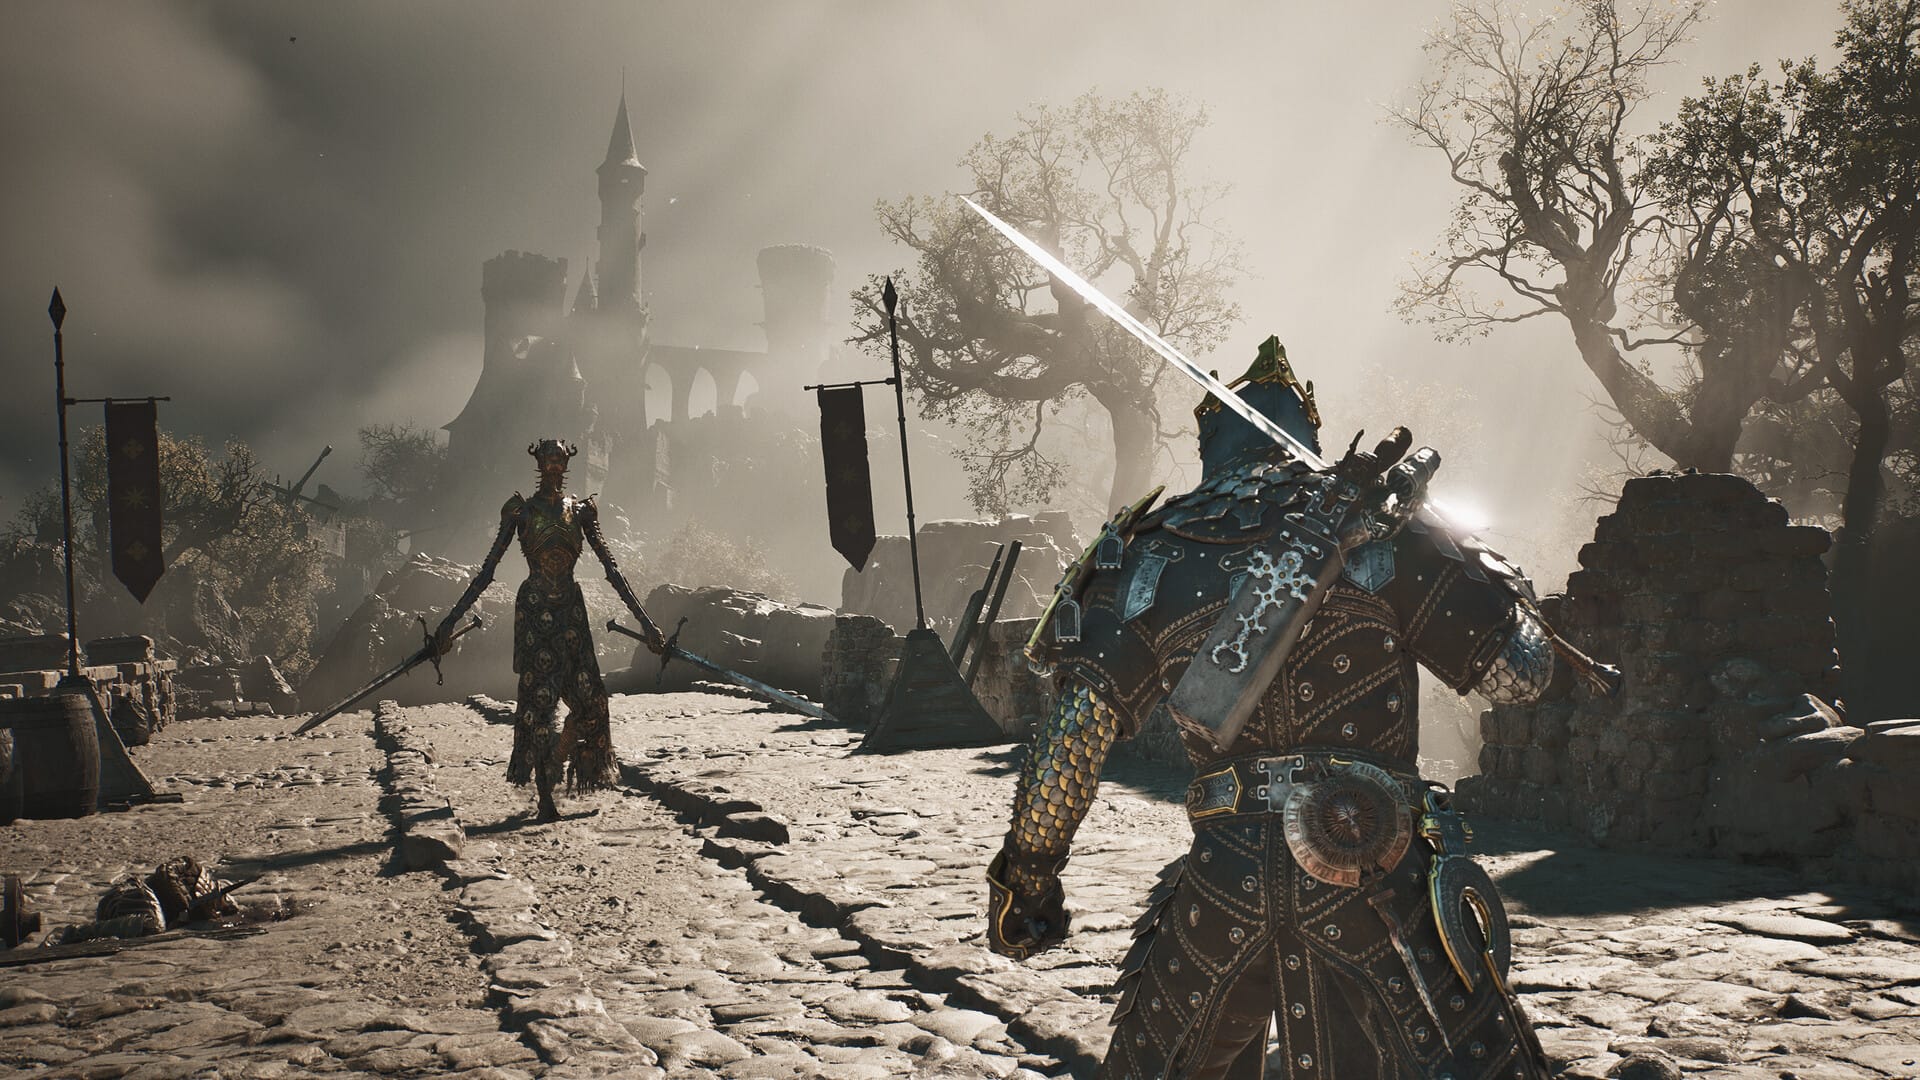
Tiel the Acolyte is a nimble, Rogue-like Shell built around dual-wielding weapons and agile movement. His Lingering Shadow lets him stealthily approach enemies to perform a Shadow Strike, and his Shadow Dash grants Shadow when dodging at the right moment, dealing stagger damage and opening enemies to follow-up attacks. He instantly goes invisible every time he lands a perfect dodge, and can also go invisible on command to deal a devastating blow from the shadows, though he’s very slow while in that state. That’s exactly where he falls apart: whiff the slow shadow strike against something fast and you’re caught standing still.
Eredrim the Venerable
Eredrim excels in absorbing damage due to his high Durability, though he’s limited in Resolve, and is an ideal choice for players who prefer a melee-focused approach over leaning on Abilities. He gets two active abilities – Shoulder Bash, which deals a massive amount of Break damage to a single target, and a Bell that inflicts smaller Break damage to everyone around him – plus the passive Executioner, which lets him finish off low-health enemies. He works well against anything that hits hard and slow, and falls apart if you try to lean on ability spam instead of his sword.
Players short on time can put Mortal Shell 2 boosting alongside a normal playthrough rather than in place of one.
Mortal Shell 2 Shell Comparison Table
Harros, Tiel, and Eredrim are all returning Shells from the original Mortal Shell, and Sester Genessa also appeared there as an NPC, while the rest are new additions worth getting familiar with.
If you’re not interested in ranged combat, you’re leaving a large part of Proxima’s identity unused – her advantages become much more noticeable when you’re deliberately building around them. Genessa is unlocked in a slightly different manner to other Shells, so don’t expect to just stumble into her the same way.
| Shell | Style | Key Ability | Who It Suits |
|---|---|---|---|
| Harros the Vassal | Balanced melee, tutorial-only | Stone Stun / Harden | Learning fight patterns early - not a long-term pick |
| Tiel the Acolyte | Fast, dual-wield, stealth | Lingering Shadow / Shadow Dash | Aggressive, dodge-first players |
| Eredrim the Venerable | Heavy tank, boss-breaker | Shoulder Bash / Bell / Executioner | Players who want durability over ability-juggling |
| Proxima the Broodseeker | Armored, ranged-leaning hybrid | Kit built around ranged weapons | Players willing to build specifically for it |
| Genessa the Wayward | Unlocked differently from the rest | Not fully detailed yet | Returning fans curious about her arc |
| Gragu, Lazlo, Sariel, Smert | Additional roster Shells | Not fully detailed in early guides | Variety once you know the core three |

Step-by-Step: Locking In Your First Shell
Follow this sequence to get it done fast.
-
1
Clear the prologue as Harros
get comfortable with Stone Stun and Harden before the story takes him away for good.
-
2
Head straight for Tiel's location
teleport to the Widow's Overlook beacon, turn around, and follow the dirt path to a yard with a hastily dug grave; Tiel is buried there, so just interact with the corpse to unlock him.
-
3
Equip Tiel immediately
put your first shrine points into whatever node reinforces his dodge and stealth kit rather than spreading thin.
-
4
Scout Eredrim once Tiel feels comfortable
he's found in the Citadel of Penance on the west side of Fainweald - no boss fight is required, just exploration, so treat that trip as your next milestone.
-
5
Compare the two in practice
run a couple of encounters on each before deciding who becomes your default.
-
6
Only then commit spare upgrade material
save it for whichever Shell's kit you actually enjoyed rather than the one you read was "best."
Switching Shells at Tarstone Shrines: How Cheap Is Changing Your Mind
Every unlocked Shell can be swapped at a Tarstone shrine, which is the whole point of the system – your first pick is a starting default, not a lock-in. Tarstones themselves are items that get infused into equipment and grant passive effects or modify an action, changing the movements and attacks of the Harbinger or the equipped Shell, and are obtained as part of story progression or picked up in various locations. They stay attached to your loadout regardless of which body you’re wearing.
Tip
Nothing in the early patch notes or wikis points to a coin or material cost for swapping between Shells you’ve already found – the real cost is the time you’ve sunk into that Shell’s own upgrade tree, not the swap itself.
Can You Run Mortal Shell 2 With Just One Shell the Whole Game
Technically yes, since Shell abilities are unique per body rather than shared stat lines. The Shell system doesn’t simply give you six versions of the same character with slightly different statistics – each one pushes you toward a different way of thinking about combat. There isn’t really one answer for everyone. That’s the trade-off of a one-Shell run: you’re deliberately ignoring tools built for fights your chosen Shell is bad at, and Harros can’t even be that one Shell since he’s removed after the prologue.
How Shells Combine With Seals and Tarstones
Seals and Resolve mechanics sit outside this guide’s scope – the Resolve and Seals combat breakdown covers how those interact with whichever Shell you’re wearing. Tarstone investment doesn’t reset when you switch bodies at a shrine; which weapon and Tarstones to pair with each Shell is in the Mortal Shell 2 shell builds guide.
Gold
One hundred thousand gold on the account
The Real Cost: How Many Hours Until a Shell Feels Reliable
There’s no official timer confirmed for this since developer Cold Symmetry’s sequel only reached players in the past couple of weeks, so treat this as an honest estimate rather than a hard number. Based on how the early game is structured – a prologue, then an opening region with one clear boss gate before Eredrim even becomes available – figure on roughly 4 – 6 hours of normal play before a Shell’s signature ability (Tiel’s Shadow Dash timing, Eredrim’s Shoulder Bash windows) starts landing consistently instead of by accident. That’s the honest price of properly trying a Shell before deciding whether to switch.
Common Misconceptions About Mortal Shell 2 Shells
Myth: Harros Carries Into the Full Game
Harros is only available during the game’s prologue, serving as a straightforward introduction to the Shell system before the game opens up. He’s not a viable long-term pick no matter how much you like Stone Stun.
Myth: Shells Manage Stamina Like the First Game
There’s no stamina bar to watch here – that’s a holdover from the original Mortal Shell. What each Shell actually manages is Resolve, which is a separate system covered in the Resolve and Seals guide linked above rather than something to relearn per Shell.
Myth: One Shell Can Do Everything If You Invest Enough
There isn’t really one answer for everyone. Each Shell is built to push a different playstyle, not to be a weaker or stronger version of the same one, so no amount of shrine points turns Eredrim into Tiel or vice versa.
Our Take: Is There a Wrong First Shell
Our Take
Tiel first, Eredrim second, and don’t sweat the decision too hard.
The Tarstone shrine swap system exists specifically so a first pick doesn’t become a life sentence, and the consensus across early coverage lands on Tiel for a reason – stealth and dodging cover more situations than raw toughness does early on. The one real trap is treating Harros like a long-term investment when the game itself takes him away from you by design.
Was this guide useful?
Mortal Shell 2 services
Weapons
Weapon Leveling — Per Level
Any weapon, one level at a time · Set the quantity to the number of levels you want
Progression
Tarforge Unlock
The Tarforge opened on your save · Upgrades stop being gated behind it
Progression
Map Opening
The world map uncovered across the whole game · Played through rather than edited in