On this page
A shell build in Mortal Shell 2 is the combination of a shell’s abilities, the weapon in your hands, and the Tarstones slotted into it — not the shell alone. This guide pairs each of the eight shells with a weapon direction and Tarstone priority that actually fits its confirmed kit, then breaks those pairings down further into loadouts built for crowds, solo elites and boss fights with parry windows.
TL;DR
- A strong shell with the wrong weapon plays worse than a mid shell with the right one — synergy beats raw power on paper
- Each of the 8 unlockable shells has one confirmed standout ability that should dictate weapon and Tarstone choice
- You get 10 Tarstone slots total: 4 shell-compatible plus 2 each for Combat, Infusion and Ability
- Task-specific builds (crowd clear, single elite, parry-window bosses) beat trying to make one shell do everything
- With over 70 Tarstones scattered across the map, finishing even one loadout takes a real chunk of a playthrough
Shell
One shell taken to its maximum upgrade
What Are Shell Builds in Mortal Shell 2?
A build is the full package: which shell you’re wearing, the weapon in your hand, your sidearm, and the Tarstones plugged into your slots. Fextralife’s build page frames it the same way — the builds for Mortal Shell 2 are combinations of Shells, Tarstones, Weapons and Sidearms that work together with the aim to create a style to play the game. That matters because the game doesn’t reward picking the “best” shell in isolation. A shell’s active ability, its passive, its weapon compatibility and its Tarstone slot categories all interact, and a mismatch anywhere in that chain quietly caps your damage or survivability no matter how good the shell looks on paper.
This is a different question from which shell to grab first — that’s covered in Which Shell Should You Pick First, with where to find each one in the All 8 Shell Locations Guide — and it’s a different question from how the 10-slot system itself works. This guide assumes you already know where the shells are and just want to know what to put in your hands and your slots once you have one.
Players short on time can put Mortal Shell 2 boosting alongside a normal playthrough rather than in place of one.
The Best Weapon and Tarstone Pairing for Each Shell
Every shell listed below has at least one confirmed ability pulled from its actual kit, not guessed from a tier list. Weapon and Tarstone picks are suggestions built around that confirmed ability — treat them as starting points you tune once you see how a fight actually plays out, not a locked formula. For full weapon stats and where to pick each one up, the All Weapon Locations Guide covers the rest of the roster.
Two of those confirmed abilities deserve a closer look because they’re the ones with the clearest weapon logic behind them. Tiel’s active enters a shadow state and performs a Shadow Strike with your dagger as a gap-closer and burst tool, while his passive turns perfect dashes into shadow state plus a follow-up attack with bonus stagger damage, and while Shadow is active, Tiel can’t be detected by enemies — which is exactly why a fast, crit-friendly weapon pays off more on him than a slow one. On the other end, Eredrim’s Executioner passive executes enemies on low health and gains Slaughterer stacks by performing a Riposte, with each stack pushing the executable health threshold a little higher, and separately Eredrim is the shell people mean by tank in practice — not because he has more health than Lazlo (he has less: 110 against 120) but because his Break tools and Riposte loop shorten the fights he tanks.
Note
Lazlo’s damage-reduction numbers aren’t consistent across coverage — one source puts his Fortified Plate at a flat 10% reduction, another describes his Warmed Up and Furnace passives stacking toward 30%. Treat either figure as a ballpark until it’s confirmed which one reflects the current build.
| Shell | Confirmed strength | Weapon direction | Tarstone priority |
|---|---|---|---|
| Tiel the Acolyte | Shadow state dagger strike and a dash-triggered follow-up with bonus stagger; undetectable while shadowed | Axe & Dagger — confirmed to outperform a random greatsword on this shell | Crit-focused stones (Auspicious Stone, Grudge Stone) |
| Proxima the Broodseeker | Hook-based pull into a Lightning finisher, plus a chance to shrug off damage and stagger | Unconfirmed by name — fast weapons that punish the openings her pull creates fit the kit | Survivability/mitigation stones (Bulwark Stone) |
| Eredrim the Venerable | Executes low-health enemies and builds execute-range stacks off successful Riposte | Unconfirmed by name — a heavy, high Break-damage weapon suits his tankier kit | Stagger/Break support (Shattering Stone) |
| Gragu the Insatiable | Hardest per-hit damage of any shell via a charged punch that applies Weakened and Fragile | Unconfirmed by name — slower, hard-hitting weapons match his single-target burst | Berserker's Stone (bonus melee damage below 50% HP) |
| Smert the Apostate | Halts time, applies Chaos stacks on unarmed hits that detonate when time resumes | Unconfirmed by name — Miracle's damage leans on unarmed hits, so weapon choice is secondary | Resolve generation (Devout Stone) |
| Genessa the Wayward | Summons Faithful Doubles that copy your weapon attack, then vanish | Fast, light-attack weapons that the doubles can mimic quickly | Duality Stone paired with Torpor Stone |
| Lazlo the Justiciar | Heats armor into shockwaves and burn damage; highest base HP of any shell | Unconfirmed by name — wide-swing weapons make better use of his AoE burn | Damage reduction/crit support (reports on his passive reduction vary between sources) |
| Sariel the Endless | Converts 50% of incoming damage into Pain — recoverable grey health — instead of losing it outright, and dodges faster once Pain is maxed | Unconfirmed by name — aggressive weapons suit her better than defensive ones, because melee attacks are what claw the grey health back | Survivability stones (Bulwark Stone) |
Task-Specific Shell Builds: Crowds, Elites and Parry Windows
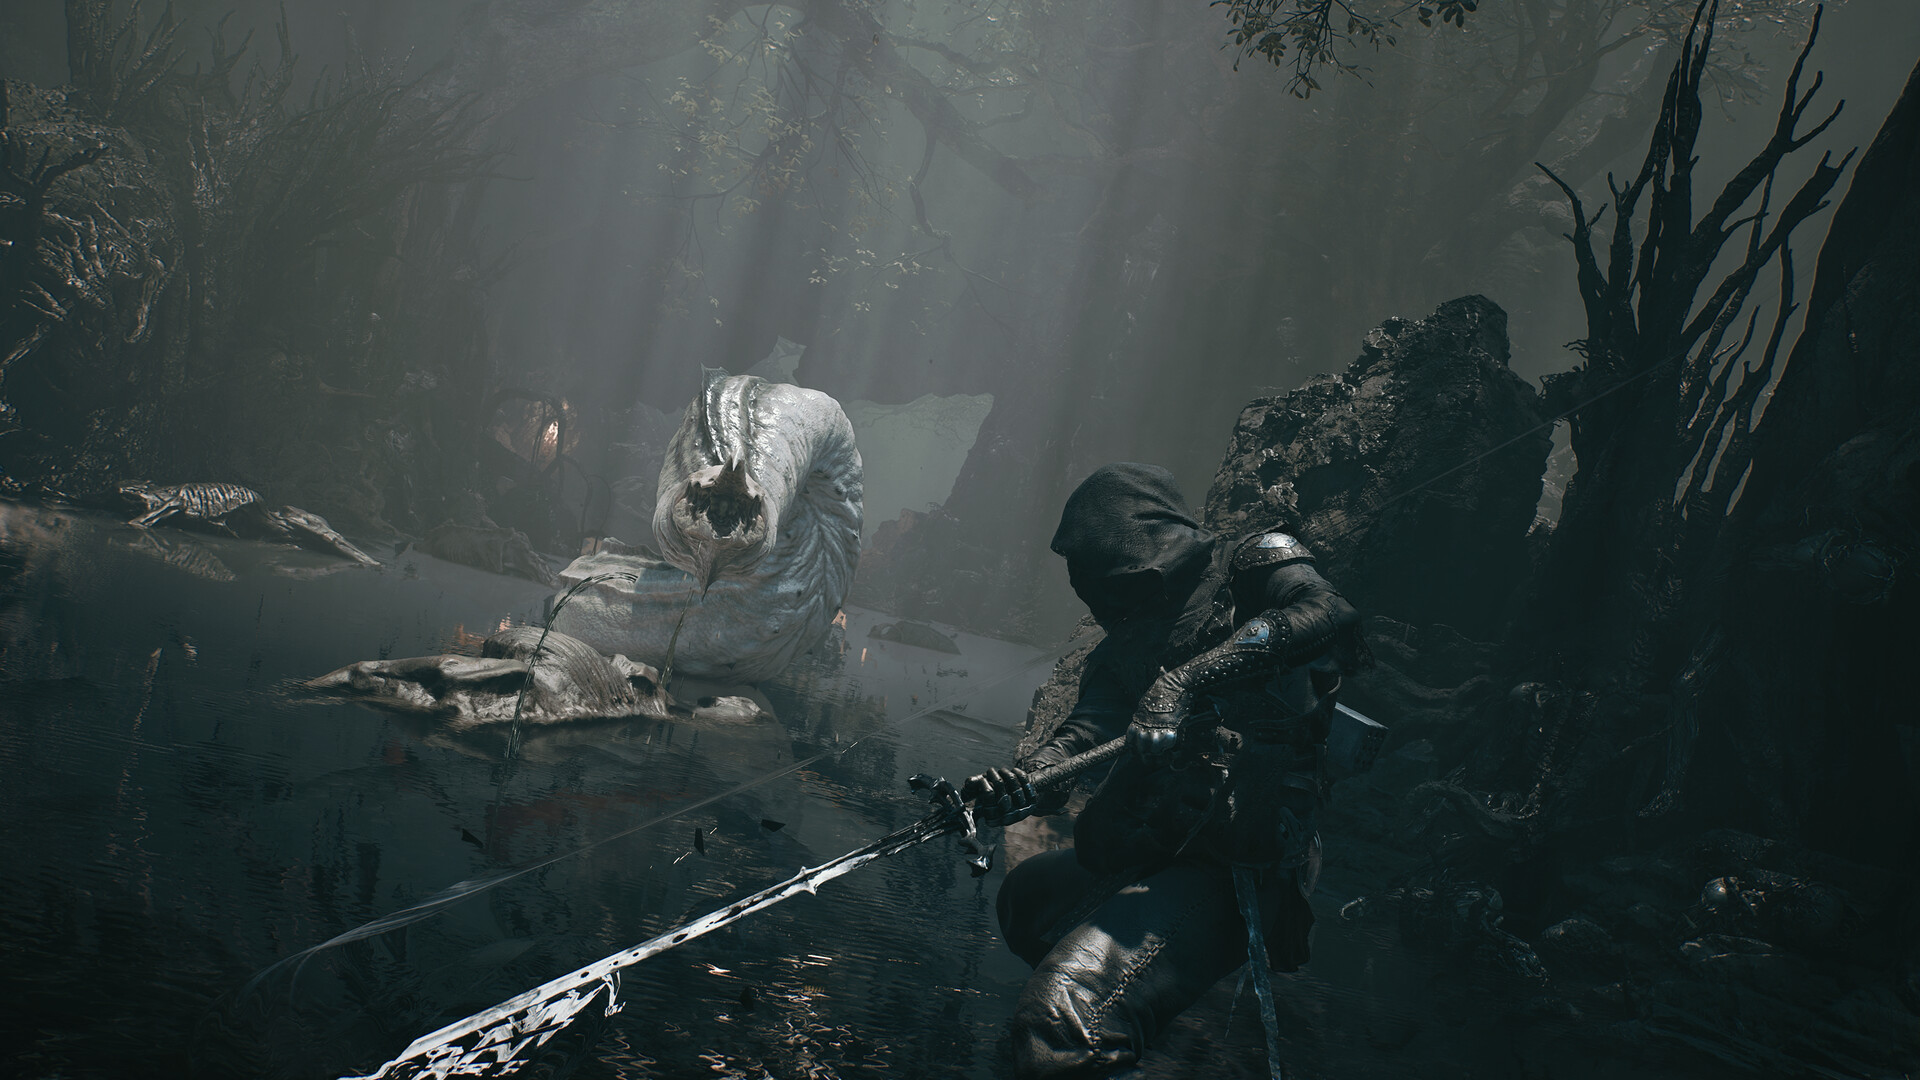
Instead of one shell trying to do everything, most of the game rewards swapping builds to the fight in front of you. These four are starting points, not the only correct answer for each situation — they’re built around confirmed abilities that happen to line up well with a given task.
Crowd Control: Lazlo’s Burn Over Genessa’s Clones
Lazlo’s AoE Burn toolkit is situational — good against groups, less useful in boss duels where you need single-target output, which makes him the more reliable pick when you’re fighting several enemies at once rather than one hard target. Genessa is the alternative here: the Clone Genessa build focuses on spamming Light Attacks with the Faithful Doubles to deal consecutive multi-hit damage, paired with the Duality Stone and Torpor Stone to double the damage output. Both spread damage across multiple targets, just through different mechanics.
Solo Elites: Gragu’s One-Target Ceiling
Gragu is only good in single combat, since his Staggering Blow ability can only hit one target at a time, and that trade-off is exactly why he’s worth building around when you know you’re walking into a one-on-one. Gragu hits the hardest per swing of any shell, and his Staggering Blow charge punch knocks enemies down and applies Weakened and Fragile debuffs — stack a Berserker’s Stone on top of that and low-health windows against a single elite get considerably more dangerous for the enemy, not you.
Parry-Heavy Bosses: Eredrim’s Riposte Loop
Any boss that gives you clean parry openings is where Eredrim’s kit clicks hardest, since his execute mechanic is built directly around landing them. That’s a different problem from a boss that just hits hard and fast — for the difficulty settings that change how punishing those openings are, the Slayer Seal vs Night Mode guide covers how each Seal shifts the risk.
| Fight type | Shell + weapon direction | Key Tarstones | Why it fits |
|---|---|---|---|
| Boss with parry/Riposte windows | Eredrim + heavy Break weapon | Shattering Stone | Executes and Slaughterer stacks are directly tied to landing Ripostes |
| Solo elite / duelist | Gragu + slow, hard-hitting weapon | Berserker's Stone | Highest per-hit damage in the game, but only works on one target at a time |
| Crowd clear | Lazlo + wide-swing weapon | Reduction/crit support | Shockwave and burn spread; AoE toolkit is confirmed as situational against groups |
| Long attrition fights | Sariel + defensive weapon | Bulwark Stone | Sustain without consumables: damage turns into recoverable grey health, so the shell rewards staying on the offensive rather than backing off |
Setting Up a New Build Before a Fight
Follow this sequence to get it done fast.
-
1
Identify the fight type first
crowd, solo elite, or a boss with visible parry windows, since that decides shell before anything else.
-
2
Match the weapon to the shell's core ability
fast weapons for shadow/dash-based kits, heavy weapons for Break or single-target burst kits.
-
3
Fill your 4 shell-compatible slots first
these are the Tarstones tied to that shell's specific mechanics, so they should never sit empty.
-
4
Slot your remaining 2 Combat, 2 Infusion and 2 Ability
general damage, crit and sustain stones round out the loadout here.
-
5
Test the loadout on regular enemies before a boss run
Tarstones can be swapped without resting at a Beacon, so there's no reason to walk in blind.
-
6
Adjust your Seal last
this changes overall difficulty, not just the build, so it's worth locking in once the rest of the loadout feels right.
Where to Invest First When Resources Are Scarce
Early on you won’t have the Tarstones or the Glimpse to build every shell out properly, so the smart move is committing to one or two loadouts instead of spreading thin. You can track down each shell by exploring on your own, or pay Glimpse at the Shellkeeper’s room to have a shell’s shadow marked on your map — but Glimpse is a fairly scarce resource, so spending it on map markers for every shell adds up fast and might leave you short elsewhere. That scarcity is also why exploring efficiently matters for currency generally; the Gloom Farming Guide covers the other resource you’ll be short on while gearing up a new shell.
On the Tarstone side, give the Grudge Stone upgrade priority at the Tarforge if you’re only tempering one stone early — it’s one of the few that works with every weapon and scales cleanly with fast-hitting builds.
With over 70 Tarstones scattered across the map, knowing which ones to prioritize saves a lot of aimless dungeon crawling — and the honest cost of that is time. Between tracking down the right stones, tempering them at the Tarforge, and testing them against real enemies rather than trash mobs, finishing even one loadout you’re confident in eats a real chunk of a playthrough, and you’re repeating a version of that hunt for every additional shell you want to build around.
Warning
Infusion Tarstones are largely shell- or weapon-locked. Some Tarstones are universal and work with every weapon in the game, while others are locked to specific weapons, so your loadout choice matters before you start slotting stones. Don’t farm an Infusion stone before confirming it actually fits the weapon you’re committing to.
Gold
One hundred thousand gold on the account
Common Misconceptions About Shell Builds
Myth: The Highest-Tier Shell Always Wins
Tier lists rank shells on raw ability strength, but weapon and Tarstone synergy matters more than raw stats — Tiel with the Axe and Dagger and crit Tarstones outperforms Tiel with a random greatsword. A top-tier shell with a mismatched weapon can play worse than a mid-tier shell built correctly.
Myth: More Health Automatically Means the Better Tank
Lazlo does have the highest base health in the game at 120, with Eredrim on 110 — so on the raw number Lazlo is the obvious tank pick. He is still not the one you take into a fight that punishes mistakes: Eredrim brings the Break tools and the Riposte-execute loop that actually end those fights, and ten points of health do not close that gap. Raw HP is one input, not the whole answer.
Myth: Any Tarstone Fits Any Weapon
It’s tempting to slot whatever Tarstone has the biggest number and move on, but the categories exist for a reason. Tarstones fall into four categories — Support, Combat, Infusion and Ability — and you can equip four Support Tarstones plus two each from the remaining categories, one assigned to your main weapon and one to your sidearm. Ignore weapon compatibility and half your Infusion slot does nothing.
Our Take: Are Fixed Shell Builds Worth Following?
Our Take
Use these pairings as a floor, not a ceiling.
The confirmed abilities here are real and worth building around — Tiel’s shadow dash, Eredrim’s Riposte-execute loop and Gragu’s single-target burst are mechanically distinct enough that a generic loadout wastes them. But weapon names for several shells genuinely aren’t confirmed yet, and the difficulty settings, Seal choice and your own playstyle will shift what “correct” looks like more than any table can.
Treat this as the starting shortlist that saves you the early trial-and-error, then let your own boss attempts tell you where to deviate.
Was this guide useful?
Mortal Shell 2 services
Weapons
Weapon Leveling — Per Level
Any weapon, one level at a time · Set the quantity to the number of levels you want
Progression
Tarforge Unlock
The Tarforge opened on your save · Upgrades stop being gated behind it
Progression
Map Opening
The world map uncovered across the whole game · Played through rather than edited in