On this page
The Mortal Shell II boss order that actually works is: Tar Golem, then Magdalena, then the remaining Fainweald gate bosses, then the Mammon gates, then the three bosses guarding the Unfound Path, then Zmey. That’s the practical answer to “what order should I fight bosses in” for a game that stops holding your hand the moment you leave the first region. This guide covers the early bosses you can’t skip, which ones to postpone and why, how to tell you’ve walked into a fight too early, and what to brace for at the finale.
TL;DR
- Tar Golem and Magdalena are effectively fixed as your first two major bosses regardless of build.
- After that the world opens up across Fainweald and Mammon, and difficulty stops scaling to your level automatically.
- Hexapod, Sir Isaac and the three tendril bosses guarding the finale hit noticeably harder than anything before them.
- There are 13 bosses total, spread across six Corrupted Gate dungeons plus the final Unfound Path.
- Droeg and Zmey close out the campaign, and neither is a fight you want to walk into underprepared.
Unlock All Weapons
Every primary weapon unlocked on the account
The Mortal Shell II Boss Order That Actually Works
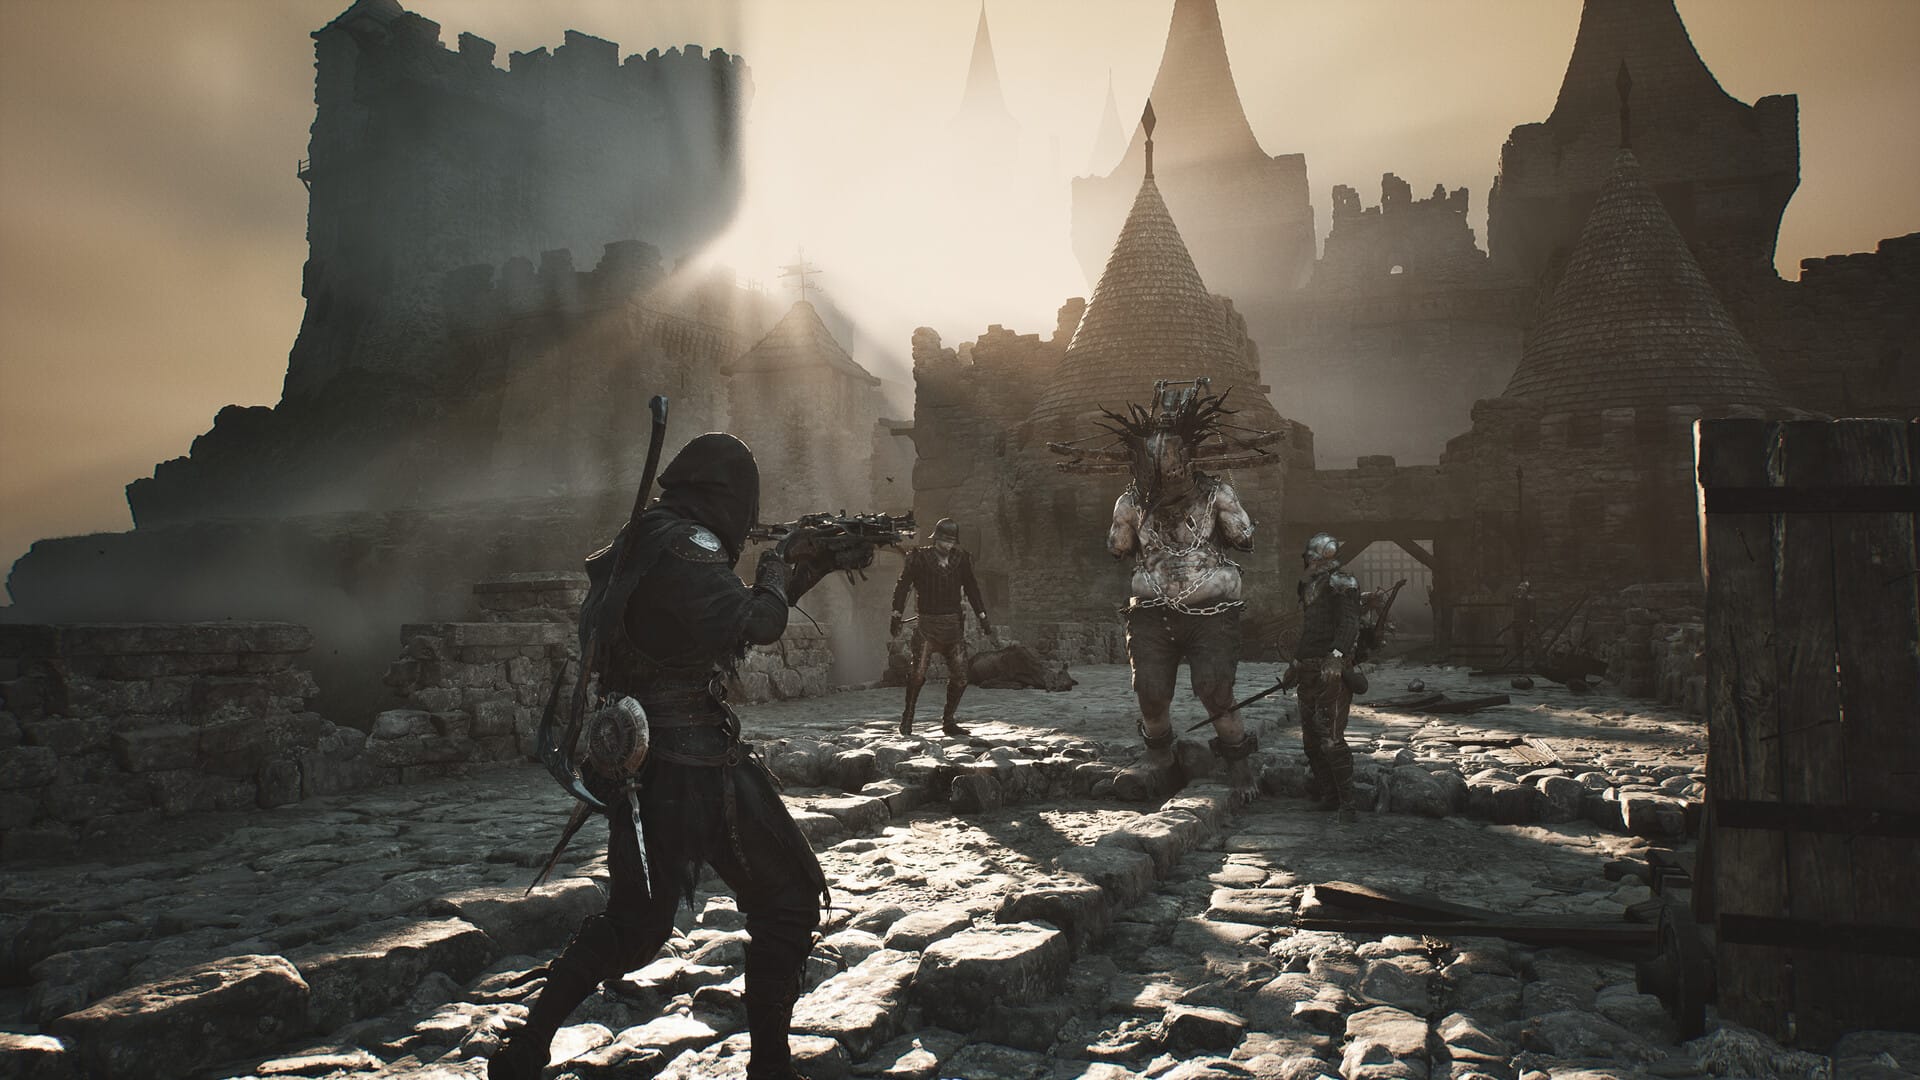
Every player faces the same opening stretch: the tutorial, the first Shell, and the first large zone in Fainweald, and Fextralife’s boss page is blunt about what happens next. Mortal Shell 2 has a vast open world that doesn’t necessarily force you in any one direction after beating the tutorial and the first large zone in the region of Fainweald, but every player will have to face the same initial region and boss before they’re free to explore. That’s the whole reason a boss order guide matters here more than in a linear soulslike: after the first fight, you’re choosing your own path through Corrupted Gate dungeons scattered across two regions, and nothing tells you which ones are meant to come first.
The reasoning is simple: there are six Corrupted Gate dungeons in the overworld — the Glutted Mire, Sanguine Caverns, and Prisoners’ Domain in Fainweald, and the Conquered Temple, Withered Shoals, and Faded Citadel in Mammon, and the Fainweald set is generally the gentler introduction before Mammon ramps things up. This guide won’t re-explain Shell selection or the Harden combat loop — the first-hours guide and the Resolve and Seals combat breakdown already cover that ground in detail.
| Order | Bosses | Why here |
|---|---|---|
| 1 | Tar Golem | Fixed early fight, teaches Harden fundamentals |
| 2 | Magdalena | First Corrupted Gate boss, gates progress via Ova |
| 3 | Nameless Captive, Vrannic, Wandering Shepherd, Lost Child | Remaining Fainweald content, lower risk to explore |
| 4 | Hexapod, Sir Isaac, Droeg | Mammon gates, noticeably tougher movesets |
| 5 | Malborn Offspring, The Monolith, Orrem the Reclaimed | Guard the tendrils blocking the final dungeon |
| 6 | Zmey | Final boss of the Unfound Path |
Where the grind outlasts the interest, Mortal Shell 2 boosting picks it up from wherever the account already stands.
Tar Golem and Magdalena: The Bosses You Can't Avoid Early
These two show up whether you like it or not, and how you handle them shapes everything after.
Tar Golem: the fight that teaches you Harden
Tar Golem wields two large flaming axes for attacking and is relentless with combos that give little opening, and can be found in Disciple’s Grotto. It’s designed as much as a lesson as a wall: it’s the first major story boss most players meet after the early grotto stretch, and it’s a teaching fight — the encounter can advance even if you fail the first attempt, but mastering it builds the Harden habits you need for Magdalena and later bosses.
Warning
On a first defeat, a scripted cutscene can play that removes your starting Shell from the equation and sends you onward without it — to score a true kill for any related achievement, you generally need to reduce Tar Golem to zero health before that scripted loss triggers.
Magdalena: the gate the whole Ova system leads to
Magdalena will likely be your first major boss fight in Mortal Shell 2, because the Ova you collect for progression lead you straight to her Corrupted Gate dungeon. Her kit includes a Cart Ram that lets the engine rip and barrels straight into your location, on top of a fire-spin sweep and summoned exploding companions. What actually decides this fight is spacing and reading the ram’s windup, not stat-checking her with a bigger weapon — visibility on her tell matters far more than raw damage output at this stage.
Which Mortal Shell II Bosses to Save for Later
Once Fainweald and its softer content are cleared, Mammon’s gates and the pre-finale bosses jump in difficulty noticeably. None of the sources describe exact stat multipliers, but the pattern in movesets and encounter design is consistent enough to plan around.
A good signal that you’re in over your head before you’ve burned twenty attempts: if a boss’s opening combo alone chunks more than a third of your health bar and you can’t find a Harden window inside the first ten seconds, that’s the game telling you to go clear another Corrupted Gate first and come back with upgraded Tarforge gear. The open world genuinely doesn’t scale to hide this from you — it expects you to notice and reroute.
| Boss | Gate / area | Why it's harder | Recommended readiness |
|---|---|---|---|
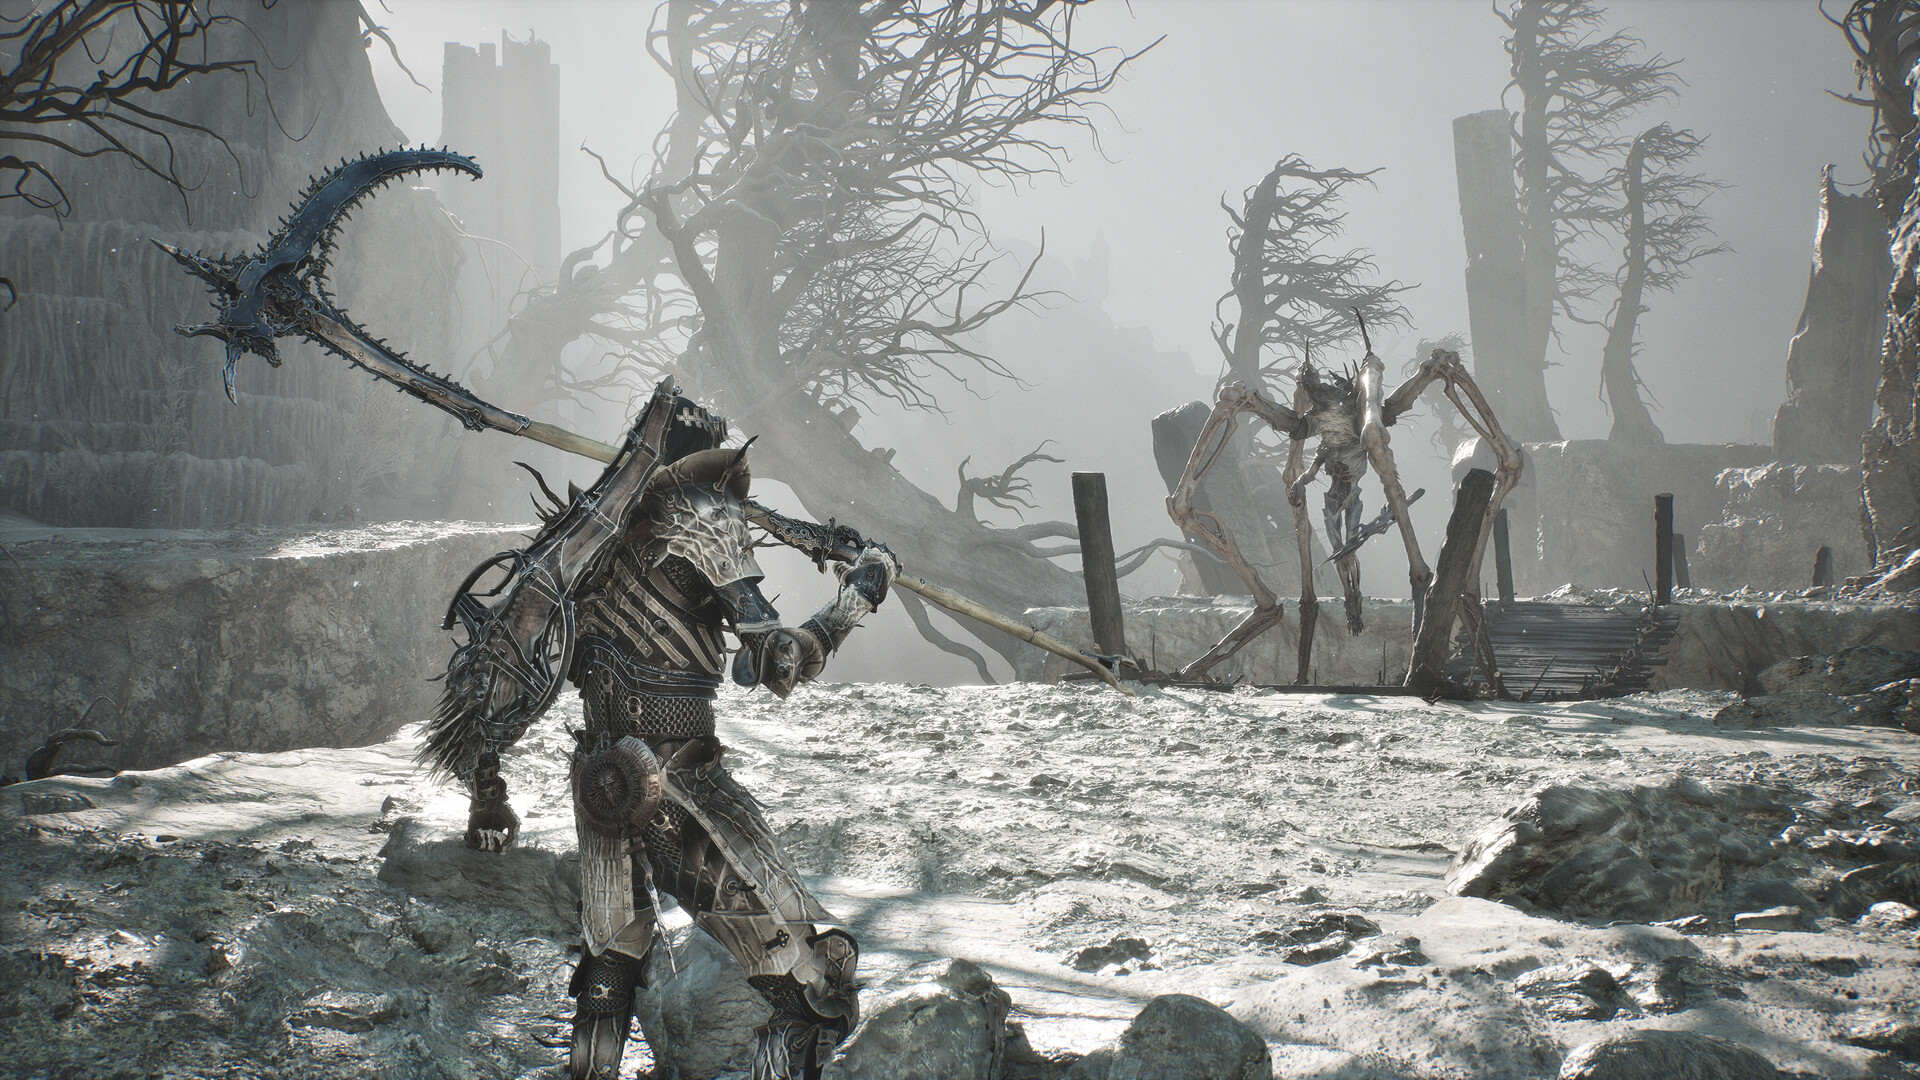
| Hexapod | Withered Shoals, Mammon | Main boss tied into the Withered Shoals gate in the Ruins of Mammon, heavily related to the Proxima the Broodseeker storyline | Clear Fainweald first, upgrade a weapon fully |
| Sir Isaac, the Scholar Prince | Faded Citadel, Mammon | A Mothman-looking enemy fallen to a mysterious mutation related to Ruk, and the final boss of the Faded Citadel gate | Have ranged answers to aerial pressure |
| Malborn Offspring | Guards a tendril before the finale | The first phase is easy enough, but things get very hectic during the second phase | Don't attempt underleveled — this one punishes rushed builds |
| The Monolith / Orrem the Reclaimed | Guard the remaining tendrils | Encounter details are still being pinned down community-wide since these gate the final dungeon directly | Treat as late-game checkpoints, not optional side content |
How Many Attempts the First Major Boss Actually Takes
Here’s the honest number nobody wants to hear before they start: expect a real handful of deaths on your first proper boss, whether that’s Tar Golem or Magdalena. Community-wide attempt averages haven’t been established yet since the game only just released, but based on how both fights are built — narrow punish windows, no shortcuts around learning the moveset — landing comfortably in the ten-to-twenty attempt range for a first-time soulslike player is a fair, unpadded expectation. Veterans of the original Mortal Shell or other Cold Symmetry-style combat will likely land on the lower end of that; newcomers to the Harden system should expect to sit closer to the higher end.
Preparing for Droeg and Zmey: All 13 Bosses at a Glance
No story spoilers here — just what to have ready before you commit to the last stretch.
Droeg, the Conqueror
Droeg, the Conqueror is the final boss of the Conquered Temple gate. Treat this as the last real gatekeeper before the endgame proper — if your weapon isn’t fully upgraded going in, this is the fight that exposes it.
Zmey
The final boss is a giant dragon that breathes Cosmic Flames. Expect mobility checks over pure damage races: Zmey likes to jump away at certain points, usually followed by a Blade Slam that causes Cosmic Flames to emanate in a straight line, which you can dodge sideways to avoid. It also sometimes stands around to cast Cascading Flare, which causes flames to erupt around you for several seconds. Positioning discipline matters more here than in any earlier fight.
Tip
Before fighting the final boss, cleanse the Hidden Nave beacon — inside you’ll find the Endless Core, which removes the Tarforge upgrade limit, letting you push your gear further than the standard cap before Zmey.
| Boss | Where | What's dangerous | When to go |
|---|---|---|---|
| Tar Golem | Disciple's Grotto | Relentless axe combos, little opening | Fixed early, unavoidable |
| Magdalena | Her Corrupted Gate dungeon | Cart ram, fire spin, exploding summons | Fixed early, unavoidable |
| Nameless Captive | Prisoners' Domain gate | Giant reach with a head-mounted blade swing | Early-to-mid Fainweald |
| Vrannic, the Grand Illusionist | Hall of Illusions dungeon | Tracking projectiles and duplicate illusions | Optional, mid-game |
| The Wandering Shepherd | Farm section, Sunken Village | Herd control plus a transformation hex | Optional, mid-game |
| The Lost Child | Not fully pinned down yet | Unconfirmed — details still emerging | Treat as optional until confirmed |
| Hexapod | Withered Shoals gate, Mammon | Multi-limb pressure tied to a wider storyline | After clearing Fainweald |
| Sir Isaac, the Scholar Prince | Faded Citadel gate, Mammon | Mutated aerial attacker | After clearing Fainweald |
| Droeg, the Conqueror | Conquered Temple gate, Mammon | Heavy, punishing final-gate boss | Late Mammon, gear fully upgraded |
| Malborn Offspring | Tendril guardian, Unfound Path | Easy first phase, hectic second phase | Just before the finale |
| The Monolith | Tendril guardian, Unfound Path | Details still emerging community-wide | Just before the finale |
| Orrem the Reclaimed | Tendril guardian, Unfound Path | Details still emerging community-wide | Just before the finale |
| Zmey | Unfound Path finale | Cosmic Flames, jump-slam mobility checks | Only after clearing all three tendril bosses |
Step-by-Step: Recommended Mortal Shell II Boss Route
Follow this sequence to get it done fast.
-
1
Clear the tutorial and first zone
this path is identical for everyone, so there's nothing to plan around here.
-
2
Beat Tar Golem in Disciple's Grotto
try to secure the actual kill rather than letting the scripted loss carry you forward.
-
3
Follow the Ova to Magdalena's gate
this is the fight that opens the rest of the world, so don't skip it looking for an easier first boss.
-
4
Mop up the rest of Fainweald
Nameless Captive, Vrannic, and the Wandering Shepherd are lower-risk practice before Mammon.
-
5
Push into Mammon's three gates
Hexapod, Sir Isaac, and Droeg, roughly in whatever order matches your current build's strengths.
-
6
Cleanse Hidden Nave, clear the three tendril bosses, then
grab the Endless Core first so your gear isn't capped going into the finale.
Gold
One hundred thousand gold on the account
Common Misconceptions About the Boss Order
“You have to fight bosses in a fixed numbered sequence”
Outside the opening region and boss, that’s not how the game works. The most useful way to organize the encounters is by their role in progression rather than by an unconfirmed numerical order. Gate order within Fainweald and Mammon is genuinely up to you.
“Optional bosses don’t matter”
Vrannic and the Wandering Shepherd aren’t required to finish the campaign, but skipping them means walking into Mammon with less practice against illusion-based and crowd-control movesets — exactly the tools Hexapod and Sir Isaac lean on.
“You can rush straight to Zmey once you find the Unfound Path”
There are three bosses that guard the tendrils blocking progression, and only after taking them out does the final boss await. There’s no way to bypass that gate, so treat the tendril bosses as mandatory, not optional flavor content.
Our Take: Does Boss Order Really Matter This Much
Yes, more than in most soulslikes, because the difficulty curve here doesn’t hold your hand past the first region.
Cold Symmetry built Mammon’s gates and the tendril bosses to punish players who wander in underleveled, and there’s no level-scaling safety net catching you. Fighting Fainweald’s optional bosses before Mammon isn’t padding — it’s the actual difficulty curve doing its job. The one real design risk is Tar Golem’s scripted-loss cutscene, which quietly lets players skip past a boss they never actually beat, and that’s the kind of thing that should probably get patched into a clearer prompt rather than left as a trap for a first playthrough.
Was this guide useful?
Mortal Shell 2 services
Weapons
Weapon Leveling — Per Level
Any weapon, one level at a time · Set the quantity to the number of levels you want
Progression
Tarforge Unlock
The Tarforge opened on your save · Upgrades stop being gated behind it
Progression
Map Opening
The world map uncovered across the whole game · Played through rather than edited in