On this page
Status
Written during Advanced Access (17 August 2026). The standard release opened on 20 August 2026 at 13:00 UTC on PC, PS5 and Xbox Series X|S; since then the Week 1 Update (29 August) added more Glimpse and Tarcore sources and the 5 September patch added an optional Adaptive Difficulty toggle. The opening-hours order below still holds.
Mortal Shell II’s Devout Edition unlocked Advanced Access on August 17, and the standard release opens to everyone else on August 20 — the three things worth doing in those opening hours are securing your first Shell and testing its perfect guard before you fight anything serious, siphoning enough Ova to unlock fast travel as soon as possible, and picking one or two nearby dungeons instead of trying to clear the whole opening region in one sitting. The one common waste of time: sprinting toward the blocked path near the Ruins of Mammon, which is gated off early and isn’t where the game wants you yet. This guide covers the access window, the actual first-hours route, what exploration rewards you with, and what changes if you’re coming in from the first Mortal Shell, reported by way of the game’s beta build and Cold Symmetry’s own release messaging.
If you bought the Devout Edition, you’ve already had a couple of days in the world by the time most people read this. If you didn’t, the standard release lands worldwide on August 20, 2026 at 9:00 AM ET (1:00 PM UTC) on PC, PlayStation 5, and Xbox Series X|S. That’s the entire access gap: up to 72 hours, tied specifically to whether you bought the deluxe edition or not, not to region or platform.
Warning
TL;DR
- Devout Edition players have been in since August 17 at 1:00 PM UTC; standard release opens August 20 at 9:00 AM ET / 1:00 PM UTC.
- The open world is one connected map with 60+ dungeons — route matters more than aggression.
- Siphoning Ova for fast travel and picking up permanent Shell/weapon upgrades pay off fastest; side dungeons can mostly wait.
- Beta progress mostly does not carry into the full game, so don’t treat early hours as throwaway time.
- The game is a standalone sequel — you don’t need the 2020 original to follow the story.
| Edition | Price (US) | Access Starts | Extra Content |
|---|---|---|---|
| Devout Edition | $59.99 | August 17, 1:00 PM UTC | Obsidian skin set for all 8 Shells |
| Standard Edition | $49.99 | August 20, 1:00 PM UTC | None |
| Revered Edition (PS5, physical) | Varies by region | August 20 | SteelBook, art book, prints, bonus skins |
Map Opening
The world map uncovered across the whole game
Where to Go First: The Open World and Why Route Beats Bravery
Mortal Shell II’s world is a single interconnected map, not a level select screen — temples, forests, ice graves and bone citadels all link together on foot, and the developer has been upfront that it’s built to reward exploring rather than rushing the main path. That’s the core tension of the first hours: the map is generous enough to let you wander into fights you’re not ready for, and the difference between a smooth start and a miserable one is picking a sane order rather than picking a fight with everything you see.
Early on, the game funnels you toward the first open-world region rather than letting you go anywhere immediately — the path toward the Ruins of Mammon area is deliberately blocked by corrupted growths you can’t clear yet, while the cleared route overlooking the early forest region is the one the game actually wants you to take first. From your hub at Marrow Keep, side content like the Corrupted Gate dungeon is optional and can be tackled once you’ve got fast travel and a couple of upgrades banked, not the moment you see it on the map.
| Location | What You'll Find | Clear Now or Later |
|---|---|---|
| Marrow Keep (hub) | Forgesmith weapon upgrades, Shell quest givers, fast travel lift | Now — this is your base of operations |
| Early open-world region (first forest area) | First fast-travel beacon, a second Shell, story progression | Now — the intended next step |
| Optional Corrupted Gate dungeon | A named major dungeon, extra Glimpse currency | Later — once you have fast travel and a spare Shell or two |
| Ruins of Mammon path | Gated by corrupted growths, tougher enemies | Later — it's actively blocked off for a reason |
Where the grind outlasts the interest, Mortal Shell 2 boosting picks it up from wherever the account already stands.
Step-by-Step: First Hours Walkthrough
Follow this sequence to get it done fast.
-
1
Finish the Prologue and claim your first Shell
you'll pick up your starting body early, and this is where perfect guard timing and basic movement are worth actually drilling before you push forward.
-
2
Push through to Marrow Keep
this becomes your central hub, where quest-givers, the weapon Forgesmith, and fast-travel access all live.
-
3
Talk to the Forgesmith and upgrade a weapon
depositing currency here unlocks weapon upgrades early, and it's a better first investment than hoarding resources.
-
4
Track down your second Shell via the nearby overlook beacon
the quest-giver at Marrow Keep points you toward it, and a second Shell option matters more than most early gear.
-
5
Siphon enough currency to unlock fast travel
this single unlock changes how efficiently you can bounce between dungeons and the hub for the rest of the run.
-
6
Pick one or two nearby optional dungeons before advancing
don't clear everything visible; grab what's convenient and keep moving toward the region's story fight.
What Exploration Actually Rewards You With
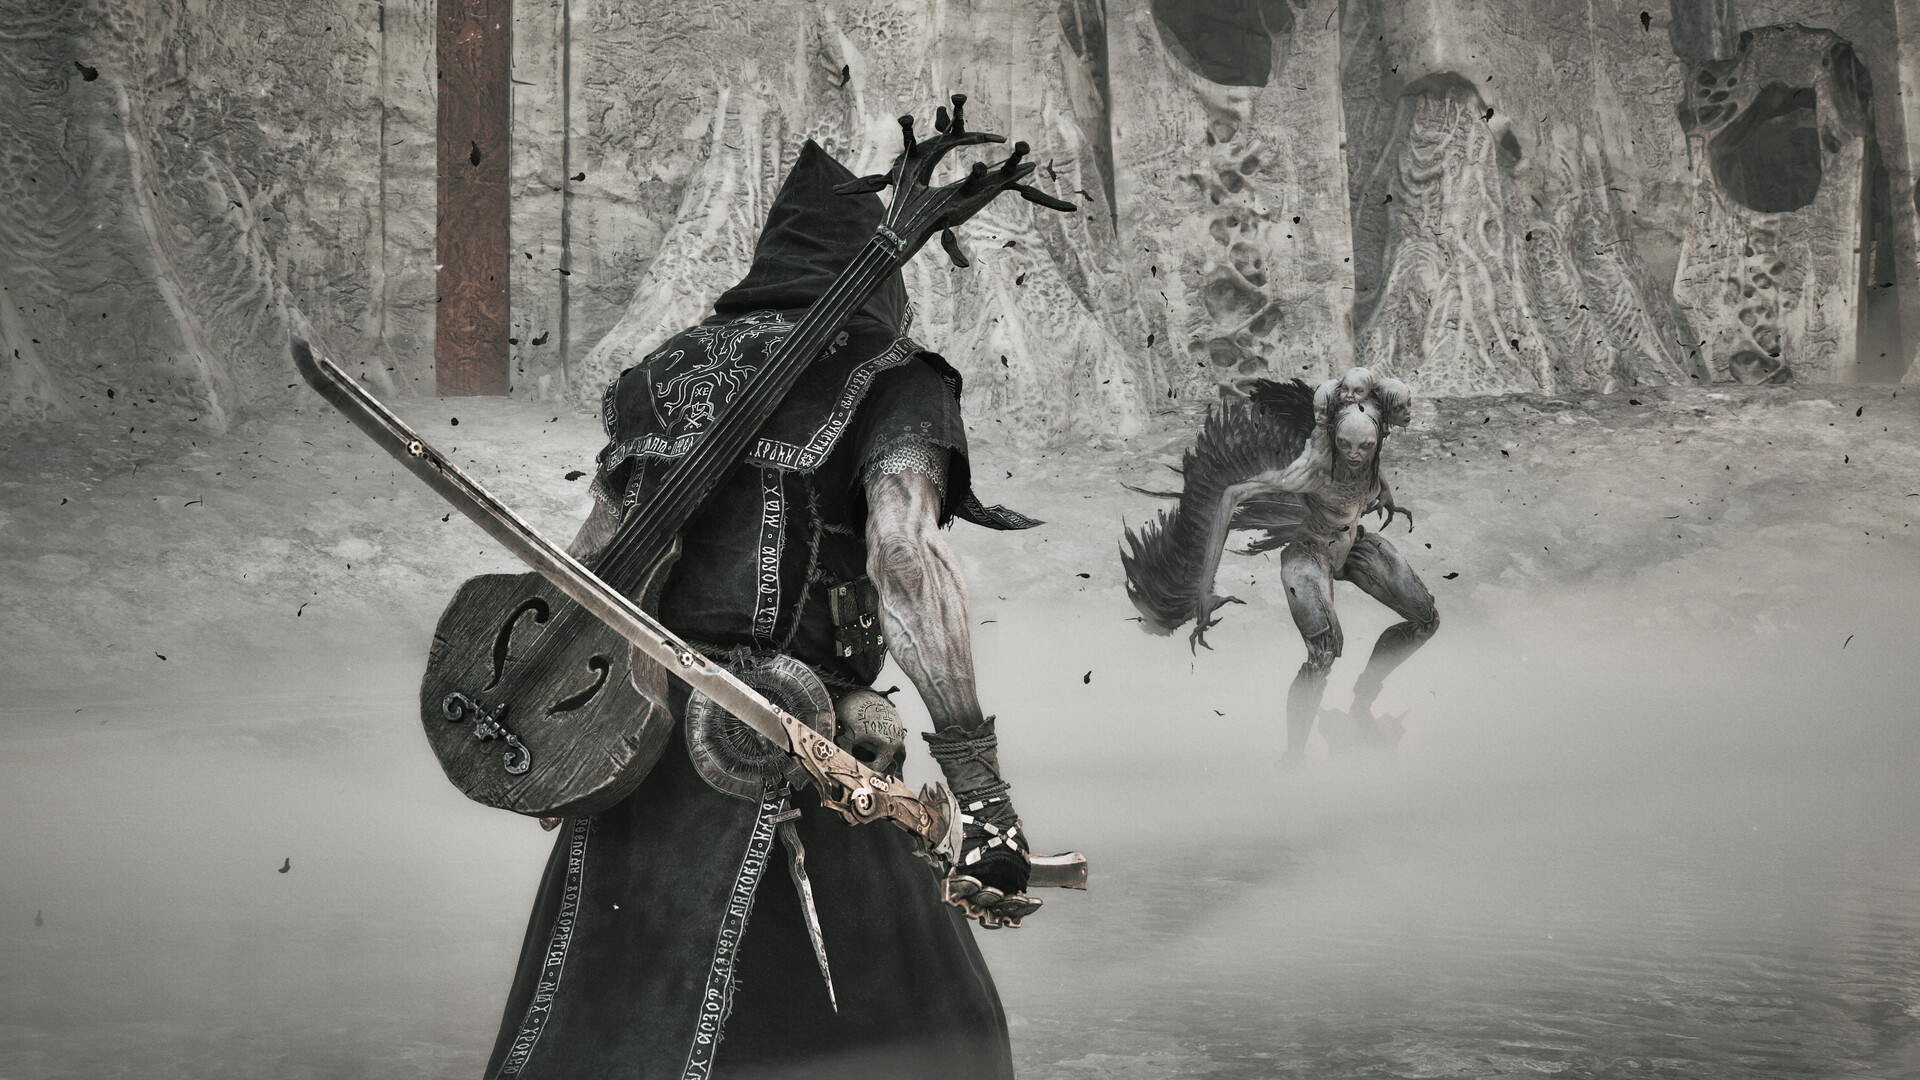
The build system in Mortal Shell II runs on five equippable pieces — Shell, Weapon, Sidearm, Seal, and Tarstones — and all five are things you find by wandering off the critical path rather than things handed to you by default. Not everything you dig up is equally worth the detour, though, and knowing which finds change how you play versus which ones just look good is most of what separates an efficient first playthrough from a slow one. The combat guide covering Resolve and Seals goes deeper on how these pieces interact once you’re actually fighting with them.
Tip
Most of the map starts fogged out. Track down map fragments early rather than exploring blind — clearing the fog turns wandering into an actual plan instead of guesswork, and it’s a faster way to spot which dungeons are close enough to be worth a detour.
| Reward | How You Get It | Why It Matters |
|---|---|---|
| New Shell | Story quests and hidden pockets of the map | Game-changing — different Shells reshape your health, moveset options and playstyle entirely |
| Weapon | Dungeons, chests, mini-boss drops | Game-changing early, situational later once you've picked a preferred moveset |
| Permanent stat upgrade | Currency deposits and specific dungeon rewards | Game-changing — these persist and compound across the whole run |
| Sidearm (includes ranged options like a rapid-fire sidearm) | Earned through combat via the Resolve resource | Nice to have — fun utility, rarely a build-defining pick this early |
| Curiosities and lore fragments | Optional exploration, hidden rooms | Nice to have — flavor and worldbuilding, no mechanical payoff |
The Real Cost: How Many Evenings to Reach the Open World
The public beta build was scoped to roughly the first three hours, covering the Prologue and the opening stretch of the open world before the region’s story boss. That’s a reasonable stand-in for how long the intro actually takes to clear on a straight line — call it one long evening or two shorter ones if you’re not detouring. Once you factor in an optional dungeon or two, actually testing a second Shell, and grabbing enough currency to unlock fast travel properly, budget closer to two or three evenings before you’re genuinely loose in the open world with options rather than being funneled down a single corridor.
Coming From Mortal Shell 1 vs Starting Fresh
If You Played the Original Mortal Shell
The biggest habit to unlearn is stamina management — Mortal Shell II removes the stamina bar entirely in favor of a Resolve-based system, so old instincts about rationing dodges and swings will actively work against you here. The world structure is also a genuine departure: the first game was a tight, hand-built sequence of areas, while this is a single connected open map with dozens of optional dungeons layered into it, which means the old “clear everything before moving on” habit isn’t how this game wants to be played.
If You’ve Never Touched the First Game
You’re not behind. Mortal Shell II is built and marketed as a fully self-contained sequel, and you don’t need any lore knowledge from the original to follow the story or understand the Shell-possession premise — the game introduces the concept of jumping between fallen bodies from the Prologue onward without assuming prior familiarity.
Gold
One hundred thousand gold on the account
Common Misconceptions About the First Hours
Myth: You Should Clear Every Dungeon You Pass
With 60-plus dungeons scattered across the map, treating each one as mandatory the moment you see it is how first sessions turn into slogs. Plenty are explicitly designed as optional detours you circle back to once you’re stronger, not gates you have to clear immediately.
Myth: The Beta Save Carries Into the Full Release
Beta currency, gear and Shells are mostly reset-bound rather than carried forward, with only narrow exceptions tied to specific participation rewards. Don’t skip early exploration in the full game just because you technically saw that content once already.
Myth: Solo Exploration Only Matters for Loot
Wandering off-path also drives story beats, hidden mini-boss encounters and world-building fragments, not just gear. Skipping exploration to rush bosses means missing content the game is actually structured around, not just missing loot.
Our Take: Is Rushing the Open World Worth It?
Our Take
Don’t rush it, but don’t over-explore blind either — pick a route and commit to it.
Cold Symmetry built this as a world that punishes wandering without a plan more than it punishes caution, which is a different problem than most soulslikes present. The first few evenings are genuinely about restraint: grab a second Shell, unlock fast travel, take one or two optional dungeons, and leave the rest for when you’re actually equipped to handle them. Given this is a brand-new early access launch, expect some of the early routing to get smoothed out by community mapping over the coming weeks — treat the current beacon-and-dungeon layout as the reliable version, not the final word.
Was this guide useful?
Mortal Shell 2 services
Weapons
Weapon Leveling — Per Level
Any weapon, one level at a time · Set the quantity to the number of levels you want
Progression
Tarforge Unlock
The Tarforge opened on your save · Upgrades stop being gated behind it
Progression
Character Leveling — 15 Levels
Fifteen Harbinger levels paid for in Gloom · Health, shell health, damage and crit