On this page
The short answer: build the Warehouse first, then push the Workshop and Goddess Statue right behind it. Those three cover storage, gear crafting, and survivability — the things that decide whether your runs get easier or keep resetting to zero. The detail that actually changes how you should spend your time is this: camp upgrades carry over between characters and between runs, while every piece of gear you’re wearing gets wiped the moment you die and fail to extract. That single fact is why camp investment beats gear hoarding in the early game, and this guide walks through the unlock conditions, the station-by-station priority order, and how to farm the currency you’ll need to get there.
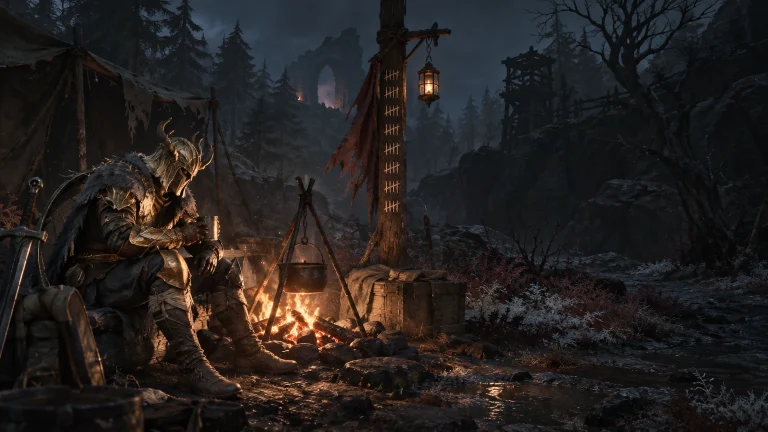
Your camp is the permanent side of progression in Mistfall Hunter, sitting alongside character level and gear, and every building you raise gives a fixed, account-wide benefit, from stronger Spirithorn Healing to more stash space, extra auction slots, and access to better forging. That permanence is the whole point. Gear resets every time you die on a bad extraction, but a camp station you’ve already leveled stays leveled no matter how many characters you roll or how many runs go sideways. Camp upgrades in Mistfall Hunter provide benefits such as healing, storage, currency, crafting, and buffs, that carry over across characters and runs. If you’re still deciding how to build your first character, it’s worth pairing this with a look at how the six starting classes compare, since your class shapes how aggressively you can farm the currency below.
TL;DR
- Camp unlocks at character level 5, 10,000 Gyldenblod, and a talk with an NPC named Dew after the Camp Revitalization task appears
- Camp upgrades are permanent and account-wide; gear is lost on a failed extraction, so camp is the safer investment
- Warehouse, Workshop, and Goddess Statue give the earliest practical returns
- Gyldenblod only counts once you successfully extract — a wipe costs everything you were carrying
- Higher camp tiers need rarer materials from harder zones, so don’t sell everything the moment you loot it
| Category | Station | What it covers |
|---|---|---|
| Healing | Goddess Statue | Stacks Spirithorn Healing passively, with the jump from a Level 2 bonus to a Level 3 bonus being meaningful in longer runs where healing efficiency compounds. |
| Storage | Warehouse | Comes first because you cannot stockpile upgrade materials without stash room. |
| Currency | Gyldenblod Pool / capacity | Higher Gyldjar capacity so you can carry and bank more currency per run. |
| Crafting | Workshop | Access to better-tier weapons and accessories, combined with reduced crafting time on Tier 1 gems. |
| Buffs / social | Tavern, Scavenger Squad | Scavenger Squad is worth upgrading specifically for Anomaly Zone access, while the Tavern's ale effect is a cheap early pickup even though its full benefit isn't fully documented yet. |
How to Unlock Camp Upgrades: Level, Gyldenblod, and Dew
A lot of new players hit a wall here simply because the Camp tab doesn’t exist yet — it isn’t bugged, it’s gated. To access the camp upgrade system in Mistfall Hunter, you first need to reach level 5 and accumulate 10,000 Gyldenblod, after which a task called Camp Revitalization appears, requiring you to talk to Dew. The Gyldenblod part trips people up the most, because it’s tied to a specific objective rather than just having the currency sitting in your bag. You need to be player level 5 and finish the Accumulation of Wealth objective, which requires 10,000 Gyldenblod. Some early guides also flag the introductory quest chain feeding into it — the introductory quests Digging Deeper and The Eccentric Blacksmith also feed into this progression. Once all of that clicks, accept the Camp Revitalization task when it appears, then talk to Dew back at camp, which opens the Camp section in the in-game menu.
Warning
Gyldenblod you’re carrying doesn’t lock in until you leave the map alive. If you understand the mechanics behind the four ways out of a run, you’ll know exactly when your bank actually updates — dying mid-raid erases the currency you were sitting on, not just your gear.
| Requirement | What it actually means | Why players miss it |
|---|---|---|
| Character level 5 | Standard leveling, no special grind | Usually the first box checked, not the blocker |
| 10,000 Gyldenblod via Accumulation of Wealth | A specific objective, not just holding the currency | Players sell everything early and never bank a stable total |
| Camp Revitalization task | Appears automatically once both conditions are met | Easy to overlook in a busy quest log |
| Talk to Dew | Formally opens the Camp menu | Some players don't realize a conversation, not a purchase, unlocks it |
If the grind is the only part worth skipping, Mistfall Hunter boosting runs the same route on your own account.
Steps for Your First Week of Camp Upgrades
Follow this sequence to get it done fast.
-
1
Level to 5 without rushing risky fights
early XP comes fast enough from normal looting and quests; you don't need to gamble gear before the camp even exists.
-
2
Run the Accumulation of Wealth objective to 10,000
bank it through steady looting rather than one all-or-nothing push, since a wipe costs the whole total.
-
3
Accept Camp Revitalization and talk to Dew
this is a conversation, not a purchase, so don't skip dialogue prompts around camp.
-
4
Upgrade the Warehouse to Level 2 immediately
you need the stash room before you can stockpile the materials the next tiers demand.
-
5
Push the Workshop and Goddess Statue next
crafting access and passive healing both pay off on every run afterward, not just the current one.
-
6
Stop selling anything tagged for camp construction
check your inventory before vendoring loot; materials you dump now are materials you'll farm twice.
Best Camp Upgrade Order: What to Build First
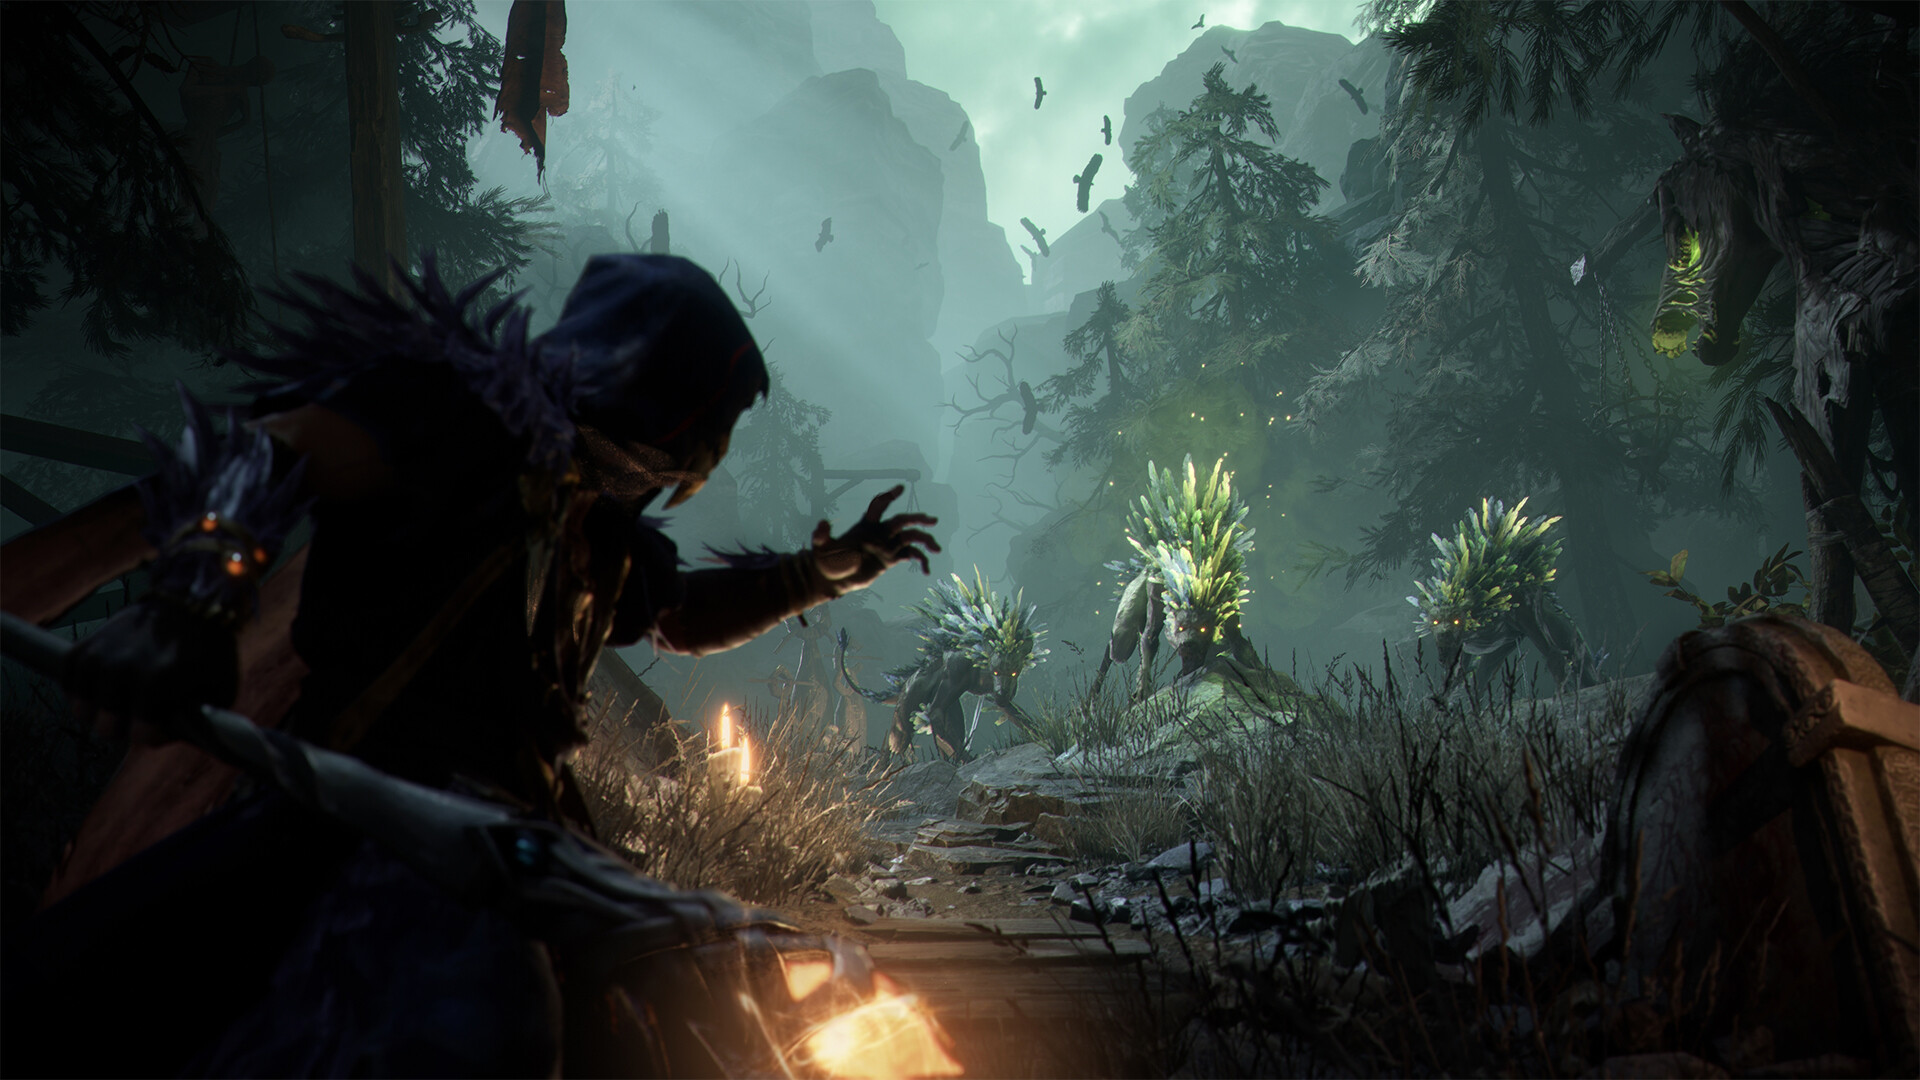
Once the Camp menu is open, every station starts at Level 2, and the honest constraint is materials, not currency. Materials are limited early, so order matters — the Warehouse comes first because you cannot stockpile upgrade materials without stash room, with healing and currency capacity following, then the Workshop so you can improve gear and socket runes. Later tiers get noticeably harder: Level 4 pulls in rarer materials such as Mithril Ingot, Velvar’s Teachings, and Holy Sith Astrolabe.
| Station | What it gives | When to take it | What it opens next |
|---|---|---|---|
| Warehouse | Stash room to actually hold upgrade materials | Immediately after unlock | Confirmed material sets for several more tiers than most other buildings |
| Workshop | Better-tier gear crafting and faster gem crafting | Right after Warehouse | Higher-tier forging and rune socketing |
| Goddess Statue | Passive Spirithorn Healing that compounds in longer runs | Early, once basics are covered | Further healing tiers as materials allow |
| Scavenger Squad | Squad-based run support | After core stations, aim for Level 3 | Anomaly Zone access, a different reward tier entirely |
| Gyldenblod Pool | Higher Gyldjar capacity to bank more currency per run | Once you're farming above the baseline | Supports funding every other station faster |
| Tavern | Hero's Ale buff, effect not fully confirmed yet | Cheap to unlock at Level 2, worth picking up early while it's inexpensive | Deeper buff tiers, still being documented |
| Collection Pedestal | Locked feature | Not available yet | Opens only after other upgrades are completed |
Gyldenblod Farming Methods for Camp Upgrades
Camp upgrades run on two currencies at once: Gyldenblod for the unlock threshold and shopping, and physical materials for the actual station levels. Gyldenblod is the core currency in Mistfall Hunter, the dark-fantasy PvPvE extraction ARPG from Bellring Games and Skystone Games, and you spend it on gear at the auction house, camp upgrades, crafting fees, and forging. The fastest reliable method skews toward looting over fighting.
Tip
Don’t treat quests as a farming method on their own. Quests by themselves don’t offer Gyldenblod as a direct reward, so they won’t replace elite or boss farming — they just create a reliable baseline alongside your main runs.
| Method | Speed | Effort | Best for |
|---|---|---|---|
| Low-combat "rat" loadout | Around 9,000 Gyldenblod per clean run | Low — avoid fights entirely | Steady banking toward the 10,000 threshold |
| Boss / elite engagement | Up to roughly 20,000 Gyldenblod depending on aggression | High — needs decent gear first | Players already past the early gear check |
| Interactable looting (Sacred Heart Trees, etc.) | Variable, occasionally huge | Low to medium | Runs that can afford a detour, since a single interactable can outvalue a whole lap of ordinary looting |
| Selling stored surplus gear | Passive between runs | Low | Turning warehouse overflow into stable income without extra risk |
Camp Upgrades vs Gear: Which Investments Actually Save Your Loot
This is the actual fork in the road once you’ve got a few clean runs behind you. Some upgrades reduce how much you lose when a run goes badly; others just make good runs faster. In an extraction genre where failed exits are common, the first category matters more than the second.
Upgrades that reduce losses
Warehouse tiers protect materials between runs instead of forcing you to carry everything into a raid. Goddess Statue healing keeps you alive long enough to reach an exit instead of dying with a full bag. Gyldenblod Pool capacity means a currency cap doesn’t force risky over-extended runs just to avoid wasting drops.
Upgrades that just accelerate
Workshop crafting speed and Tavern buffs make good runs slightly better, but they don’t change what happens on a bad one. They’re worth taking, just not ahead of anything that keeps a death from costing you the whole trip.
Common Misconceptions About Camp Upgrades in Mistfall Hunter
“Camp upgrades are lost if my character dies”
They’re not. Camp is the permanent side of progression, sitting alongside character level and gear, and every building you raise gives a fixed, account-wide benefit. Gear dies with the run; the camp doesn’t.
“You need to farm materials before unlocking the camp”
You need Gyldenblod, not construction materials, to unlock it. After reaching level 5 and finishing the Accumulation of Wealth, 10,000 Gyldenblod, you’ll unlock a task called Camp Revitalization, where you just need to talk to Dew. Materials only matter once the menu is open and you start pushing individual stations past Level 2.
“Every station levels the same way”
They don’t, and costs escalate unevenly. The Warehouse currently reaches the furthest of any building, with confirmed material sets for two more tiers, and those later stages demand end-game items pulled from harder points of interest. Some buildings, like the Collection Pedestal, stay locked entirely until other progress clears the way.
Our Take: Is It Worth Rushing Camp Upgrades First?
Our Take
Yes — camp before gear, almost every time in the early game.
The math is simple once you frame it as permanence versus risk: gear you’re wearing can vanish on one bad exit, but a Warehouse or Workshop level you’ve already banked stays banked forever, on every future character. The materials grind is genuinely annoying this early — costs jump fast past Level 3 or 4, and some rewards like the Tavern buff aren’t fully documented yet, which means priorities could shift as Bellring Games patches the numbers. Treat this list as the current best-known order, not gospel, and keep an eye on updates before dumping your rarest materials into a single station.
Was this guide useful?
Mistfall Hunter services
Leveling
Character Boost 1-8
Character taken from level 1 to 8, any class · Covers the flattest stretch of the early game
Leveling
Character Boost 1-12
Character taken from level 1 to 12, the cap · Any class, chosen at checkout
Camp & Bundles
Camp Improvements
Camp upgrades worked through on your account · Permanent progress: it survives a bad run