On this page
Lost Charts are the drop that opens Curse of the Allflame’s Voyage content in Path of Exile 3.29 — you find them guarded by monsters in almost every zone, hand a batch of them to Valerie aboard The Sovereign, and dive to the sea floor for Dead Man’s Sulphur, Ducats and Voyage loot. Three weeks into the league, the question has moved past “what are these” to “which ones are actually worth my map time.” This guide sorts Lost Charts by where they drop, what separates the guardian types, and which ones you should bank, run, or just vendor.
TL;DR
- Lost Charts drop from guarded Cursed Treasure encounters in nearly every zone, confirmed available from Act 1 onward.
- You need nine Charts to open a Voyage Board on The Sovereign, and connecting lines and modifiers matter more than raw chart count.
- Patch notes confirm three guardian factions — Undead, Rival Corsairs, and creatures of the deep — each with a different bonus effect.
- The 3.29.0b hotfix already changed loot weighting after complaints about drops being too sparse, so early-league value assumptions are already outdated.
- Not every chart is worth a solo run — some are better saved for Voyage placement, others are better skipped entirely.
What Are Lost Charts in Path of Exile?
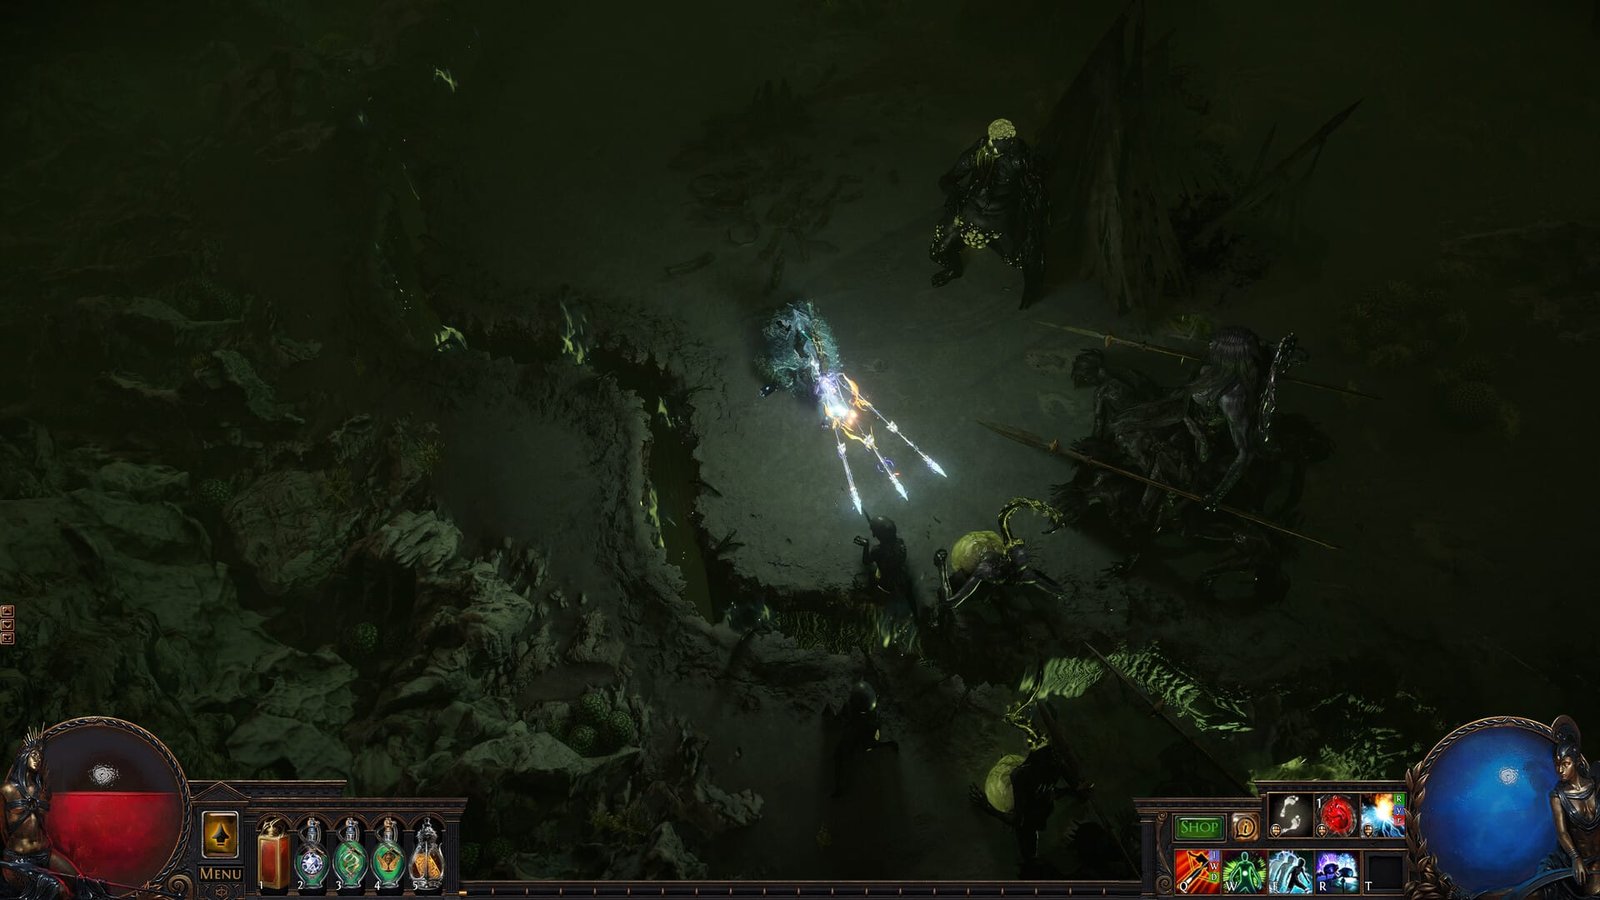
Lost Charts are the entry item for the Path of Exile 3.29 Curse of the Allflame league mechanic, developed and self-published by Grinding Gear Games. Each Zone contains a Lost Charts encounter in the form of a treasure, guarded by either Undead, Rival Corsairs or horrible creatures of the deep, and simply defeating the monsters and looting the treasure grants a Chart which can be used later, plus a special effect depending on the faction. That’s the featured-snippet answer: a Chart is both a fight and a currency item, and what guards it decides the bonus you get for the rest of the zone. Our 3.29 mechanics overview covers how Lost Charts sit alongside Atlas Anomalies and the Luminary Ascendancy as the league’s three pillars — this guide goes deep on just the Charts.
Not everyone has the evenings for this — Path of Exile boosting covers the same ground with someone else on the keys.
Where to Get Lost Charts in Path of Exile
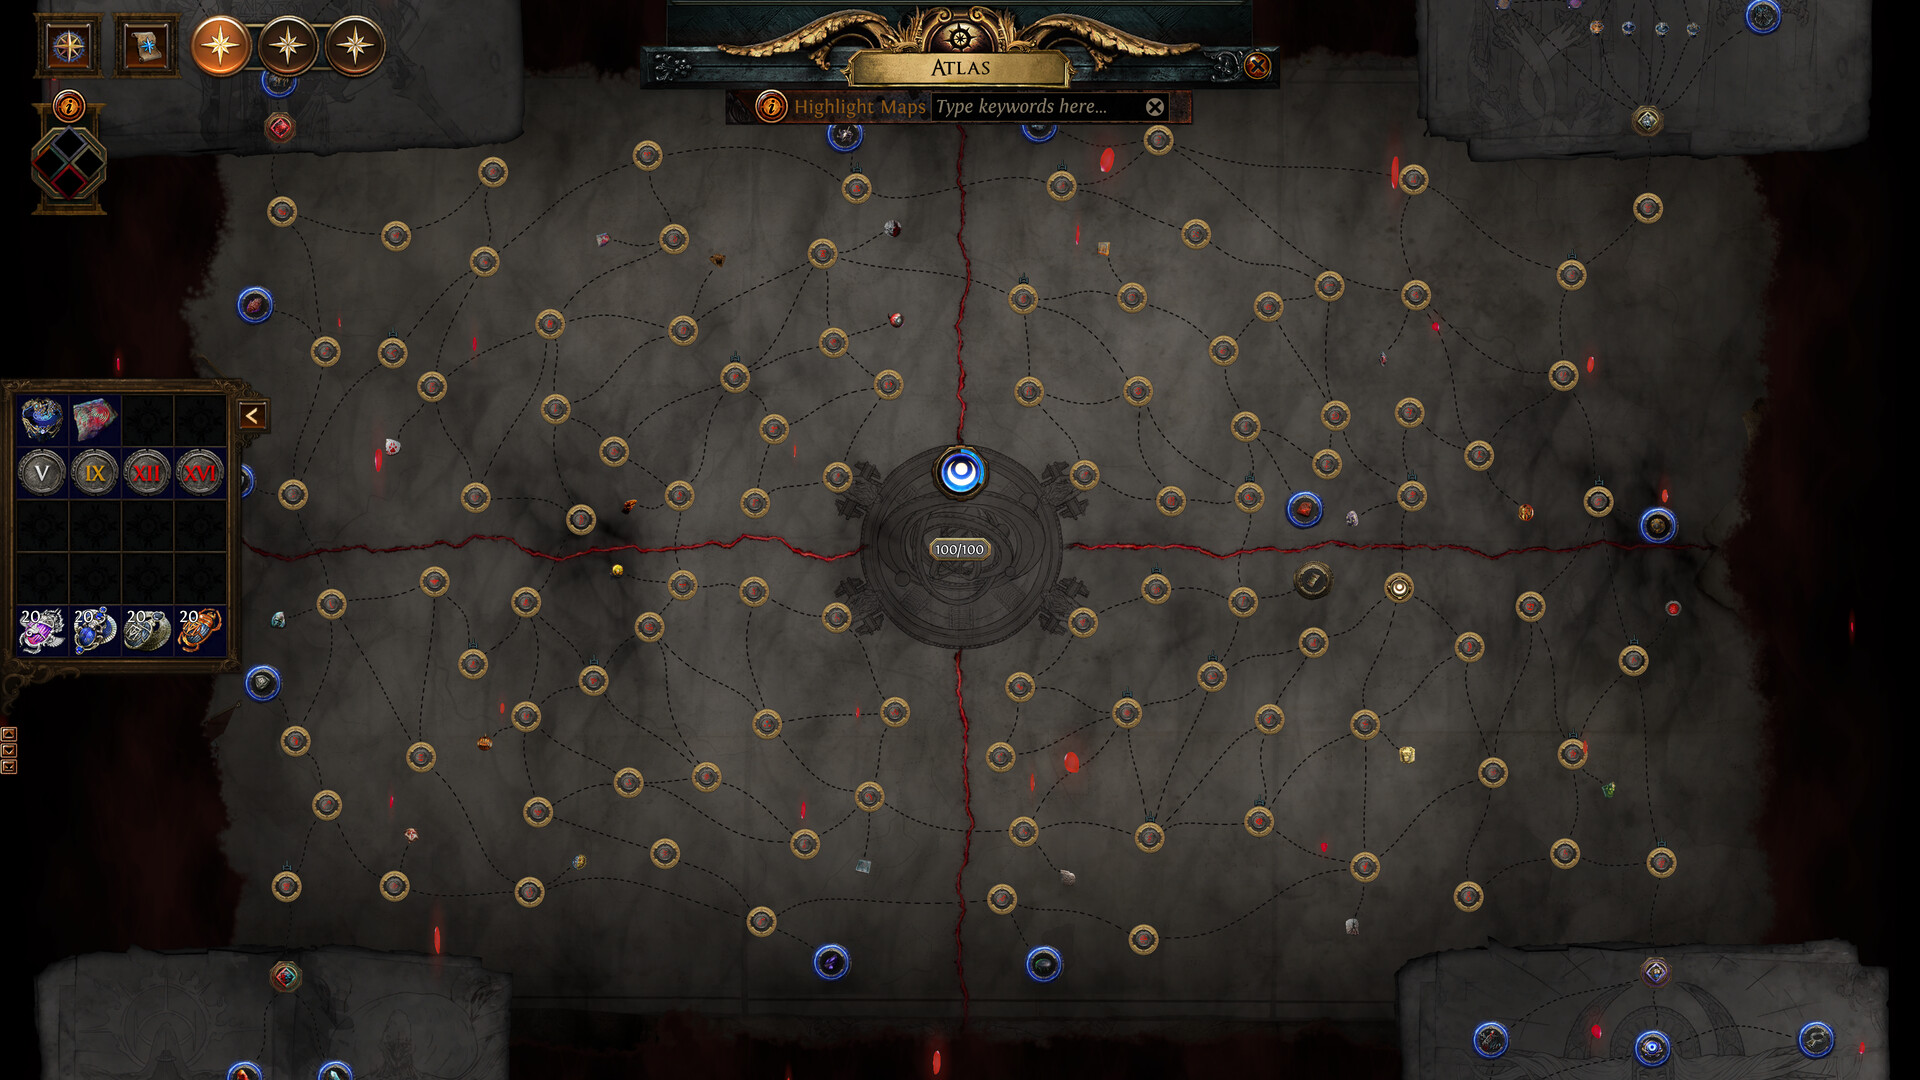
You don’t need to wait for maps. Every zone contains at least one Chart, and sometimes two, and you’ll receive your first Chart from Valerie shortly after boarding The Sovereign, meaning access to the mechanic begins in Act 1. The encounter itself is a guarded treasure — kill the pack standing on it, loot the chest, and the Chart drops along with a temporary buff tied to whichever faction guarded it. Community tracking suggests Charts scale within fixed level bands to stay usable while leveling, so a Chart picked up in the campaign isn’t wasted if you sit on it. Once you’ve scouted enough of them, Valerie unlocks the Voyage Board, and speaking to her after you’ve gathered nine Charts lets you begin planning a Voyage, a far larger area comprised of nine connected Charts. Placement isn’t arbitrary either — each Chart’s icon has lines on it, which must connect to the previous piece, so hoarding Charts without checking their connectors can leave you short on launch day.
Step-by-Step: Running Your First Lost Chart Voyage
Follow this sequence to get it done fast.
-
1
Collect Charts while mapping or leveling
kill the guardians on any Cursed Treasure encounter you pass; don't detour hard for them early, since completing the Lost Chart grants a regular Chart, which can be used to start Voyages.
-
2
Store them instead of running each one solo
the Chart Storage chest lets you store all of your Charts, whether charted or uncharted, and can be added to your hideout with a stash affinity that auto-sorts them.
-
3
Bank until you hit nine
a single Chart run gives baseline rewards, but stacking nine on the board is where modifiers actually multiply.
-
4
Check connectors before you commit
line up Charts so their edges match, and don't force weak Charts into slots just to fill the board.
-
5
Descend with the Bathysphere and manage your Lanterns
you rely on up to seven Allflame Lanterns to create oxygen bubbles underwater, and once all seven are placed, they begin to flicker and fade, forcing you to rush back to the Bathysphere as creatures rush in.
-
6
Extract before the lights die
grab what you can and head back rather than pushing for one more chest.
Best Lost Chart Farming Methods
There’s no single “correct” way to gather Charts — it depends on whether you’re leveling, mapping, or specifically chasing high-value tiles. The efficient farming guide covers general currency routes; here’s how Chart collection specifically stacks up.
On the third option, community write-ups point specifically at routing through named tiles: specialized tiles such as Lost Kalguuran Shipments, Sunken Abyssal Areas, or massive Treasure Fields tend to produce the richest single dives, though exact weighting between them hasn’t been confirmed in patch notes.
| Method | Speed | Effort | Best For |
|---|---|---|---|
| Picking up Charts naturally while leveling | Fast, no detour | Low | New characters — access starts in Act 1 regardless of gear |
| Dedicated Atlas rotation for Chart encounters | Medium | Medium | Anyone building a steady nine-Chart bank for repeat Voyages |
| Routing toward named high-value tiles | Slower per run | High | Players chasing the single biggest Voyage payout |
| Chart Storage + batch launching | Organizational, not a farm | Low | Anyone running more than one Voyage per session |
Which Lost Chart Types Are Worth Running
This is the sorting question the mechanic actually revolves around. Guardian faction changes the bonus you get on the spot; board modifiers change what a Chart does once it’s slotted into a Voyage.
| Chart type | What it gives | Verdict | Best for |
|---|---|---|---|
| Undead-guarded | Faction bonus for the rest of the zone | Run as you pass it | Any build — these sit on your normal path |
| Rival Corsairs-guarded | Faction bonus for the rest of the zone | Run as you pass it | Any build — no detour needed |
| Creatures of the deep-guarded | Faction bonus, harder fight | Be selective | Characters that already clear harder maps comfortably |
| Ducat modifier | Ducats for warping item mods | Bank it for the board | Anyone crafting rather than selling |
| Gold or Gilded modifier | Gold conversion via Allflame Ember of the Gilded | Bank it for the board | Players whose bottleneck is gold, not currency |
| Wisp modifier | Higher danger for higher payout | Skip on a squishy build | Tanky characters that can survive the extra pressure |
What to Do With Charts Not Worth Running
Not every Chart earns a slot, and a board stuffed with the hardest options usually costs more than it pays. If a Chart’s connector doesn’t line up with anything useful, or its faction bonus doesn’t fit your build, the simplest move is to run it solo for the baseline loot during a normal map clear instead of forcing it onto the board, or just leave it out of your nine and keep it in Chart Storage for a future Voyage where it fits better. There’s no confirmed way to trade Charts directly on the market as of this patch, so “sell it” in practice means running it cheaply rather than discarding it outright.
Warning
Dying underwater means losing your hard-earned expedition rewards, not just your position — don’t push a marginal Chart’s fight past the point your build can safely handle.
Lost Chart Rewards and What You Unlock
Dead Man’s Sulphur and the Crafting Bench
The primary loot from Curse of the Allflame is Dead Man’s Sulphur alongside regular items like gold, gear and Uniques — you’ll find Luminous Coral that refines into Sulphur, plus Messages in a Bottle that grant random rewards. That Sulphur feeds Vesper’s bench: place an item and a currency alongside Dead Man’s Sulphur and the bench splits the item into up to four ghostly forms representing potential outcomes, from which you choose one to keep. Our Voyages guide breaks the bench mechanic down step by step.
Ducats and Cargo Capsules
Ducats show up on special Charts and function as a separate crafting currency for warping item mods. Mid-dive, Cargo Capsules scattered along your path act as a temporary stash box, letting you send a full inventory of loot back to your ship so you can keep farming. Completing a Voyage also fills loot capsules on the ship, which you can claim upon returning to The Sovereign for currency and all kinds of items.
Tip
Turn on the Chart stash affinity in your hideout early — it auto-sorts every Chart you pick up so you’re not manually hunting for your ninth one mid-session.
Common Misconceptions About Lost Charts
Myth: You Should Fill Every Voyage Slot With the Hardest Chart Available
This one costs people runs. Filling every available position with the hardest options is rarely the right move — a good layout gives valuable Charts useful bonuses without creating more danger than your character can handle. A board of nine brutal encounters just means a longer, riskier extraction for loot you might not survive to bank.
Myth: There’s Already a Settled Tier List for Chart Types
Three weeks in, the numbers are still moving. Player complaints about too few drops and too-difficult currency led GGG to release Patch 3.29.0b on July 27th, adjusting reward weighting on charts and Voyages directly. Anything ranked before that hotfix is already stale, and later hotfixes could shift it again.
Myth: Losing a Fight Underwater Just Wastes Time
It’s worse than that. Dying down here means losing your hard-earned expedition rewards — the loot you gathered before extraction doesn’t survive a death, so a greedy last chest is rarely worth the gamble on a Chart you weren’t planning to bank anyway.
Our Take: Are Lost Charts Worth Running?
Our Take
Run them opportunistically while mapping, but don’t detour for weak ones.
Lost Charts are cheap to pick up and expensive to ignore — since access starts in Act 1 and the encounters sit on your normal path anyway, there’s rarely a reason to skip one outright. The real decision point is the Voyage Board, where a single bad connector or a Wisp-modifier Chart slotted into a squishy build’s board does more harm than good. Given GGG already hotfixed drop weighting once after week-one complaints, treat any specific chart-type ranking you read right now, including the table above, as a snapshot rather than a settled meta.
The honest read for gear-conscious players: bank Ducat and Gold-modifier Charts, run Undead and Corsair encounters as you naturally pass them, and be selective about Wisp-heavy or creature-of-the-deep-guarded Charts unless your character can already handle harder map content. That’s less about any single Chart being “bad” and more about matching risk to what your build can extract safely.
Was this guide useful?
Path of Exile services
Challenge League · Leveling
Powerleveling — Custom Range (1-100)
Pick your start and target level, 1 to 100 · Full act completion and three Labyrinths

Standard · Atlas & Bosses
Full Atlas Completion — All 118 Maps
All 118 Atlas maps completed · Unlocks the full Atlas passive tree and bonuses

Challenge League · Leveling
1-70 Leveling + All 10 Acts + 3 Labs + 24/24 Skill Points
Levels 1 to 70 with all ten acts cleared · Three Labyrinth runs completed