On this page
Not every monster pack guarding a Cursed Treasure or Sunken Object is worth the Lantern time it costs to reach it — undead guard packs, rival corsair groups and creatures of the deep all behave differently once you’re on the clock, and picking the wrong one burns light you can’t get back. This guide assumes you already know how the Lantern loop itself works; if you don’t, the Voyages guide covering Chart placement and Lantern timers covers that layer. What follows is the second layer: which packs actually pay back the Lantern you spend reaching them, and which ones just eat your timer.
TL;DR
- Undead guard packs are the only faction with a confirmed on-kill bonus so far — a “Possessed” ghostly power that lasts the rest of the zone
- Creatures of the Deep packs sit closest to Sunken Objects and the coral that feeds Dead Man’s Sulphur, the resource gating Allflame Crafting
- Rare and Unique monsters anywhere in a Lantern bubble can trigger an on-death crab spawn, one of the confirmed possible encounter bonuses
- GGG has not published a fixed pack-to-bonus table, so faction-specific payouts are still being mapped by the community
- What’s “worth seeding” this week can flip once Sulphur, Ducats or crab-loot prices move on trade
How Allflame Lantern Seeding Actually Works
Every Chart and Voyage hands you a fixed number of Allflame Lanterns to spend, and the timer begins when you place your seventh and final lantern, not when you enter the area. Before that final placement, you’re free to walk toward whichever pack or encounter looks worth it. Once you commit, the existing Lanterns begin to fade and deep-sea monsters close in, so you need to return to the Bathysphere before the water reclaims the area. That’s the entire “seeding” decision in a nutshell: every step you take toward a pack before your last Lantern drops is time you’re not spending walking back.
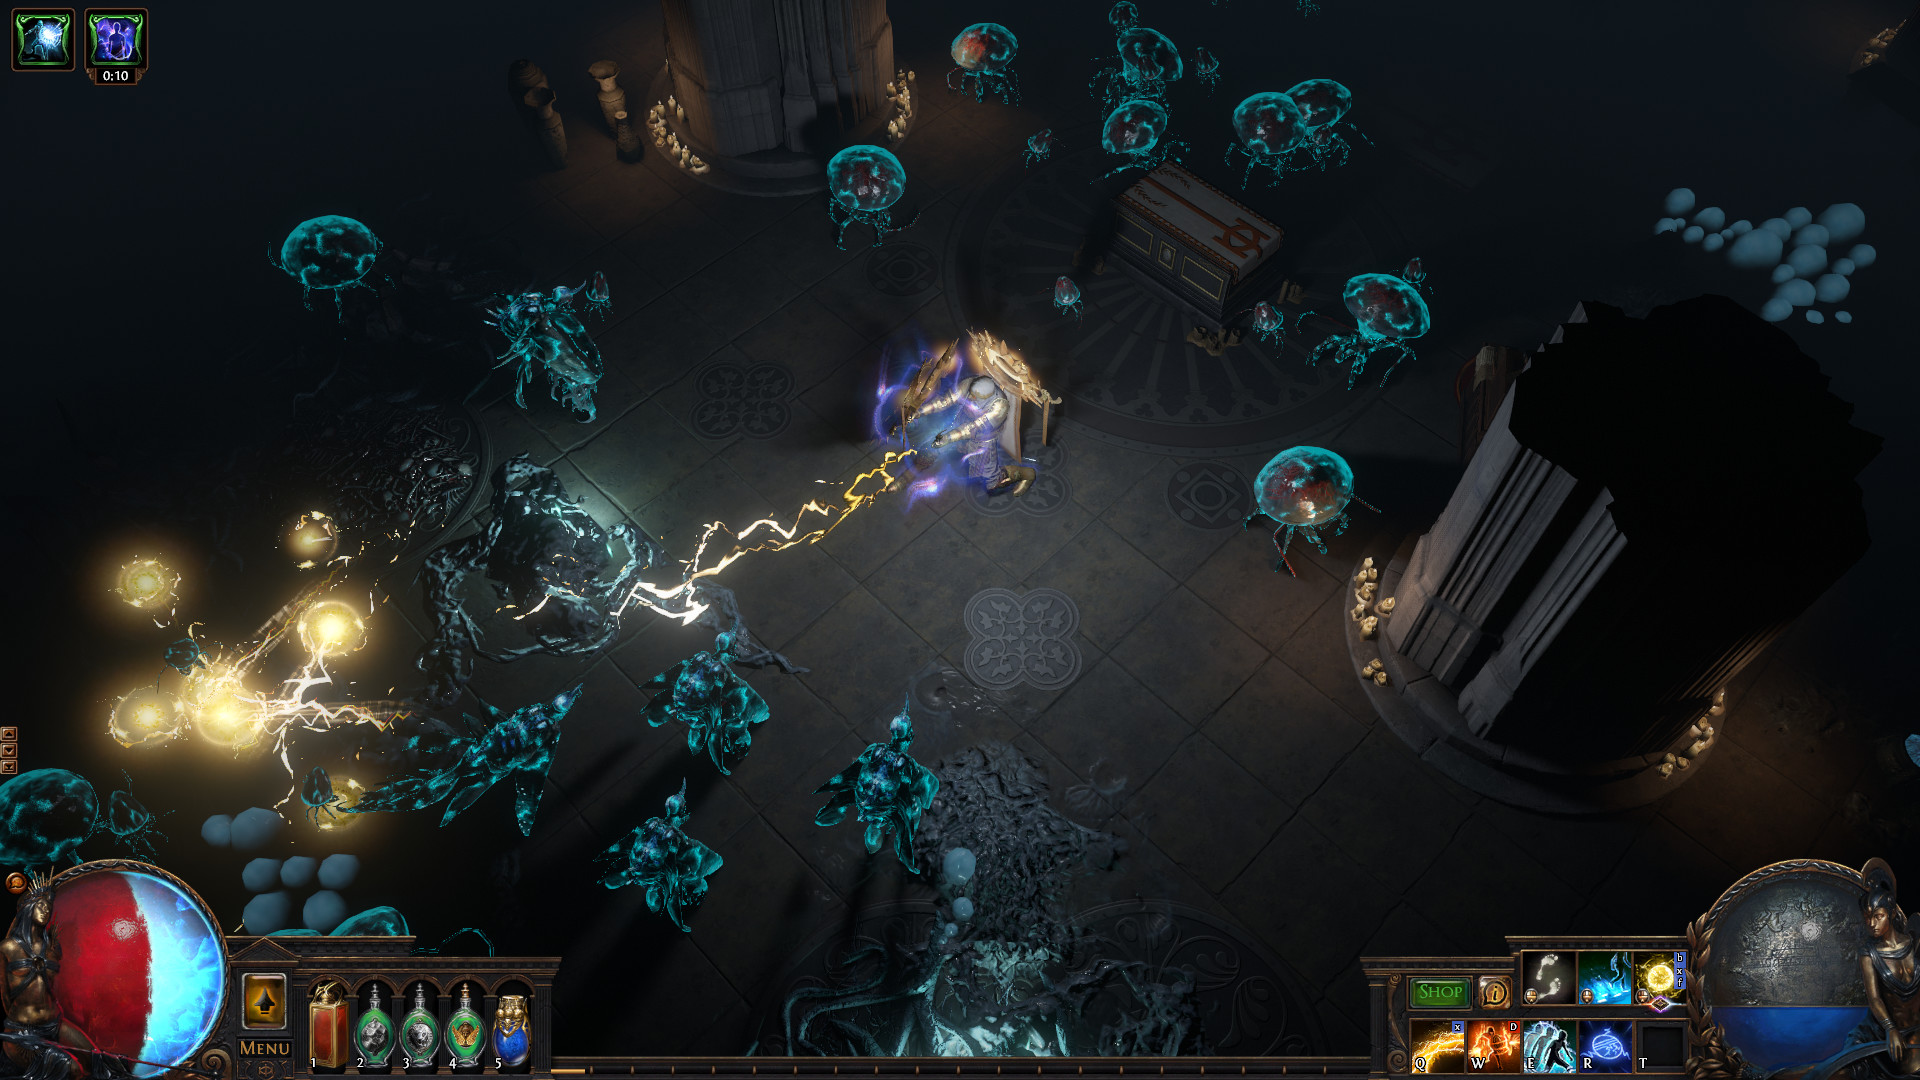
The packs themselves come from two sources. Out on land, every zone contains a Lost Charts encounter in the form of a treasure guarded by either Undead, Rival Corsairs or horrible creatures of the deep, and defeating them drops a Chart plus a special effect depending on the faction. Underwater, once a Lantern is down, it points to the closest Sunken Object, and following that direction leads you to the pack standing between you and the reward. The practical question isn’t “can I kill this pack” — it’s whether the detour is worth the Lantern light it costs.
Players short on time can put Path of Exile boosting alongside a normal playthrough rather than in place of one.
Which Monster Packs Are Worth Seeding
These are the three guard factions and how they line up against the Lantern’s limited window. Treat the specifics as third-week readings rather than a fixed GGG-published table — the developer has not laid out a definitive pack-to-bonus chart, and the 3.29.0b hotfix on 27 July already adjusted reward weighting once.
Tip
Let the Lantern’s own arrow do the scouting. Since each Allflame Lantern points to the closest Sunken Object upon being placed, you don’t need to guess which direction has a pack worth fighting — follow the arrow first, then decide if the guard faction at the end is worth the detour.
How Do You Know a Pack Is Worth the Detour?
Compare the walking distance to your remaining Lantern budget, not to the reward alone. A short pull toward a Sunken Object two lantern-lengths away almost always beats a long detour to a distant pack, because the fade timer on your existing bubbles doesn’t pause while you’re mid-fight.
Does Pack Size Matter More Than Faction?
Often yes. A dense Undead pack that takes three times as long to clear can cost more than the ghostly buff it grants is worth, while a thin Rival Corsair pack blocking a Chart drop is nearly free.
| Pack Type | What It Gives | When It's Worth It | Who It Suits |
|---|---|---|---|
| Undead guard packs | Chance at a possession-style buff — killing undead will possess your character with ghostly power for the remainder of the zone | When the pack is small and the buff will carry into several more encounters in the same Chart or Voyage leg | Builds that want a clear-speed or damage boost to push further before the timer forces a retreat |
| Rival Corsair packs | A more straightforward combat encounter — GGG hasn't confirmed a distinct faction-specific bonus beyond the standard loot, a Chart which can be used later, and a special effect depending on the faction | When you just need a guaranteed, fast clear to unlock a Chart rather than a buff to chase | Players optimizing for raw Chart throughput over build-enhancing effects |
| Creatures of the Deep packs | Access to the Sunken Objects and luminous coral that feed Dead Man's Sulphur, the very fuel that powers The Sovereign | Whenever you're short on Sulphur for Allflame Crafting, since that resource gates the ship's crafting bench | Anyone actively using Vesper's crafting system rather than just banking loot |
| Rare/Unique packs anywhere in a bubble | Each Rare or Unique monster you kill spawns crabs on death, one of the confirmed possible encounter bonuses | When the pack sits safely inside your current bubble and doesn't force a detour toward the edge | High-clear-speed builds that can afford the extra kill without risking the walk back |
Follow this sequence to get it done fast.
-
1
Place your Lanterns toward open ground first
expand the bubble in the direction with the most visible Sunken Objects or treasure before committing to a fight.
-
2
Read the guard faction before engaging
undead, corsairs and deep creatures behave differently, and the ghostly-power buff only comes from undead kills.
-
3
Weigh distance against Lanterns remaining
if reaching a pack burns more than half your remaining Lantern count, the payoff needs to be a full Chart or Sulphur node, not just loose loot.
-
4
Clear Rare and Unique packs inside your current bubble
the crab-spawn bonus is close to free if the pack is already inside a safe zone you occupied anyway.
-
5
Prioritize Creatures of the Deep when Sulphur is low
Allflame Crafting stalls without it, so a coral-adjacent pack often outvalues a random loot pack.
-
6
Stop seeding once your last Lantern is down
from that point the fade timer is running and every extra pack is a gamble against the return trip.
Combining Seeded Packs with Maps and Atlas Anomalies
Chart and Voyage rewards don’t exist in a vacuum — the map you’re running underneath a Chart, and the newer Atlas-level endgame systems layered on top of it, both change how much a seeded pack is worth. On the Voyage board itself, each Chart modifies adjacent Charts or the whole Voyage — converting drops to Gold, summoning friendly jellyfish, empowering monsters with Wildwood Wisps, or adding entirely new encounters, and shifting Currents of Corruption along the board’s edge add further bonuses. That means a Creatures-of-the-Deep pack sitting next to a Chart with a Gold-conversion modifier is worth more than the exact same pack on a plain board, because the loot it drops gets multiplied by an adjacency bonus you didn’t have to pay extra for.
The wider Atlas layer matters too. Curse of the Allflame ships alongside a new Atlas Anomalies system, and 3.29 adds chart-based ocean expeditions, a multi-outcome crafting system, returning Mercenaries, a new Luminary Scion Ascendancy, major Abyss and Legion reworks, craftable Talismans, Atlas Anomalies, unrestricted gem socket colours and a broad self-cast spellcaster update in the same patch. If your map has an Atlas Anomaly rolled alongside a Chart, stacking the two means the packs you seed a Lantern toward are competing with — or feeding into — a second reward layer at the same time. Before you build a route around chasing one specific pack type, it’s worth checking whether the map’s own modifiers already answer that need, which the Voyages placement guide covers in more depth.
Why This Value Isn't Permanent
Everything above is a snapshot of the early league, not a fixed ranking. Dead Man’s Sulphur, Ducats and whatever currency crab-spawn loot converts into all trade on the open market, and their prices move as more players reach the same content. A pack type that looks like the clear pick in the first week — because Sulphur is scarce and everyone needs it for Allflame Crafting — can lose that edge once supply catches up and the resource stops being a bottleneck. The same goes the other way: a pack faction that looked skippable in week one can become worth chasing once players figure out what its bonus actually does over a full Voyage, since exact drop rates, optimal Chart layouts, reward values and the settled farming meta are still being worked out three weeks in.
Warning
Don’t lock in a route based on week-one pricing. Sulphur, Ducat and crab-loot values are still settling as more players reach the ocean content, and a pack that pays off today can be a worse trade a few weeks in once the market adjusts.
Myth: More Packs Cleared Always Means More Loot
Not if it means walking further than your remaining Lanterns can safely support. A full clear that ends with you drowning on the way back nets less than a partial run that got out clean, because leaving the safe bubble causes drowning and lost items on a failed extraction don’t come back.
Myth: Every Faction Has Its Own Fixed Bonus
Only the undead’s possession effect has been consistently described across previews. Corsair and deep-creature encounters are documented as granting a special effect depending on the faction without GGG spelling out exactly what that effect is for each one, so treat any specific corsair or deep-creature bonus you read elsewhere as community observation, not confirmed patch text.
Myth: Seeding Is Only About the Ocean Floor
The land-side Cursed Treasure encounters matter just as much, since Cursed Treasure appears in every zone in the game, and killing the surrounding enemies and opening the treasure grants a bonus for the rest of the zone before you’ve even boarded The Sovereign. Skipping those because you’re rushing to the boat means skipping half the pack-seeding decisions the mechanic offers.
Our Take: Is Chasing Specific Monster Packs Worth It
Our Take
Seed for Sulphur first, buffs second, and don’t overthink the corsair packs.
The clearest win right now is treating Creatures of the Deep encounters as a Sulphur errand rather than a loot roll — Allflame Crafting is the mechanic’s real long-term payoff, and it stalls without fuel. The undead possession buff is the one confirmed effect worth detouring for when the pack is small, since it’s the only bonus GGG has actually described in specific terms. Everything else — corsair packs, the exact value of a crab spawn, how well any of this stacks with a heavily juiced map — is still being worked out by players in real time, and pretending otherwise would be guessing dressed up as strategy.
The honest caveat is that this whole ranking is a snapshot. Once trade prices on Sulphur and Ducats settle and players find the actual efficient Voyage board layouts, some of what looks like a smart pack choice this week could be middling by the time the league is a month old. Treat this as a starting framework, not a permanent tier list, and cross-check it against general currency farming fundamentals if the numbers stop lining up.
Was this guide useful?
Path of Exile services
Challenge League · Leveling
Powerleveling — Custom Range (1-100)
Pick your start and target level, 1 to 100 · Full act completion and three Labyrinths

Standard · Atlas & Bosses
Full Atlas Completion — All 118 Maps
All 118 Atlas maps completed · Unlocks the full Atlas passive tree and bonuses

Challenge League · Leveling
1-70 Leveling + All 10 Acts + 3 Labs + 24/24 Skill Points
Levels 1 to 70 with all ten acts cleared · Three Labyrinth runs completed