On this page
Palworld‘s 75 achievements sprawl across catching, crafting, exploration, and boss fights. The base estimate sits around 15-20 hours, but that number assumes you grind in the right order. Most players waste time chasing effigy collectibles or the 1,000-catch achievement before they have a flying mount, turning a couple of hours into a multi-day slog.
If you already played through Early Access and came back for 1.0, eighteen new achievements landed with the full release. The 1.0 update adds 18 new achievements focused on the World Tree region, final boss, regional effigies, and new systems like Mutation and Awakening.
Not everyone has the evenings for this — Palworld boosting covers the same ground with someone else on the keys.
The Short Answer
Focus Tower Bosses and story-path achievements before you touch the collectible or crafting grinds. The first five Tower Bosses unlock by level 50 if you follow the natural progression path, and each one hands you Ancient Tech points that unlock better gear, better crafting stations, and faster mounts. The Steam version has 75 achievements covering story, Tower Bosses, Pal collecting, exploration, raids, crafting, fishing, the Arena, and other progression systems.
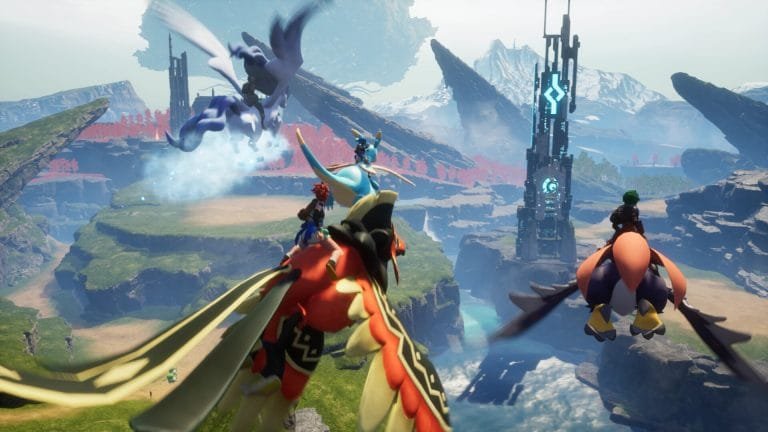
Once you clear Zoe & Grizzbolt, Lily & Lyleen, Marcus & Faleris, Axel & Orserk, and Victor & Shadowbeak, you unlock Jetragon’s spawn area and can catch the fastest mount in the game. That mount cuts effigy-hunting time by more than half. The 255 Lifmunk Effigies achievement becomes manageable once you can fly, search at night when they glow, and cross the map in minutes instead of slowly trudging through high-level zones on foot.
The eighteen new 1.0 achievements revolve around Mutation, Awakening, the final boss fight, and regional effigies tied to the new areas. Most will unlock naturally if you complete the World Tree story, but a bug currently requires you to have 20 effigies in your inventory for certain effigy achievements to register, so do not spend them until the associated achievement pops.
Tower Bosses First — They Unlock Everything Else
Tower Boss achievements are the fastest return on time invested. Each fight takes under ten minutes once you hit the recommended level, and the rewards compound. Defeating Tower Bosses rewards Character EXP, Pal EXP, and 5 Ancient Technology Points, which unlocks endgame crafting recipes and better tools.
The Five Base-Game Towers
Zoe & Grizzbolt can be found at the Tower of the Rayne Syndicate in Windswept Hills, recognizable by red-grass hills. Recommended level 10. Ground-type Pals or a Daedream swarm with Hoocrates works. This is the easiest Tower Boss and teaches you the pillar-dodge mechanic that carries through every subsequent tower.
The remaining four base towers scale up to level 50. If you are pushing for speed, skip exploration and side-content until you finish all five. Each tower unlocks a fast-travel point and gives you the Ancient Tech to craft better spheres, better weapons, and the Pal Expedition Station that generates passive resources while you are out farming.
The Towers Added Since Early Access: Sakurajima, Sunreach, World Tree
Saya & Selyne is the sixth Tower Boss added with Sakurajima. Auri & Shaolong is the new Sunreach tower added in the 1.0 update. Zenara & Astralym are the final boss inside the World Tree’s Sealed Sanctum, accessible after completing the Panthalus questline and using all Key Spheres from the previous Tower Bosses.
Each Tower Boss drops one Key Sphere. You need all eight to open the final arena. Returning players from Early Access already have seven; new players have to clear all eight in sequence.
Hard Mode Tower Achievements
Champion of the Palpagos Islands requires defeating 6 Tower Bosses in Hard mode. Hard mode unlocks after you beat the story. This one is not fast — the difficulty spike turns most fights into endurance tests unless you bring a fully optimized team with Awakening bonuses and legendary passives. Save this for the very end of your achievement run.
Pal-Catching Milestones Unlock Passively
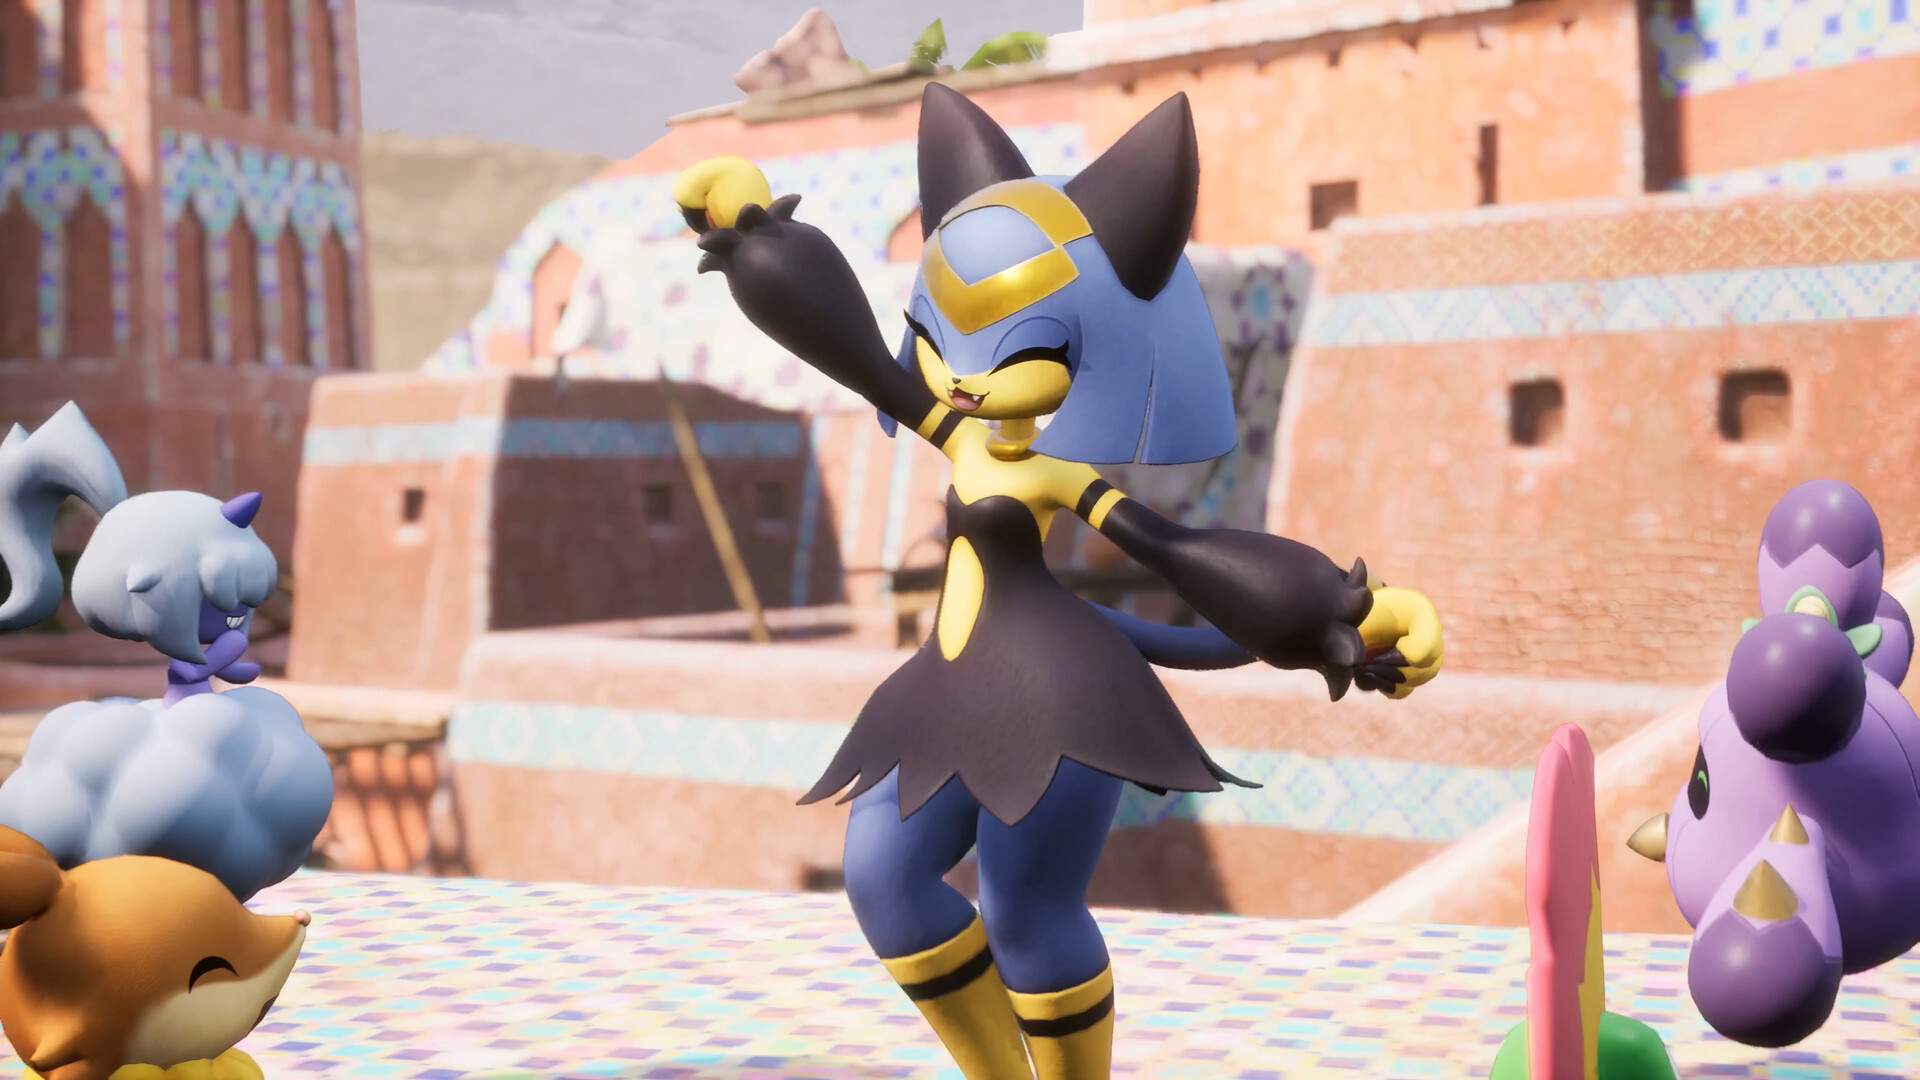
There are five tiered Pal-catching achievements: 10 species, 20, 50, 90, and 140. Variants like Aqua, Botan, Cryst, Ignis, Libero, Lux, Noct, and Terra count as different types, which pads your count without extra travel.
You will hit 90 species naturally if you explore each biome while progressing the story. The jump to 140 species requires exploring Sakurajima island and the World Tree zones, but those are endgame areas you will visit anyway for the final boss.
The 1,000-Catch Achievement
Overhunting requires catching 1,000 Pals total and can be earned retroactively; catching 10 of every Pal is a fast way to level up and earn this naturally. This is a background grind. Do not sit in one spot catching the same Pal repeatedly — it is slow XP and boring. Instead, catch ten of each species you encounter while exploring. You will cross 1,000 total catches before you finish the Paldeck.
Special Catches
- Catching a human has low catch rates; easier once you unlock better spheres and raise catch rate with Lifmunk Effigies
- Jetragon is a level 55 Dragon found northwest of Mount Obsidian; bring Ice Pals, a rocket launcher, and stay mobile
- Catching Paladius, Necromus, and Frostallion requires traveling to their habitats and fighting them at high levels
All four of these legendary catches happen faster once you have Jetragon as your mount. Prioritize unlocking Jetragon early — it is the single biggest time-saver in the game.
Oil Rig and Attack Chopper
Attack Chopper is a mini-boss unique to Feybreak Island that spawns when you hack the cage around the big chest at the top of the level 60 Rayne Syndicate Platform Oil Rig, found off the southwest coast of Feybreak. This is one fight, not a raid event. Bring a strong combat team around level 60 and expect a tough but short encounter.
Oil Rigs are loot farms with mini-boss guards. The Attack Chopper achievement unlocks the first time you defeat it. You can repeat the Oil Rig for loot, but the achievement only requires one clear.
Effigy Grinds — Save These for Last
Palpagos Guru requires 255 Lifmunk Effigies scattered around the map in cliff-side nooks; a better mount like Jetragon makes exploration easier, and searching at night when they glow helps spot them. This is the longest single grind if you do it on foot.
My first playthrough, I chased effigies at level 30 without a flying mount. Took me close to twelve hours of backtracking through dangerous zones and getting stuck on terrain. Once I had Jetragon, I cleared the remaining hundred effigies in under four hours by flying the perimeter of each region at night.
Regional Effigies
The 1.0 update added eight regional effigy achievements tied to specific Pal species: Lamball, Pengullet, Munchill, Rooby, Herbil, Tanzee, Depresso, and Cattiva. Each requires collecting 20 effigies of that type. These are spread across the new World Tree and Sunreach regions plus the older Sakurajima and Feybreak zones.
There is currently a bug requiring 20 effigies in your inventory for the achievement to count; do not spend any until you get the achievement, and if you already spent them the bug will likely be fixed in an upcoming patch. This is annoying but manageable — just hold your effigies until the pop-up appears.
Crafting and Progression Grinds
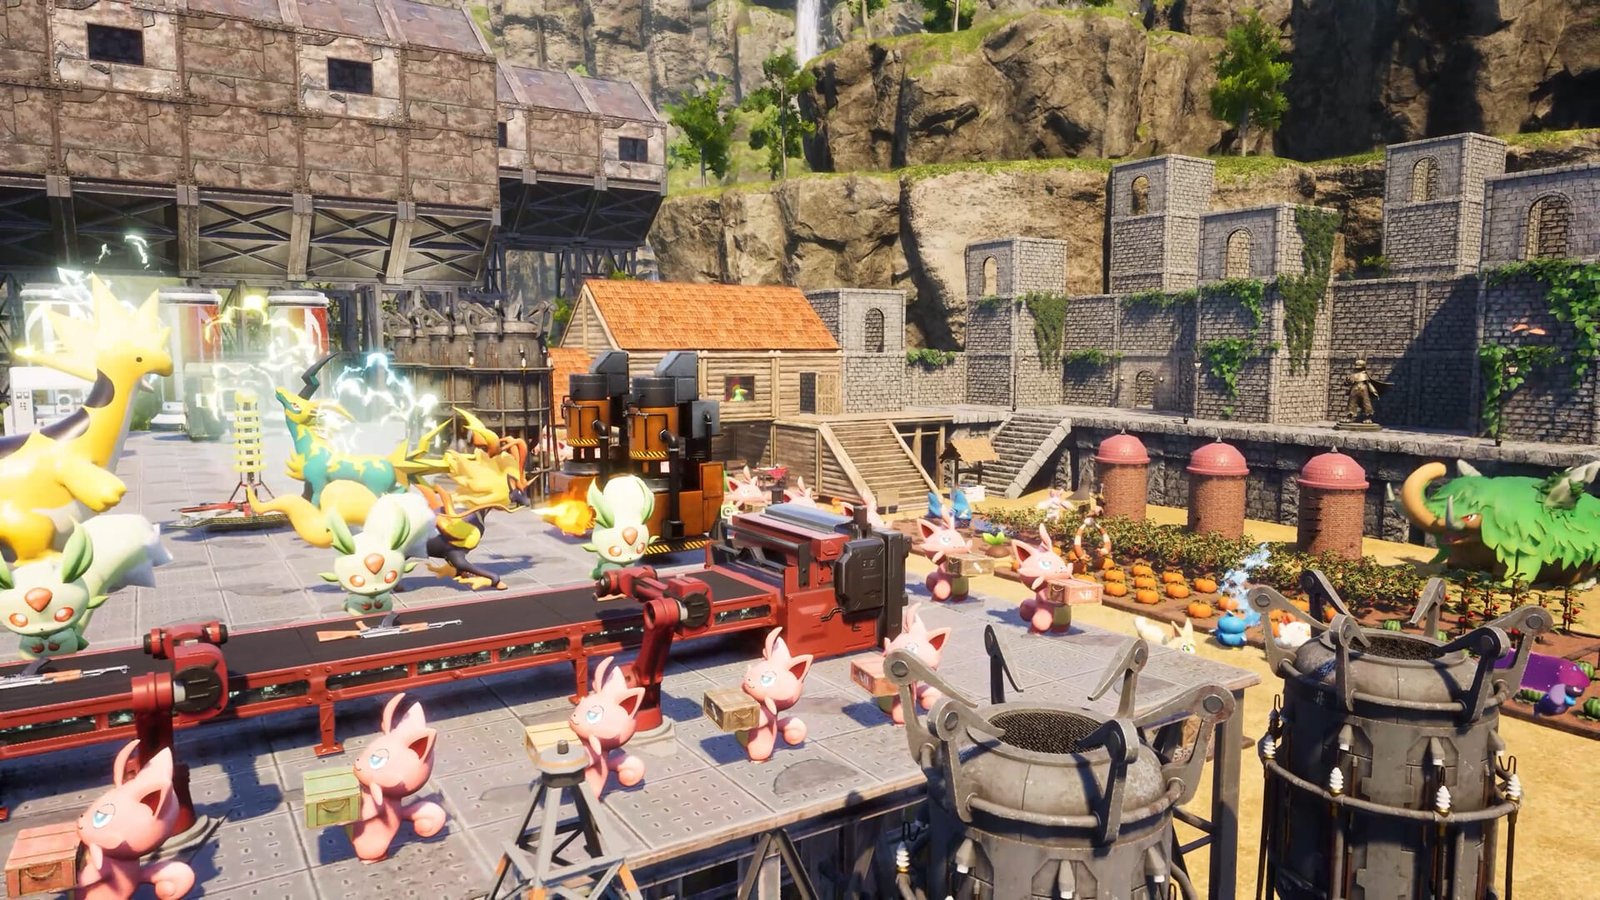
Three cumulative achievements track bulk crafting: 2,000 Pal Spheres, 10,000 Ingots, and 20,000 Ammo. These sound painful but happen passively if you set up automated production lines with the right Work Suitability Pals.
Build a crafting base early with high Handiwork Pals assigned to Sphere Factories and Ingot Furnaces. Completing 70 Pal Labor Research projects earns all three research achievements, and each project buffs your Pals permanently. Start these as soon as you unlock the Pal Labor Research Laboratory at level 20.
Pal Expeditions unlock at level 15; send Pals out to gather resources and complete 20 Expeditions for the achievements; matching Pals to the recommended type speeds up completion and increases rewards. Expeditions run in the background while you do other content, so start them early and keep them rotating.
Raid Bosses and Predators
Defeating summoned Bellanoir earns Twilight Siren; defeating Bellanoir Libero earns Eclipsed Siren; defeating summoned Blazamut Ryu earns Incarnation of the Eternal Flame. Raid bosses require summoning items and a full team. Set up a separate base for raid boss summoning with strong combat Pals and appropriate defenses to create a better arena.
Predator Pals are stronger, larger Pals with red eyes, a glow, and an ominous heartbeat sound; they cannot be caught and have set spawns, one easy spot is the Bridge of the Twin Knights between Autumn Rocks and Crescent Moon Shore. Predator Hunter unlocks after your first kill. This is a one-and-done achievement that takes under five minutes.
The Final Boss Unlock Path
Zenara & Astralym is the endgame achievement tied to completing the main story. The final boss is found inside the World Tree, requires reaching Level 80, and is designed as the final challenge with both you and your Pals at the level cap.
The unlock chain runs through the Panthalus quest, defeating three World Tree mini-bosses, and collecting all eight Key Spheres from the Tower Bosses. Zenara & Astralym is a Level 80 duo with around 420,000 HP, completely typeless with no elemental weakness, making it a pure gear and skill check that completes Palworld’s main story.
Do not attempt this fight before level 80. Your Pals cannot exceed your level, so reaching 80 yourself lets them fight at maximum potential and survive Astralym’s devastating attacks. The fight has multiple instant-kill mechanics, including a wing-charge sequence that wipes you if you fail the damage check.
Rewards
Defeating Zenara & Astralym completes Awakening, the final main mission, plays the ending cutscenes, and lets you continue playing to finish your Palpedia, build bases, and challenge remaining content. Astralym is added to your Paldeck as an encountered entry but cannot be caught, owned, or deployed. You also earn five Ancient Technology Points and unique cosmetic rewards.
Common Mistakes to Avoid
Do not farm effigies before you have a fast flying mount. The time investment quadruples. A vocal subset of Reddit swears you should knock out all collectibles first — those players are wrong. Exploration collectibles scale inversely with mobility. Wait until you unlock Jetragon.
Do not waste spheres trying to catch Astralym during the final boss fight. You cannot capture Astralym — do not waste ultra-rare spheres hoping for a glitch, just focus on dealing damage. The game registers it as encountered-only.
Do not ignore the Pal Labor Research Laboratory. Start projects as soon as you unlock the building at level 20. Each completed project permanently buffs your Pals and the cumulative achievements require finishing seventy total. That is a long passive grind that compounds if you delay starting it.
Do not rush Hard Mode towers immediately after beating the story. The difficulty spike is real and you will waste time on failed attempts. Get your team to level 80, unlock Awakening, and stack legendary passives first. Hard mode is the last achievement you should chase, not the first post-game goal.
The Bottom Line
It depends on whether you want speed or completeness. If you are chasing the handful of fastest achievements to say you made progress, knock out the first five Tower Bosses, catch Jetragon, defeat one Predator Pal, and call it. That gives you eight achievements in around twelve hours and unlocks the tools that make everything else faster.
If you are going for 100%, the path is Tower Bosses → story completion → effigy hunt with Jetragon → crafting grinds running passively → Hard Mode towers last. The grind achievements happen in the background if you set up production early. Delaying effigies until you have mobility is the single biggest time-saver. Hard mode is brutal and belongs at the very end once your team is maxed.
The 1.0 achievements tied to Mutation, Awakening, and the final boss will unlock naturally if you finish the World Tree story. Just remember the effigy inventory bug — hold twenty of each regional type before spending them, or wait for the patch fix. Palworld rewards players who automate production and delay collectible grinds until they have the right tools. Rush the mobility unlocks, let crafting happen in the background, and save the completionist grinds for when you are properly equipped.
Palworld’s achievement list sprawls across seventy-five objectives, but the path to the notable ones is shorter than it looks. Focus mobility first, let passive grinds compound in the background, and tackle the hardest content last when your team is maxed. Missing any of those steps turns a reasonable grind into a frustrating slog.
The effigy hunt and Hard Mode towers take real calendar time. Getting Jetragon early, setting up automated crafting lines, and hitting level 80 before the final boss fight means logging consistent sessions over multiple days.
A boost service covers the entire achievement grind from Tower Boss clears through effigy collection and endgame raids. You come back to a completed achievement list and can jump straight into the post-game content that actually interests you.
Was this guide useful?
Palworld services
Level Boosting
Player Level Boost
Any range from level 1 to the level 80 cap · Set your current and target level on the slider
Other Services
Full Technology Unlock
Every Ancient and standard recipe unlocked · Technology and Ancient points farmed, then spent
Farming & Resources
Technology Points
Technology Points farmed through levels and Alpha kills · Unlocks weapon tiers and base structures