On this page
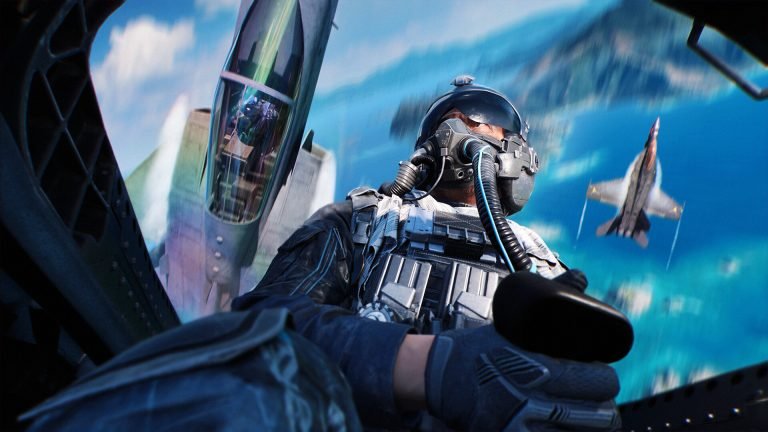
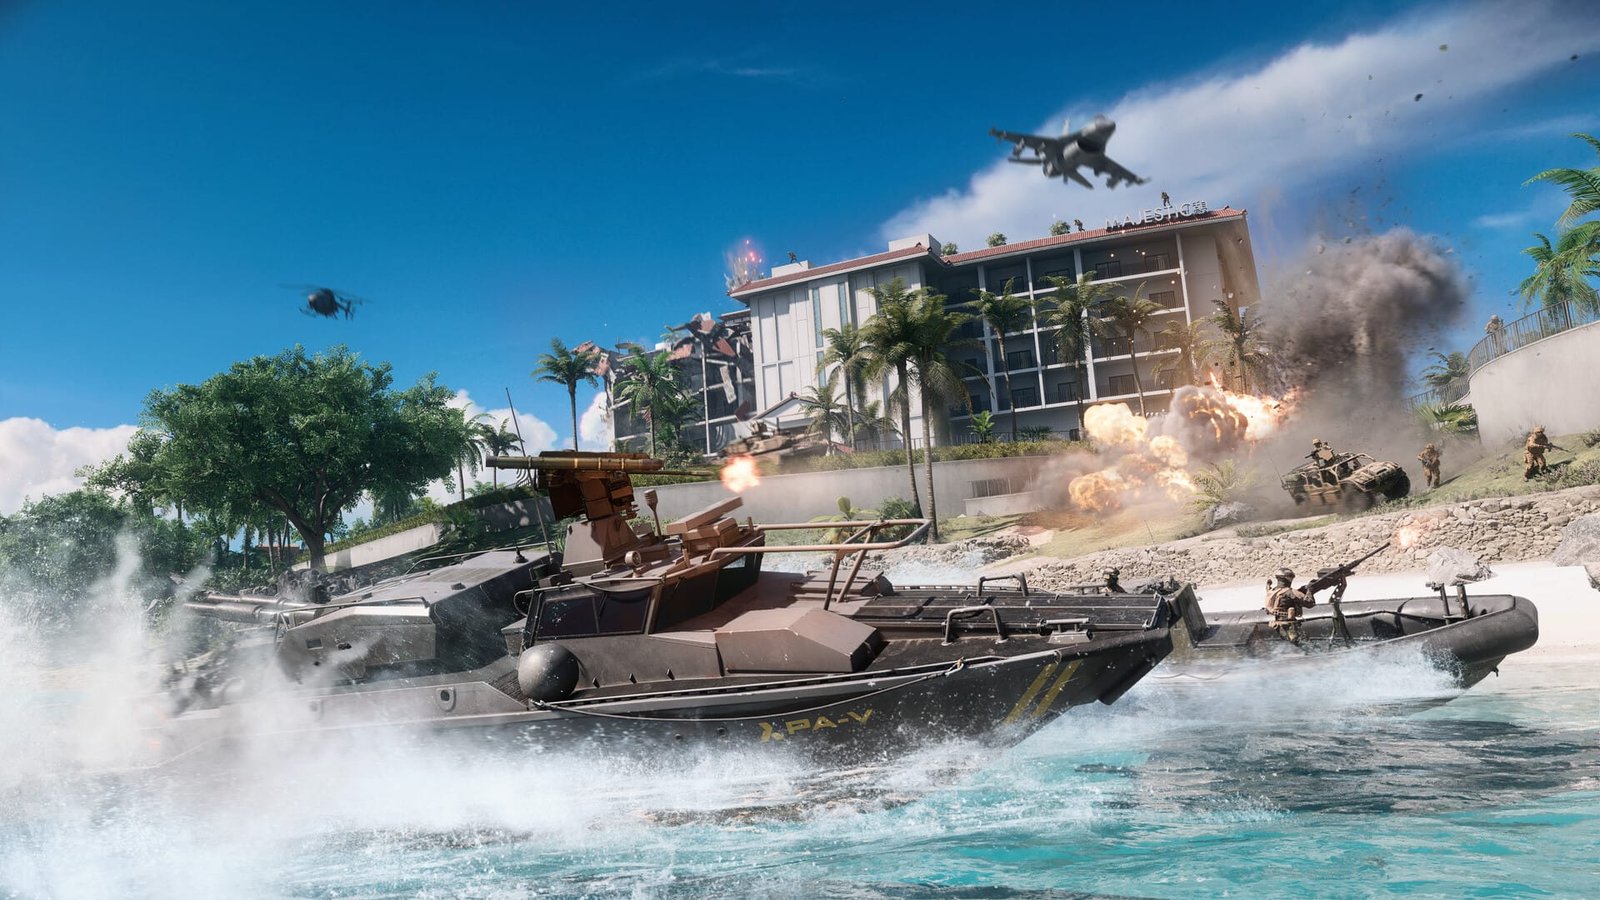
Vehicles in Battlefield 6 are independent progression systems that unlock through seat time rather than kills—driving, gunning, repairing and assisting all earn XP toward that specific vehicle’s upgrade tree. The game includes transport vehicles, armored transports, infantry fighting vehicles, main battle tanks, mobile anti-air vehicles, helicopters, attack jets, and fighter jets across the NATO and Pax Armata factions, across fifteen vehicle types, each with a NATO and a Pax Armata counterpart. Each carries its own weapons, defensive gadgets, and module slots that change how the machine performs in a fight, from Main Battle Tanks that seat four with one driver, one gunner, and two seats for infantry hitching a ride to attack helicopters like the M77E Falchion (NATO) and its Pax Armata counterpart the Panthera KHT, with radar systems and rockets that dominate when fully upgraded.
TL;DR
- Every vehicle has its own progression tree—XP comes from driving, gunning, repairing and assisting, not just kills
- Upgrade modules include armour boosts, auto-repair, faster turret rotation, countermeasures, reactive armour, tracking radar and precision missiles
- Balanced MBT build: HE Shell + AP Shell + Active Protection System + Reinforced Armor
- Attack helicopters dominate with the right loadout, hitting both infantry and armour at range
- Fire flares to beat the missile, not the lock warning—early flares are the #1 vehicle mistake
- Engineer class holds nearly all anti-vehicle gear, so surviving means playing around Engineers
- Update 1.4.3.0 (15 September 2026): RCB90 health 800 → 1,000, Little Bird minigun overheats ~33% faster, and the MANPAD lock-on directional indicator is gone for pilots
Battlefield 6 Update 1.4.3.0 (Season 4: Tidal Strike) Vehicle Changes
Battlefield 6 Game Update 1.4.3.0, deploying 15 September 2026 alongside Season 4: Tidal Strike, made targeted vehicle changes only to RCB90 Patrol Boats, AH-6 Little Birds, Transport Helicopters and Scout Helicopters, with no new stats given for tanks, jets or other helicopters beyond a shared tank/RCB90 camera-stutter fix.
The update also removed the lock-on directional indicator for air vehicles specifically for the SLM-93A and 9K38 Igla MANPADs, so pilots must now break off attacks earlier or wait for the missile trail to find its source instead of relying on an on-screen warning of a lock.
| Vehicle / System | Change in Update 1.4.3.0 |
|---|---|
| AH-6 Little Bird | Minigun overheat per bullet increased by about 33% (roughly 1.5 seconds faster to overheat with continuous fire); minigun damage against RCB90 Patrol Boats and ATPs decreased by 50%. |
| RCB90 Patrol Boat | Base health increased from 800 to 1000, alongside improved steering responsiveness, a fix for the Deploy Ramp passive incorrectly staying active, and a corrected typo in the Lock-Guided Missile description. |
| Transport Helicopter | Now correctly takes damage from small-arms fire. |
| Carrier Strike Carriers | Jets no longer spawn directly on carriers once breached and are only available through the deploy screen. |
| Manhattan Bridge | Collision checks adjusted so fewer helicopters crash into buildings. |
If the hours are the obstacle rather than the fight itself, Battlefield 6 boosting is run hands-on by a booster from your region.
How Vehicle Progression Works in Battlefield 6
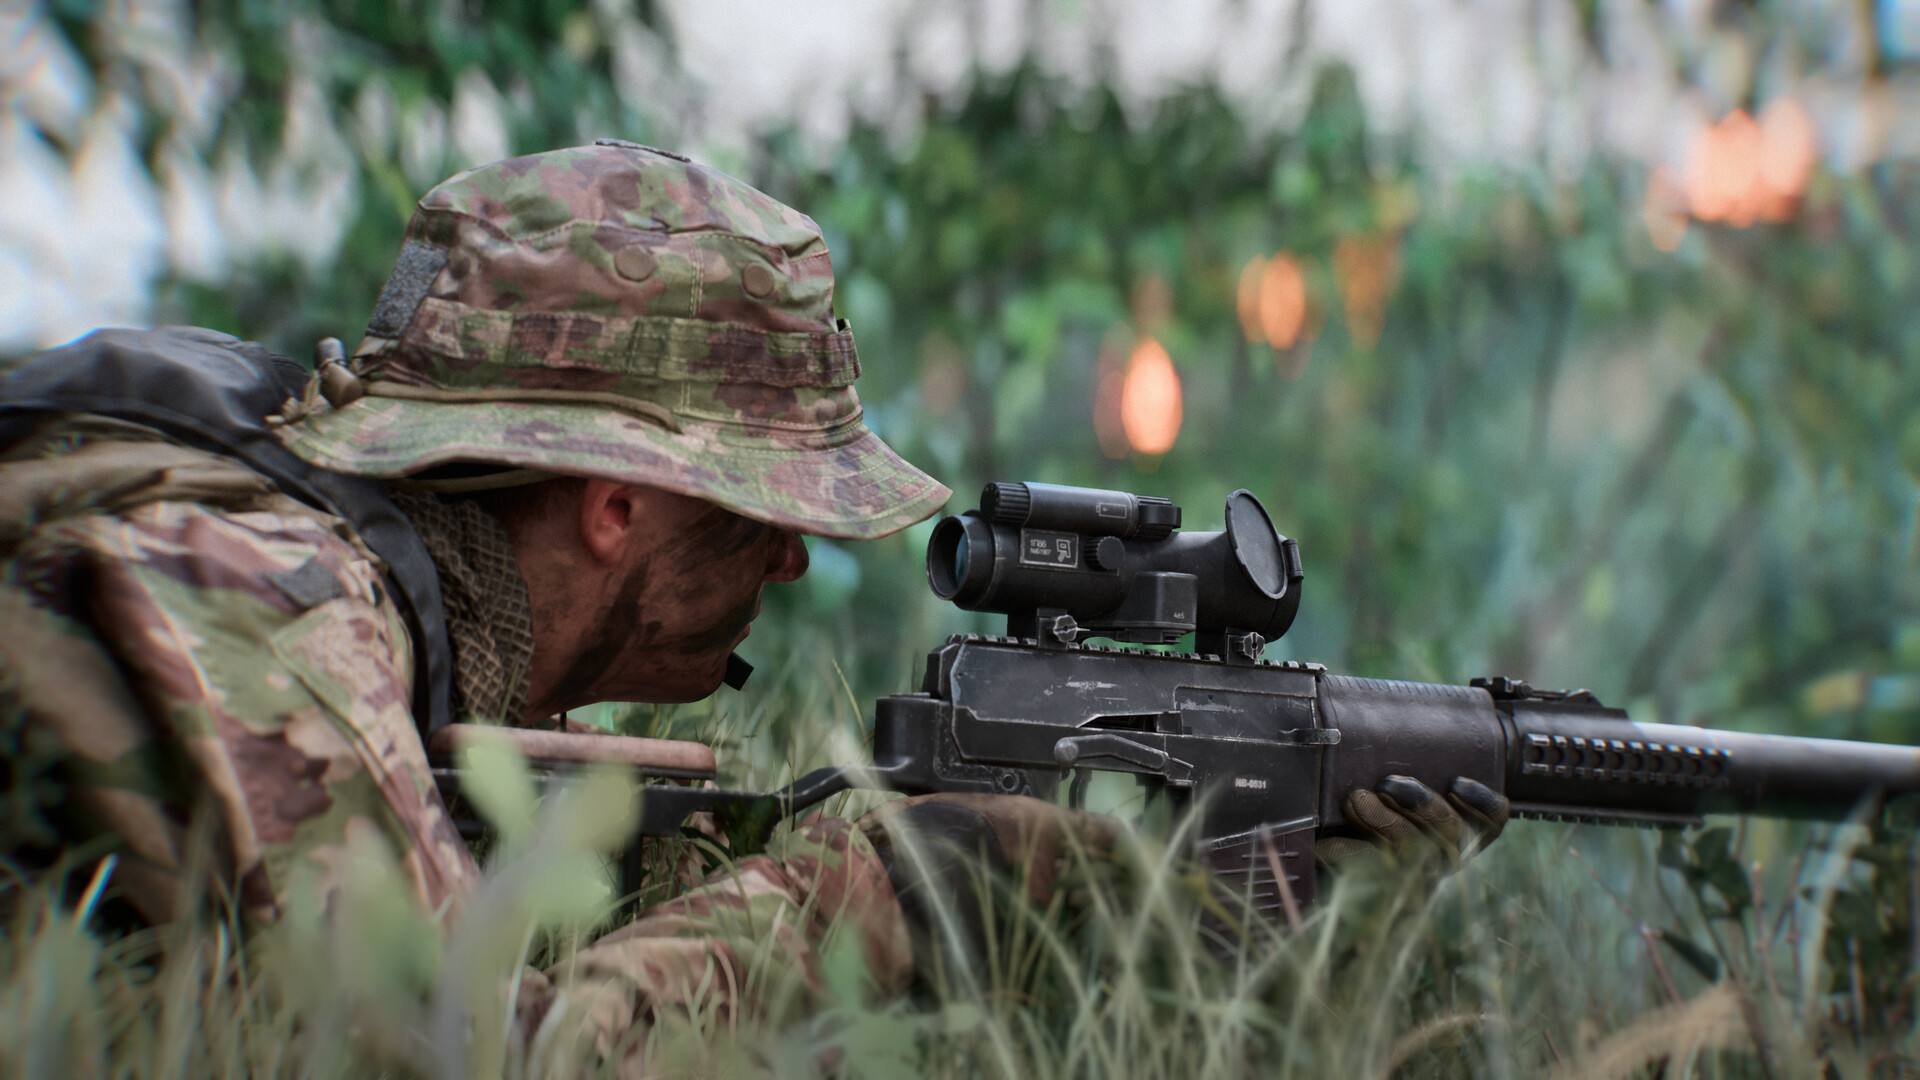
Vehicle upgrades in Battlefield 6 are unlocked by playing the vehicle in live matches—the more time you have spent in a tank, helicopter, or jet, the quicker you’ll gain XP and unlock new gadgets, armor modules, and weapons. This is the part new players miss: kills, assists, captures, and support actions all contribute to XP, so a repair-focused Engineer riding in the gunner seat unlocks parts just as fast as the driver racking up eliminations. Progression happens through earned XP in live matches—the better your positioning, accuracy, and coordination with the team, the faster your vehicle evolves.
Each platform has its own progression tree, so focusing on one vehicle class consistently maximizes unlocks quickly. Switching between a tank, a jet, and a helicopter every match spreads XP thin and slows every tree. Capturing or defending flags in a vehicle grants significant bonus XP, and equipping support tools like ammo crates, radar sensors, and repair aids generates passive experience through team assistance. The system rewards uptime—staying alive longer means more XP per spawn, which is why survivability modules matter as much as firepower.
Tip
Vehicle XP is tied to the specific chassis you’re using, not your Career Rank. A player can be level 50 overall but still have a stock tank with zero upgrades if they never drove one.
Upgrade Module Categories and What They Change
Upgrade modules include armor boosts, auto-repair kits, faster turret rotation, countermeasures, and passive sensors, and each slot changes how the vehicle handles in live combat. Customization options include primary and secondary weapons (cannons, miniguns, missiles, or bombs), defensive gadgets (smoke launchers, APS/Trophy Systems, flares, or jamming fields), utility gadgets (radar sensors, repair tools, spotting drones, and signal countermeasures), and upgrade modules (Reinforced Armor, Emergency Repair, faster turret rotation, or mobility boosts). Here is what the most common modules actually do:
Armour Boosts and Reactive Armour
Reinforced Armor increases your health pool, letting you absorb one or two extra rocket hits before going critical. Reactive armour mitigates damage from the first impact on each panel, which is strongest against Engineer rockets that hit your sides or rear. Both extend your time on the objective, but neither will save you from a coordinated squad with multiple lock-ons.
Auto-Repair and Emergency Repair
Auto-repair kits passively regenerate health when you take no damage for a set window—usually five to eight seconds. Emergency Repair is an active ability that triggers a burst heal on command, letting you reset a fight mid-engagement. The difference matters: auto-repair rewards cautious positioning and cover use, while Emergency Repair lets aggressive players push deeper and escape with a cooldown-based second chance.
Faster Turret Rotation and Mobility Boosts
Faster turret rotation helps tanks and IFVs track fast-moving targets—helicopters, light vehicles, and flanking infantry. Mobility boosts increase acceleration and top speed, which matters more on large maps where repositioning between objectives eats into your effective combat time. Neither module kills on its own, but both reduce the windows where you are vulnerable or out of position.
Countermeasures, Flares and Jamming Fields
Countermeasures are your primary defense against lock-on missiles. Flares break existing locks and prevent new ones for a short window. Jamming fields disrupt targeting systems in a radius, which helps friendly vehicles near you. The timing is what separates survival from respawn: firing flares the instant the lock warning appears wastes the charge, because the missile has not launched yet. The flare must beat the missile in flight, not the warning tone.
Passive Sensors, Tracking Radar and Precision Missiles
Passive sensors highlight enemy infantry and vehicles within a radius, feeding intel to your team. Tracking radar extends that range and adds a lock-on component for guided missiles. Precision missiles are your answer to long-range armour—they require a lock, but the damage and accuracy at distance make them the best tool for tank-versus-tank duels where positioning and first-strike advantage decide the outcome.
Step-by-Step: Unlocking and Equipping Vehicle Upgrades
Follow this sequence to get it done fast.
-
1
Select your vehicle class and commit to it
Choose one vehicle type (MBT, IFV, attack helicopter, etc.) and play it exclusively for several sessions to concentrate XP into a single tree rather than spreading progress thin.
-
2
Focus on objective play and support actions
Capture and defend flags while in the vehicle, repair teammates, spot enemies with sensors, and resupply allies to earn passive XP that stacks with combat eliminations.
-
3
Equip survivability modules first
Prioritize Reinforced Armor, Emergency Repair, or countermeasures in your early unlocks to extend your uptime per spawn, which directly increases XP gain per match.
-
4
Unlock weapon upgrades that match your role
If you play anti-infantry, prioritize HE shells and splash-damage rockets; if you hunt armour, unlock AP shells and precision missiles to counter enemy tanks and IFVs effectively.
-
5
Customize loadouts before each match
You may modify vehicles before a game or alter them upon respawning, so adjust your modules based on whether the enemy team is running heavy air, massed infantry, or armoured pushes.
Best Tank Loadout and Why It Works
The documented balanced Main Battle Tank build is HE Shell + AP Shell + Active Protection System + Reinforced Armor. This loadout covers both anti-infantry and anti-armour roles without hard-committing to either, and the survivability tools give you the uptime needed to hold objectives under sustained fire. HE (High Explosive) shells deal splash damage to grouped infantry and light vehicles, while AP (Armor Piercing) shells punch through heavy armour at range, giving you an answer to enemy MBTs and IFVs in the same loadout.
Active Protection System (APS) intercepts incoming rockets and guided missiles for a few seconds after activation, which buys you time to reposition or finish a kill when multiple Engineers are locking you. Reinforced Armor extends your effective health, meaning you survive one or two extra hits in a prolonged duel. The combination lets you contest flags, duel other tanks, and escape Engineer ambushes without relying on a single gimmick that folds the moment the enemy adapts.
Note
HE and AP shells share the same firing mechanism but deal different damage types. Swap between them mid-fight by toggling your secondary weapon—do not reload one when the other is better suited to the target in front of you.
Why the Attack Helicopter Is Rated So Highly
Attack helicopters in Battlefield 6 are glass cannons—let them overgrow, and they can shred tanks, clean squads, and turn a match in a matter of seconds. Attack helicopters are incredibly powerful with radar systems and rockets that will blow away the opposition. The reason they dominate is versatility: a well-upgraded attack helicopter hits infantry with light rockets, destroys armour with guided missiles, and counters other air vehicles with anti-air missiles, all from a position that ground forces struggle to reach.
With this loadout, you need to use your Attack Helicopter’s aerial advantage and swooping strafing runs to saturate the ground with Light Rockets and blow up enemy infantry and light vehicles, especially on objectives. Between your rockets and your gunner’s autocannon and missiles, you’ve got the ground covered, so the Anti-Air Missiles let you take on aerial threats too. The gunner seat adds a second layer of firepower, and a well-coordinated duo can dominate matches in the Attack Helicopter.
The trade-off is fragility: a single solid lock-on or sniper jet will kill your flight in seconds, so the best loadouts balance real firepower with survivability items like flares and radar jammers. If you’re out of flares and there’s no cover to hide behind, fly as close to the ground and as fast as you can—flying low will prevent missile lock-ons. The skill ceiling is high, but a pilot who understands countermeasure timing and cover usage turns the attack helicopter into the single most impactful vehicle in the match.
Countermeasures and Flare Timing Explained
Countermeasures are your active defense against lock-on missiles, and the timing separates experienced pilots from pilots watching the respawn timer. When an Engineer or anti-air vehicle locks onto you, the game displays a warning tone and an on-screen prompt. The mistake most vehicle players make is firing flares the instant that warning appears—the flare breaks the lock, but the missile has not launched yet, so the Engineer simply re-locks and fires while your flares are on cooldown.
The correct sequence is: wait for the lock warning, listen for the launch tone (a sharper, higher-pitched beep), then fire flares. The flare disrupts the missile in flight and prevents a new lock for two to three seconds, giving you a window to reposition behind cover or break line of sight. If you fire too early, the flare goes to waste and you eat the missile anyway. If you fire too late, the missile detonates before the flare deploys. The margin is tight, but once the rhythm clicks, your survival rate in contested airspace doubles.
Warning
Some guided missiles have a delayed lock—Engineers can maintain the lock for several seconds before firing. If you flare early, they wait out your cooldown and fire clean. Always confirm the launch tone before deploying countermeasures.
Flares have a cooldown of roughly ten to fifteen seconds depending on the vehicle and module loadout. If you’re out of flares and there’s no cover to hide behind, fly as close to the ground and as fast as you can—flying low will prevent missile lock-ons. Terrain-hugging and evasive maneuvers are your backup plan when countermeasures are down. On maps with heavy anti-air presence, coordinate with your gunner or squad to suppress Engineers and mobile AA before committing to a strafing run—no amount of flare discipline saves you from three simultaneous locks.
Hard Counters and the Engineer Class
Engineer holds nearly all the anti-vehicle gear in Battlefield 6, so surviving in a vehicle means playing around Engineers, and killing vehicles means playing Engineer. Engineer repairs vehicles, destroys enemy equipment and air defenses, which makes the class the natural predator and support backbone for vehicle play. Engineers carry rocket launchers, repair tools, anti-tank mines, and in some loadouts, laser designators that mark targets for guided missiles—one Engineer is a nuisance, three Engineers focusing the same tank is a death sentence.
The counter-play from the vehicle side is awareness and positioning. Tanks should angle their front armour toward threats, because rear and side hits deal bonus damage. Always protect your rear and sides—your front is the most armored part and proper positioning and angling will keep you alive longer. Don’t push too far without your team—if you push ahead without having any support, then the enemy Engineers will easily be able to flank around you and fire rockets at your sides and rear. Infantry support clears Engineers before they get the angle, and friendly Engineers repair your vehicle between engagements.
From the Engineer perspective, patience and positioning trump raw damage. Wait for the tank to commit to an objective or engage another target, then strike from the side or rear where armour is weakest. Coordinate locks with other Engineers to overwhelm Active Protection and flares. Use terrain and buildings to break line of sight after firing, because most vehicle players will immediately turn and return fire. Mines placed on common vehicle routes—bridges, chokepoints, capture point entrances—force vehicles into predictable paths where your squad can layer fire.
| Vehicle Type | Primary Role | Hard Counter | Soft Counter |
|---|---|---|---|
| Main Battle Tank | Frontline armour, objective control | Engineer with AP rockets, flanking MBTs | Attack helicopters, C4, anti-tank mines |
| Infantry Fighting Vehicle | Anti-infantry, squad transport | MBTs with AP shells, massed Engineer fire | Attack jets, coordinated infantry pushes |
| Attack Helicopter | Ground assault, anti-armour strikes | Mobile Anti-Air, lock-on Engineer rockets | Fighter jets, coordinated small-arms fire |
| Mobile Anti-Air | Air denial, helicopter suppression | MBTs, flanking light vehicles | Attack jets out of lock range, Engineer rockets |
| Attack Jet / Fighter Jet | Air superiority, ground bombing runs | Mobile Anti-Air, enemy jets | Lock-on missiles from helicopters or Engineers |
Common Misconceptions About Battlefield 6 Vehicles
Myth: Vehicle XP Only Comes From Kills
Kills, assists, captures, and support actions all contribute to XP, so a player who focuses on repairing teammates, spotting enemies with sensors, and holding objectives earns progression at the same rate as a player chasing eliminations. The game rewards time in the seat and teamwork as much as raw combat performance. A repair-focused gunner unlocks modules just as fast as the driver.
Myth: Flares Should Be Fired on the First Lock Warning
Firing flares the instant the lock warning appears is the mistake that kills most vehicle players. The flare must beat the missile in flight, not the warning tone. Wait for the launch sound, then deploy countermeasures—otherwise the Engineer re-locks while your flares are on cooldown and fires a clean shot.
Myth: All Vehicles Are Unlocked Equally
Each platform has its own progression tree, and switching between vehicle types spreads XP thin. A player who rotates between a tank, a helicopter, and a jet will have three partially-upgraded vehicles, while a player who commits to one type will have a fully-modded platform with every survivability and firepower upgrade unlocked. Focus beats variety in vehicle progression.
Our Take: Vehicles Are Half of What Makes Battlefield Battlefield
Our Take
Vehicles in Battlefield 6 are not a side system—they are half the game, and the progression mechanic finally rewards that reality.
The shift to individual vehicle progression trees is the single best change DICE made to the vehicle meta. Older Battlefield titles let players swap between vehicles without consequence, which meant every tank or helicopter was effectively stock unless you mained that class for dozens of hours. Battlefield 6 ties upgrades to the specific chassis, so time investment directly correlates with performance. A fully-upgraded MBT with Reinforced Armor, Active Protection, and dual-shell loadouts is a different machine than a stock tank, and the difference is earned rather than granted.
The attack helicopter controversy is overblown but not baseless. A coordinated pilot-gunner duo with flares, radar, and guided missiles can dominate a match, but the skill floor is punishingly high and the counter-play is straightforward—mobile AA and Engineers with lock-ons. The issue is not balance, it is that most teams do not adapt. One player switching to Engineer and focusing air denial collapses the helicopter’s influence, but that requires communication and role discipline that solo queue lobbies rarely provide.
The countermeasure timing mechanic is brilliant design that most players will never learn because the tutorial does not teach it and the in-game feedback is unclear. Flares work, but only if you fire them after the missile launches, and the margin between early and late is less than a second. This is the kind of depth that separates Battlefield vehicle play from other shooters, but it also creates a learning curve that frustrates new players who assume the system is broken rather than skill-based. A single contextual tooltip—”Wait for launch tone before deploying flares”—would cut the complaint volume in half.
Engineer as the hard counter to vehicles is correct and should stay that way. The class exists to destroy armour and repair friendlies, and the loadout reflects that role. The problem is that most players treat Engineer as a support class rather than an offensive counter-pick, so vehicles run unchecked until someone switches and takes responsibility. If you are losing to vehicle spam, the answer is not to nerf vehicles—it is to play Engineer, coordinate locks, and layer mines on the routes they use. The tools are there; the execution is player-dependent.
Was this guide useful?
Battlefield 6 services
Leveling & Battle Pass
Career Rank Leveling
Overall career rank pushed upward · Unlocks gear and progression gated behind level
Challenges & Unlocks
Elite Badges Farming
Service stars and elite badges ground out · Earned through real objective play
Challenges & Unlocks
[PC] Campaign Completion
Anything not listed: name the target and we scope it · Unlock, rank, challenge or collectible