
On this page
Thirty dog tags are scattered across Battlefield 6‘s nine-mission campaign, and by multiple accounts the second one in mission two is the worst offender in the whole game. The Rock‘s hidden tag is apparently so well tucked away that players describe it as borderline invisible on a first pass. If you’re chasing campaign trophies, multiplayer skins, or just the T-Rex toy easter egg, here’s where everything actually is.
TL;DR
- 30 dog tags total, spread across all 9 campaign missions
- Most missions hold 2 to 4 tags each; Nile Guard has the fewest at just 2
- Nothing is missable — every mission can be replayed from the main menu at any time
- Full clears unlock cosmetics: character skins, player card items, vehicle camo, and XP boosters
- A separate hidden collectible, a toy T-Rex, exists outside the dog tag count
Dog Tag Farming
Pick the tags you want, earned match by match
The Short Answer
Battlefield 6’s campaign hides 30 dog tag collectibles across its 9 story missions, and they’re tracked per-mission in the pause menu and again in the Challenges tab. There’s no single master list you need to memorize before starting — the game tells you how many you’ve found and how many remain the moment you pause.
The tags themselves are simple props: dog tags hanging from knives stuck in walls, sitting on tables, propped against crates, or dangling from corkboards. Every mission can be replayed from the main menu at any time, so a missed tag on your first run is never permanently gone. That’s the single most useful fact in this whole guide — treat the hunt as low-stakes.
Players short on time can put Battlefield 6 boosting alongside a normal playthrough rather than in place of one.
How Many Tags Per Mission (and What Sets Them Apart)
Mission length and dog tag count line up closely. The tank-heavy Nile Guard is confirmed as the shortest mission in the campaign and the outlier with just two tags, while longer, more sprawling missions run up to four. A full campaign clear on normal difficulty runs roughly 5 – 6 hours before you factor in backtracking for collectibles.
Notice Mission 6, Moving Mountains, is missing from that table’s exact count — none of the source breakdowns agree closely enough on it to state a firm number, so treat it as falling in the same 2 – 3 range as the rest of the mid-campaign.
| Mission | Tags | What Makes It Distinct |
|---|---|---|
| 1. Always Faithful | 3 | Opening urban mission, easiest hunt to learn the pattern |
| 2. The Rock | 3 | Gibraltar fortress; home to a widely reported nightmare hide |
| 3. Operation Gladius | 3 – 4 | City hall push with a tank escort you can lose access around |
| 4. Night Raid | 3 | Low-visibility infiltration, tags easy to miss in the dark |
| 5. No Sleep | 3 | One of the longest, most grueling missions in the campaign |
| 7. Nile Guard | 2 | Shortest mission, mostly spent inside a tank |
| 8. Operation Ember Strike | 3 – 4 | Large-scale set pieces near the campaign's climax |
| 9. Always Forward | 3 – 4 | Campaign finale, final batch of tags |
Where the Tags Actually Hide
The game gives each dog tag a faint shine effect, but Battlefield 6’s environments are visually loud — smoke, fire, and destruction physics everywhere — so that shine is easy to lose in the noise. Knowing the hiding spot categories helps more than memorizing exact coordinates.
Early Campaign (Missions 1 – 3)
Expect tags on top of crates near ammo boxes, stuck to knives embedded in walls or posters, and sitting on tables in rooms you’d otherwise walk straight through. Always Faithful puts one on a container between two ammo crates directly on your path, which makes it a decent tutorial for what to look for later.
Mid Campaign (Missions 4 – 6)
This stretch leans on darker environments. No Sleep in particular hides one tag on a table lit only by its own glint, and another hanging from a knife stuck in a corkboard near a staircase. If a room feels like it has nothing in it, check the walls before moving on.
Late Campaign (Missions 7 – 9)
Nile Guard keeps things simple since you’re mostly locked in a tank, but the final two missions open back up into multi-room buildings and plazas where tags sit on clothing racks, mannequins, and market stalls. Slow down whenever the game hands you a breather before a big set piece — that’s usually where the level designers tucked something.
Where Tags Rarely Hide
Reported patterns across guides suggest tags almost never sit inside active firefight zones or on destructible cover — mission designers put them in the quiet beats between combat, not in the middle of it. That’s a useful shortcut: if bullets are flying, stop looking and keep moving.
Missions With the Widest Reported Search Windows
Players consistently flag Operation Gladius as having a tight window around the tank escort section — get too close to the vehicle before grabbing a nearby tag and the area goes out of bounds, forcing a checkpoint restart.
Nothing here is missable long-term. Every mission is replayable from the main menu at any point, so a missed tag never blocks a 100% clear later.
Skip the “ALL 30 in 10 Minutes” Videos
You’ll see video titles promising a speedrun of every dog tag in a single sitting. Those runs only work because the creator already memorized every spot and skips every cutscene along the way. A blind first pass through 9 linear missions, several of them lasting well over half an hour on their own, takes considerably longer than any highlight reel suggests.
The honest expectation: treat the hunt as something you do during a normal playthrough, not a separate speedrun afterward. Replaying all 9 missions purely to backtrack for tags adds real time on top of the base 5 – 6 hour campaign.
Common Mistakes to Avoid
- Rushing past quiet rooms because nothing is shooting at you — that’s exactly where tags sit
- Advancing too far during tank or vehicle escorts before grabbing a nearby tag, which can lock the area
- Assuming a missed tag is gone forever instead of just replaying the mission
- Ignoring the pause menu tracker, which tells you exactly how many tags remain per mission
- Skipping the Challenges tab, where full-clear rewards for each mission are actually listed
Season 4 Battle Pass 1-100
Every tier, including the daily and weekly gates
Are the Rewards Worth the Hunt?
Clearing every dog tag in a mission unlocks a specific reward through the Campaign Challenges menu, and four particular missions carry the best prizes: Night Raid, No Sleep, Operation Ember Strike, and Always Forward each grant one of two exclusive Pax Armata or NATO character skins usable in multiplayer. Collecting all 30 across the whole campaign also unlocks a dedicated dog tag reward on top of everything else.
- Multiplayer skins Four campaign-exclusive character skins, split between the Pax Armata and NATO factions, tied to specific mission clears.
- Player card items Backgrounds, icons, and titles that show off on your profile without touching your loadout.
- Vehicle camo and XP boosters A handful of missions grant a vehicle camo or a career/hardware XP consumable instead of a cosmetic.
None of this is power progression. It’s cosmetic and consumable value, which is honestly the right call for a single-player reward track that shouldn’t outweigh actual multiplayer grinding — the same logic that makes a dedicated weapon-leveling approach worth reading if you’re chasing attachments instead of skins.
Battlefield 6 services
Leveling & Battle Pass
Career Rank Leveling
Overall career rank pushed upward · Unlocks gear and progression gated behind level
Challenges & Unlocks
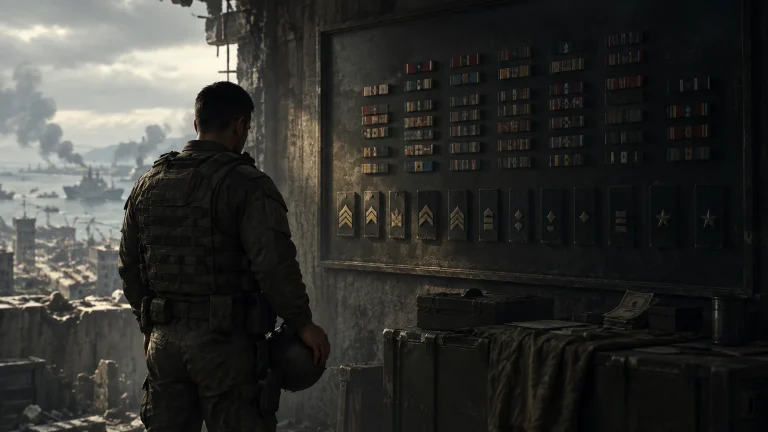
Elite Badges Farming
Service stars and elite badges ground out · Earned through real objective play
Challenges & Unlocks
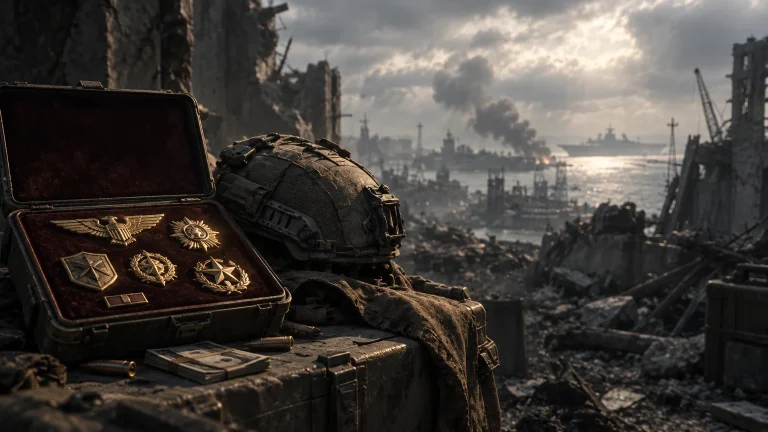
[PC] Campaign Completion
Anything not listed: name the target and we scope it · Unlock, rank, challenge or collectible
![[PC] Campaign Completion](https://neonsect.com/wp-content/uploads/2026/09/bf6-art-0-12-768x432.webp)
Frequently Asked Questions
How many dog tags are there in Battlefield 6's campaign?
Can I permanently miss a dog tag?
Which mission has the fewest dog tags?
What do I get for finding all 30?
Is there anything else to collect besides dog tags?
The Bottom Line
If you’re chasing campaign trophies or the exclusive multiplayer skins, hunt tags mission-by-mission on your first playthrough rather than trying to speedrun all 30 afterward — replaying all 9 missions from scratch costs more time than slowing down once per level. If cosmetics don’t interest you and you just want the story, ignore this guide entirely and play straight through in around 5 – 6 hours.
It’s a low-stakes collectible system: nothing is missable, the rewards are cosmetic rather than competitive, and the worst outcome of skipping it is a slightly emptier player card.