On this page
Animation canceling in Crimson Desert combat means cutting your own attack’s recovery short by inputting Guard or Dodge before the swing finishes playing out, and it exists specifically because heavy attacks leave you locked in place with no block and no escape until the animation ends. That lockout, not enemy damage, is what actually kills new players. This guide covers why the recovery window is the real threat, how canceling fixes it, how parry timing actually works, and why holding heavy enemies in a stagger chain doesn’t work on everything.
TL;DR
- Your heavy attack’s recovery animation, not the enemy’s damage, is where you get punished — you can’t block or move until it finishes
- Guard Cancel and Dodge-Cancel exist to cut that recovery short; it’s a built-in system, not an exploit
- Parry windows are tied to the enemy’s wind-up animation, not a fixed number of seconds — memorize the motion, not a count
- Grapple and Lariat stagger chains work instantly on humanoid enemies but whiff or do nothing against several of the largest bosses
- A patch widened both parry and dodge timing windows after launch, so the mechanic is more forgiving than it used to be
Updated 4 September 2026 — combat fixes since this was written
Since 25 August 2026 the game is Crimson Desert Enhanced — a free 2.00 update for everyone who already owned it, adding new cutscenes and story moments to the main questline, voice-over in German, French, Spanish, Brazilian Portuguese and Japanese, Arabic interface and subtitles, and every post-launch update to date. The current version is 2.01.00 (4 September).
The timing work below is unchanged — recovery windows and parry reads were not touched. But 2.01.00 fixed six combat bugs worth knowing before you blame your inputs: the character no longer stops flying when using Force Current mid-flight; Ambush no longer fires at an unintended target; Body Slam no longer freezes you underwater in shallow water; Focus now replenishes Spirit while clinging; Focused Charged Shot works with a musket; and comrades and mounts no longer refuse to engage enemies in certain situations.
If a drill in this guide felt inconsistent, those are the candidates.
The first expansion, Charting the Unknown, arrives 15 October — what is in it and the regional release times.
Map Unlocking
Pywel is one of the biggest open worlds released in 2026
What's Actually Punishing You in Crimson Desert Combat
The instinct coming from other action games is to assume a tough fight means the enemy hits too hard. In Crimson Desert, the bigger problem is usually self-inflicted. Every single offensive and defensive action draws from the same stamina pool, and if that bar hits zero you’re locked out of sprinting, dodging, or raising your guard. Heavy attacks make this worse because they carry the longest recovery in the kit, and which weapon you’re swinging changes how exposed that recovery leaves you.
| Weapon Type | Recovery After a Miss | Best Used For |
|---|---|---|
| One-handed sword | Enough reach for safe parry spacing, and recovery is shorter than two-handed options, so a missed attack doesn't leave you exposed for long | Learning cancel and parry timing from scratch |
| Daggers / Twin Blades | Higher damage per hit but close range is mandatory, which shrinks your margin for timing errors | Once your parry timing is already consistent |
| Greatsword / heavy weapons | Slow, high-damage strikes that stagger and knock down, ideal for opening a guarding enemy right after a parry | Punishing a staggered or parried target |
| Ranged (bow) | Strong for pulling individual enemies out of a group before engaging | Thinning crowds before melee |
Where the grind outlasts the interest, Crimson Desert boosting picks it up from wherever the account already stands.
How Animation Canceling Fixes the Recovery Problem
The fix built into the combat system is simple in concept: interrupt your own recovery before it finishes playing. In Crimson Desert, high-tier play isn’t just knowing the moves — it’s knowing how to cancel the recovery frames and bridge skills together seamlessly, and animation canceling lets you skip the cool-down movement at the end of an attack by immediately inputting a movement or a different skill. Two versions of this show up constantly in guides:
Guard Cancel means pressing Guard during a sword attack combo to activate guard and cancel the attack animation instantly, and it’s described as the most reliable cancel method for chaining attacks. Dodge-Cancel works after a heavy attack — you immediately press Dodge instead of letting the finisher’s recovery play out. The stamina angle matters here too: dodging out of the final frames of a heavy attack lets your stamina begin regenerating a fraction of a second earlier, and in a grueling boss fight that fraction can be exactly enough for one more life-saving parry.
None of this is cheesing the system. It’s an input window the game expects you to use — the same logic behind the new equipment added in patch 1.13.00, most of which exists to make punishing that recovery window easier rather than to replace the skill requirement.
Tip
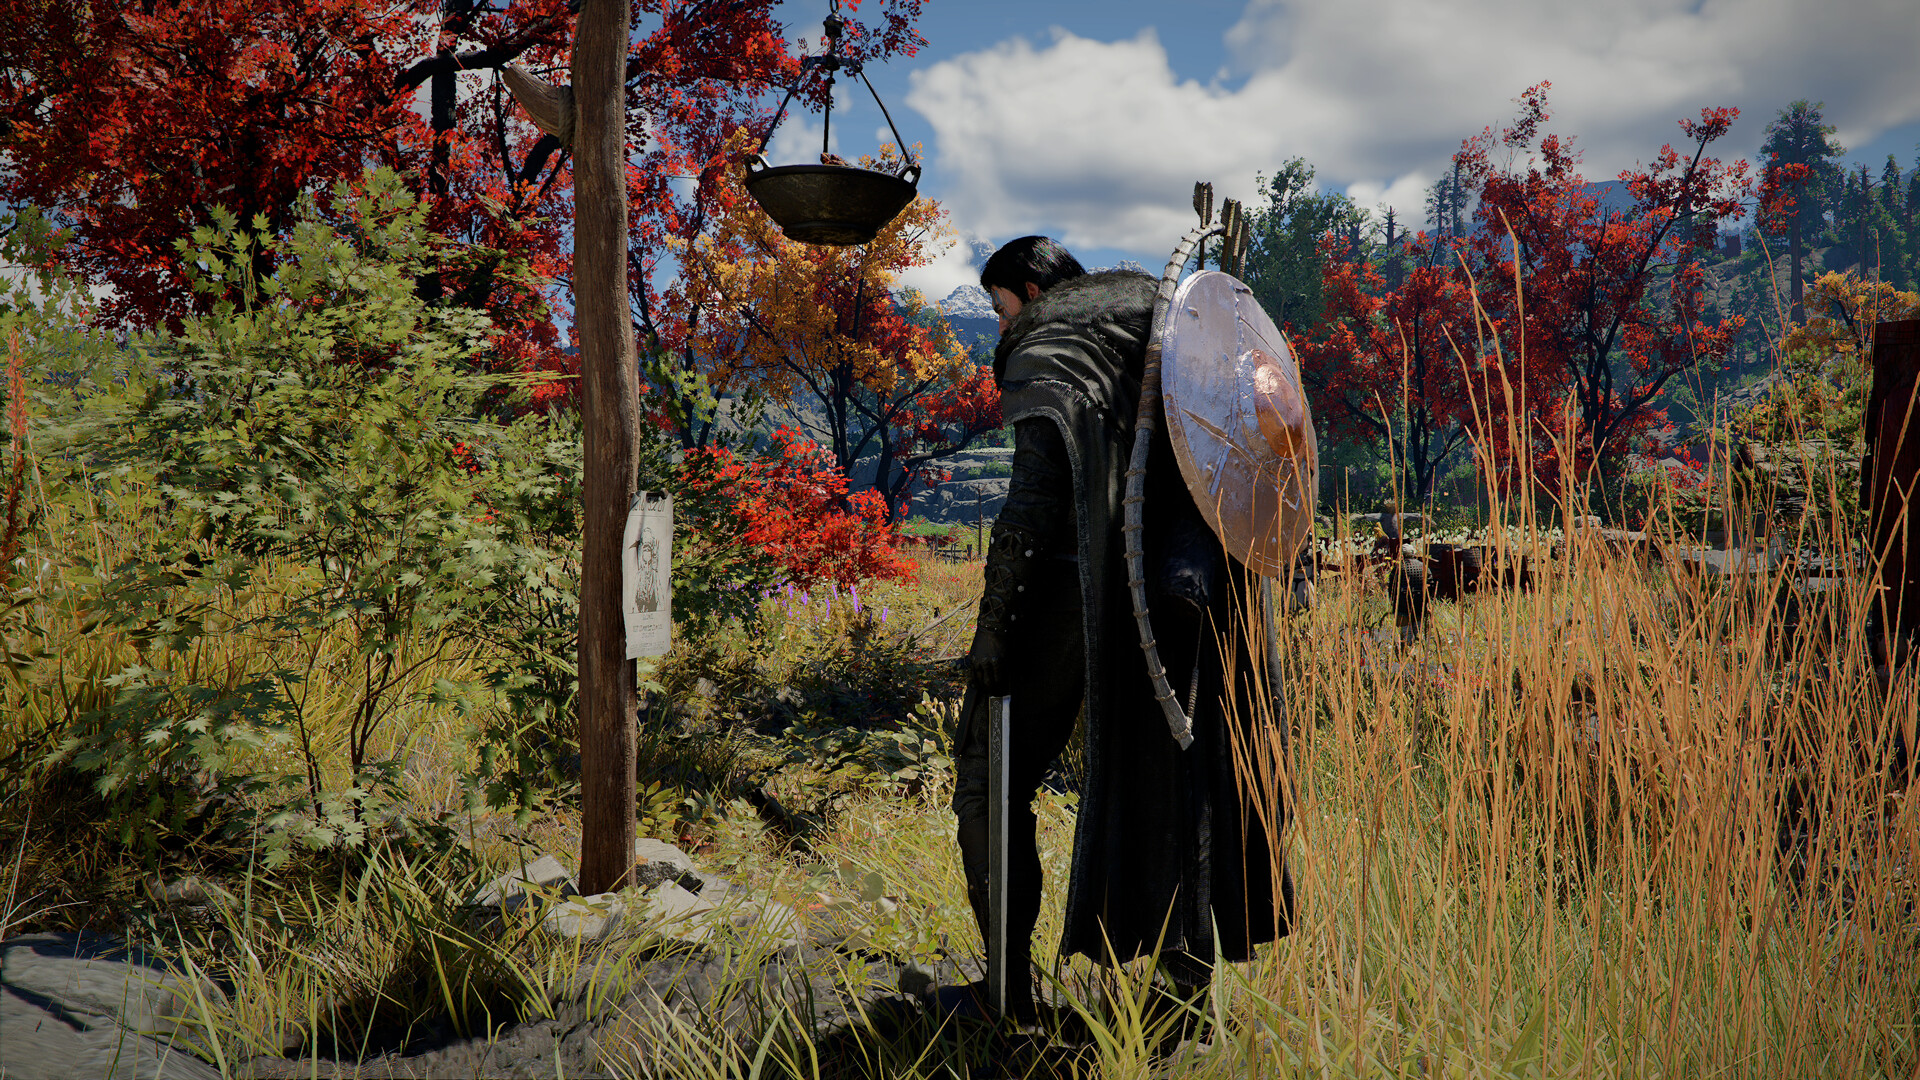
Training dummies at Greymane Camp can be set to mimic the attack patterns of enemies you’ve already fought, which is a safer place to drill Guard Cancel and Dodge-Cancel timing than a live boss room.
Step-by-Step: Drilling the Heavy Attack Cancel
Follow this sequence to get it done fast.
-
1
Start on a forgiving weapon
a one-handed sword gives you shorter recovery than two-handed options while you're still learning where the cancel window opens.
-
2
Find a dummy that mimics real patterns
set a training dummy to copy an enemy you've actually fought so you're learning against a real animation, not a generic swing.
-
3
Throw the heavy attack on purpose
commit fully instead of half-committing, so you can feel exactly how long the recovery lasts before you try to cut it short.
-
4
Cancel into Guard the instant contact happens
input Guard right as the hit lands rather than waiting for the swing to visually finish playing out.
-
5
Switch to Dodge-Cancel on finishers
after a heavy finisher, immediately input Dodge instead of Guard to skip the remaining recovery and start refilling stamina sooner.
-
6
Take it into a fight you already know
apply the cancel against a boss combo you recognize; canceling blind against a pattern you haven't seen just trades one bad recovery for another.
Newbie vs. Someone Who's Figured It Out
| Situation | What a newbie does | What someone who's figured it out does |
|---|---|---|
| You land a heavy hit and the boss swings back fast | Watches the recovery animation play out and eats the counter | Cancels into Guard the moment the hit lands, ready to parry |
| Enemy starts a slow wind-up | Tries to count a fixed number in their head | Waits for the weapon to actually start moving toward them, not the windup itself |
| Boss is surrounded by circular runes mid-combo | Swings anyway to squeeze in free damage | Backs off completely and waits for the runes to fade before re-engaging |
| An attack flashes with a red glow | Tries to parry it out of habit | Dodges instead, since red-marked attacks bypass Parry and Counter regardless of input timing and the only answer is a Perfect Dodge |
| Multiple enemies close in at once | Keeps chaining parries on whoever swings first | Falls back to standard blocking, since a parry's recovery animation leaves your flanks exposed against a group |
Crimson Desert Parry Timing: Movement, Not a Stopwatch
The most common mistake is treating the parry window like a fixed reaction-time test. It isn’t. Most enemies have a distinct wind-up animation that signals which attack type is coming, and learning that tell is more reliable than watching for a visual parry indicator alone. A widely cited breakdown of the input puts it plainly: the parry is a precise input, not a generous window — press Guard too early and you get a standard block that reduces damage but doesn’t negate it, and press it right before contact and you get the full negation with a meaningful hit to the enemy’s stagger meter. A patch pass did soften this somewhat: patch 1.04.00, released April 23, 2026, extended timing windows for both Parry and Dodge and reduced how often bosses counter-attack or escape when hit, and the current build is meaningfully more forgiving than the game’s March 2026 release. That’s a real, confirmed adjustment worth knowing — but it changes how forgiving the window is, not the underlying rule that you’re reading a movement, not a clock.
Difficulty settings sit on top of this rather than replacing it: difficulty settings control how punishing the parry window becomes, not whether the animation-based rule applies. And the read isn’t uniform across enemy types either — the timing is generous against humanoid enemies like bandits and mercenaries, but against beasts and larger monsters the window is tighter and each attack’s timing has to be learned individually.
| Enemy Tell | What It Means | Your Response |
|---|---|---|
| Red glow on the attack | Unblockable — you can't parry it, but you can dodge and counter immediately with a dodge parry | Dodge only, ideally a Perfect Dodge |
| Blue circular runes around a boss | Invulnerability frames — hitting the boss does zero damage and interrupts your own animation, leaving you stuck in recovery while it swings back | Stop attacking, reposition, wait it out |
| Weapon visibly starts moving toward you | The real parry window opening, distinct from the earlier windup | Input Guard here, not at the first sign of motion |
| Ground shake or area-of-effect cue | Often signals an unparriable attack alongside the red glow | Treat it like a red attack — create distance |
Why Grapple and Stagger Chains Don't Work on Every Boss
Holding a heavy enemy in a stagger loop feels great when it works, and it’s tempting to assume the same chain applies everywhere. It doesn’t. Heavy attacks build stagger three times faster than light attacks, and the Lariat grapple move causes instant stagger on many enemies. That word “many” is doing real work, because massive beast-type bosses are reported to be immune to that instant stagger, which means the fallback for those fights is grinding the stagger bar down through repeated hits instead of expecting a quick grapple to end it. Grappling also isn’t a free initiation tool against most bosses in the first place: Grapple works on certain bosses during their recovery animations, but most bosses carry Super Armor that prevents initiation outside of designated vulnerability windows.
How to Tell a Grapple Won’t Land
Trying to Lariat a boss that’s already mid-attack animation just whiffs and leaves you eating the swing anyway. If a grapple bounces off cleanly instead of connecting, that’s the Super Armor tell — the boss isn’t in one of its designated vulnerability windows yet, and you need to wait rather than force it a second time.
The Stagger Bar Still Works Even When Grapple Doesn’t
On the beasts where instant-stagger grapples don’t apply, heavy attacks and clean parries still chip away at the same yellow stagger bar underneath the health pool — it just takes longer to fill without the shortcut. This is where checking the Abyss encounter setup with Oongka and Damiane matters, since those fights lean harder on grinding stagger through sustained pressure than on a single grapple opener.
Fallen Kingdom Armor Set
All five Fallen Kingdom pieces from across western Hernand
Common Misconceptions About Crimson Desert's Combat
Myth: You Have to Tap Guard at the Exact Instant or Get Punished
You don’t need to tap the guard button and release it — you can hold it down, and if your timing is slightly off and you press too early, you’ll still perform a standard block and absorb the hit safely. Holding Guard is a legitimate safety net while you’re still learning to read wind-ups.
Myth: Heavy Armor Slows You Down Like a Souls Game
This is a common assumption carried over from Souls-like players, but Crimson Desert is much more forgiving — there’s no equip load system gating your dodge distance based on gear weight.
Myth: It’s Basically a Souls-like With a Different Skin
The comparison shows up constantly, but the design intent runs the other way. The combat engine was built from the ground up by Pearl Abyss and takes more from classic arcade fighters than from Soulslike design. A Souls fight rewards patience and a hit-and-retreat rhythm; Crimson Desert’s parry-and-stagger loop is built to reward staying on offense once you’ve earned an opening.
Our Take: Is Learning Animation Cancels Worth the Grind
Our Take
Yes, and it’s the only part of the combat system actually worth drilling on purpose.
Gear refinement and Abyss Cores raise your ceiling, but they don’t fix the habit of standing through a heavy attack’s full recovery against a boss that punishes exactly that. Canceling into Guard or Dodge is the one skill that scales with every weapon and every fight in the game, which makes it a better time investment than memorizing one boss’s specific combo string.
The honest caveat: nobody has published exact frame data or confirmed named combo strings for this, and treating a guessed button sequence as gospel would be worse than admitting the limit. The animation-reading principle holds regardless of platform or control scheme, and that’s the part worth internalizing first.
Was this guide useful?
Crimson Desert services
Gear & Items
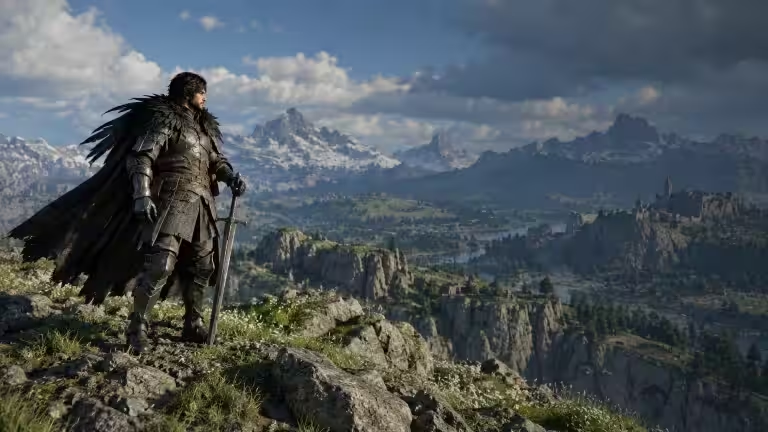
Blackwing Armor Set
The Crowcaller's five-piece leather set, tied to one boss fight · Deep black dye, crow-feather detailing, a bird mask…
Gear & Items
Frostcursed Armor Set
The Frostcursed Armor Set is one of the most sought-after gear sets in Crimson Desert · Five pieces of dark, imposing…
Gear & Items
Resources
Resource farming for Crimson Desert · Hand-farmed in the open world — no exploits, no item injection