
On this page
Resources in SAND: Raiders of Sophie are the crates, scrap, and crafting materials you pull off the map and extract with — they’re what fund every Trampler upgrade, weapon craft, and Tech Tree unlock in the game. This guide breaks down exactly what counts as a resource, where each type actually spawns, which farming loop wastes the least time, and what you’re really unlocking once you stop hoarding junk and start farming with a target in mind.
TL;DR
- Resources are grouped into common, uncommon, rare, and higher-tier materials tied to specific crate types, not random loot luck
- Weapon Crates, Parts Crates, and specialized boxes are your main sources — open every one you pass
- Voyage Mode is the low-risk farming loop; Storm Dive Mode is higher risk, higher reward
- Mechanical Parts are the one resource you never sell — they rebuild your Trampler when a run goes wrong
- Farming without a target upgrade in mind is the single biggest time-waster new crews make
What Are Resources in SAND: Raiders of Sophie?
Resources are the crafting and progression materials scattered across the map in crates, boxes, and enemy drops. A fan-maintained wiki tracking the game counts 38 total resource entries organized into 5 source groups, ranging from common salvage like Metal Scrap and Fabric Scraps up to rarer items like Pneumatic Parts and High-Grade Gunpowder. They exist to feed two systems: the Tech Tree, which gates most permanent upgrades behind specific material thresholds, and crafting benches, where you turn raw scrap into weapons, ammo, and repair items mid-run. Players care about them because understanding the loot system is the key to fast progression — the game rewards knowing exactly what to grab over blindly opening every container you see.
Players short on time can put SAND: Raiders of Sophie boosting alongside a normal playthrough rather than in place of one.
Where to Get Resources in SAND: Raiders of Sophie
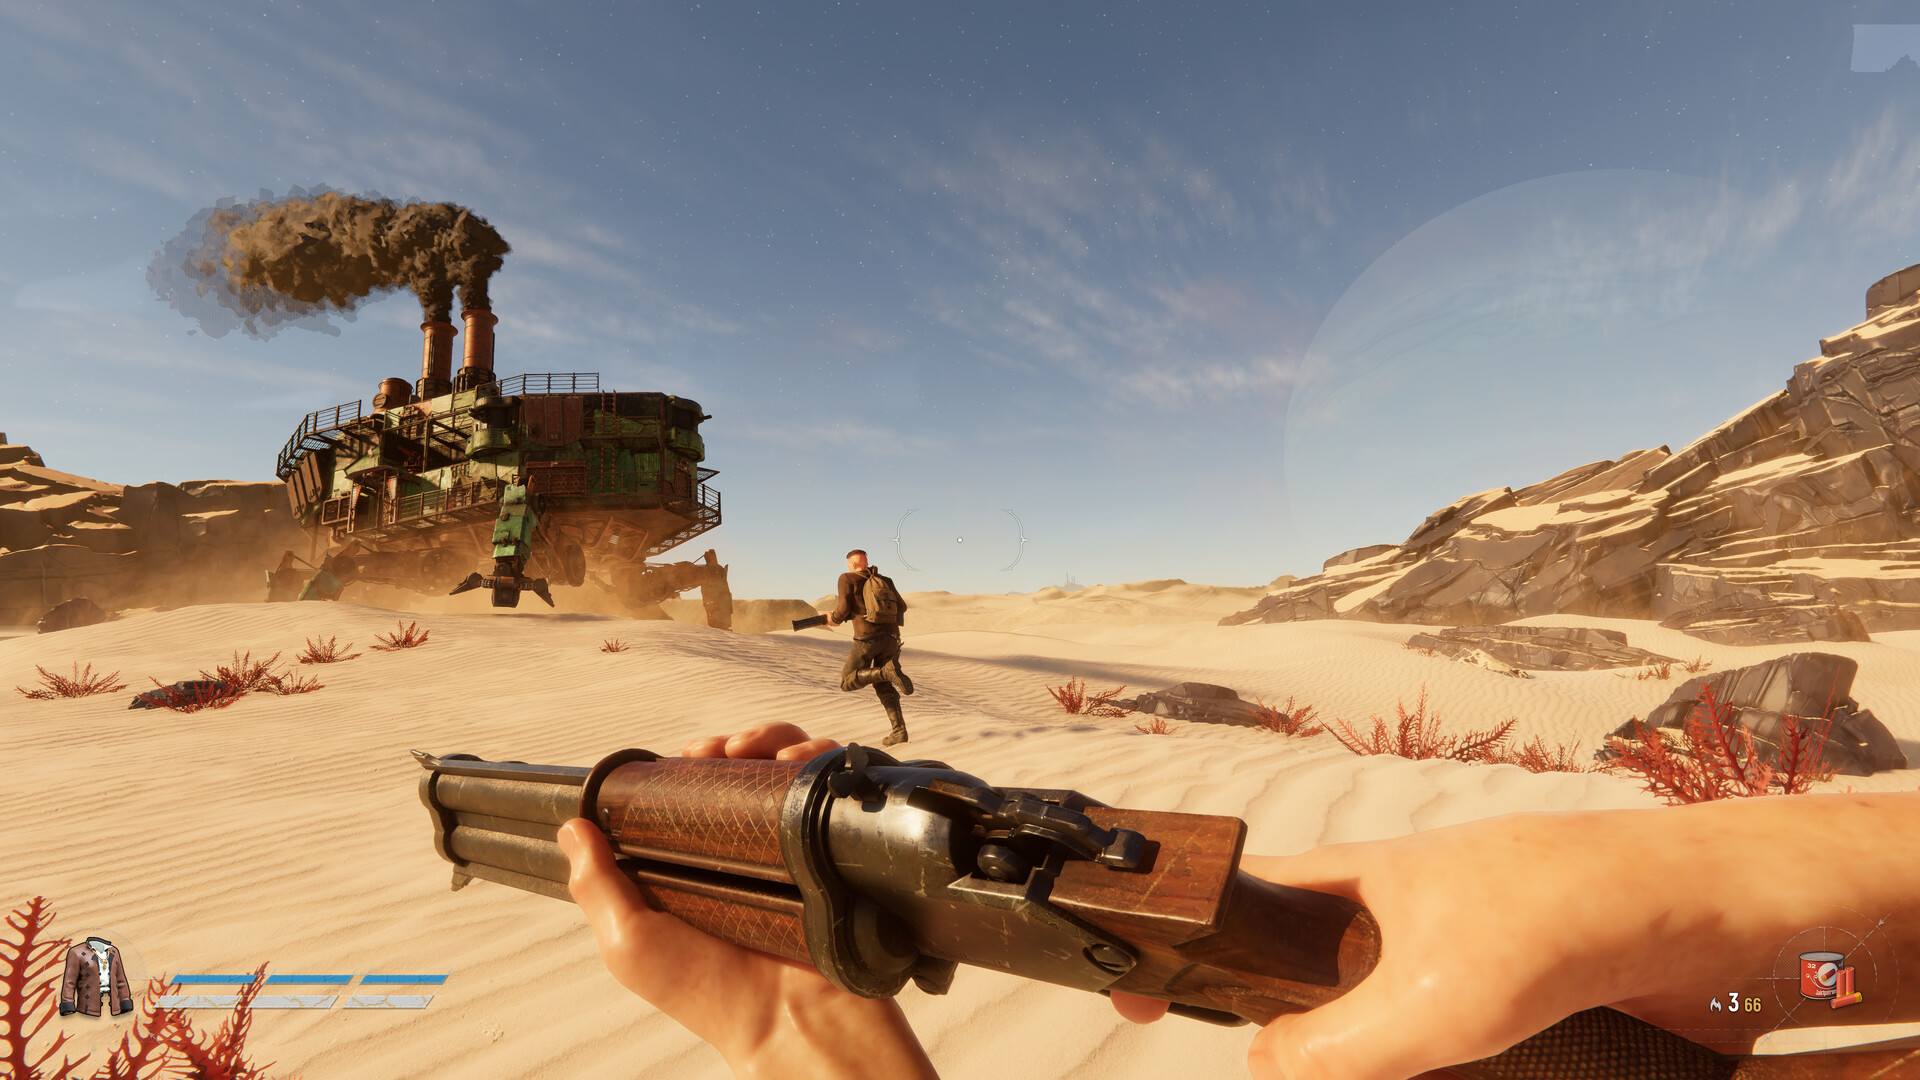
Most resources come from labeled crates rather than pure random drops. Weapon Crates — the ones with two crossed guns painted on the lid — are the reliable source for Scrapped Ammo and Weapon Parts, and they show up at wrecked ships, abandoned camps, towns, and named landmarks, with larger sites paying out more per visit. Specialized boxes scattered through forts and ruins carry the crafting staples: Metal Scrap, Fabric Scraps, Threads, and organic materials like Leviathan Meat and Coraldust. Rock fields between cities hide glowing purple crystals that players can destroy using trampler cannons, then refine at crafting benches into advanced materials — not the best general loot, but essential if you’re chasing higher-tier crafting. NZ Mk2 Energy Rods for reactor fuel show up in forts, cities, vehicles, and extraction areas, and extraction areas can hold three rods if another crew hasn’t taken them first. If you’re still getting caught out by basic loot mistakes, the common new player mistakes guide covers the habits worth fixing before you start optimizing routes.
Warning
Radio beacon boxes are a trap for the impatient. These locked boxes cannot be opened immediately — you have to carry them to orbit during extraction, and carrying one reveals your location to every player on the server. Only grab one if your crew can actually fight off attention.
Step-by-Step: Efficient Resource Farming Walkthrough
Follow this sequence to get it done fast.
-
1
Pick a Tech Tree target first
hover the upgrade you're working toward before you deploy so you know exactly which materials to prioritize instead of grabbing everything blindly.
-
2
Plan a 4 – 6 ruin route
a route with minimal backtracking through a handful of ruins yields far more loot per trip than wandering.
-
3
Hit Weapon Crates and Parts Crates on the way
these are the most consistent sources for Scrapped Ammo, Weapon Parts, and Mechanical Parts, so never walk past one.
-
4
Craft mid-run when your hold gets messy
a bench lets you turn a pile of raw scrap into usable ammo or gear on the spot rather than hauling junk home.
-
5
Extract on value, not on greed
once you've hit a scarce material or your route has gotten noisy with other players, pull out instead of pushing for one more crate.
Best Resource Farming Methods
Different farming approaches trade speed for risk. Voyage Mode is described as consistent, low-risk extraction with no time pressure, making it the ideal environment for farming currency, components, and Upior drops, while Storm Dive Mode leans into PvPvE pressure for bigger payouts. Here’s how the common approaches stack up.
That last number is worth sitting with: reporting on Mechanical Parts farming notes that a single Trampler build costs around 295 Mechanical Parts, and that number climbs fast once you start customizing. That’s the real reason experienced players never sell them off for quick cash.
| Method | Speed | Effort | Best For |
|---|---|---|---|
| Voyage Mode ruin loop | Steady | Low | Building a resource safety net without losing your Trampler |
| Weapon Crate chaining | Fast | Low | Scrapped Ammo and Weapon Parts specifically |
| Fort and town runs | Slow | High | Multiple resource types in one trip, at higher PvP risk |
| Rock field crystal farming | Slow | Medium | Advanced crafting materials once you have a cannon-equipped Trampler |
| Storm Dive Mode | Fast | High | Rare drops and bigger hauls for crews confident in a fight |
Resource Rewards and What You Unlock
Tech Tree Upgrades
Most permanent progression sits behind the Tech Tree, and Parts Crates, Medical Cabinets, Valuable Safes, and high-tier locked rooms will dramatically accelerate your Tech Tree progression compared to random looting. Materials like Weird Coral, Alloy Steel, Black Boxes, and Raw Origin items tend to gate the more meaningful unlocks, so treating them as a reserve rather than spending them immediately keeps you from hitting a wall later.
Trampler Rebuilds
Mechanical Parts don’t unlock anything flashy — they just keep you in the game. Mechanical parts — the orange, scrap-metal-looking bits — are what let you rebuild a basic trampler dirt cheap after a bad run, which matters more than any rare drop if you’re playing regularly.
Crafted Weapons and Ammo
Scrap Metal and Weapon Parts feed weapon crafting directly. White rarity weapons are the cheapest entry point, requiring just 25 Scrap Metal each, and you can upgrade to green tier by combining the white version with more Scrap Metal. It’s a slower path than looting a finished gun, but it’s reliable if your Weapon Crate luck has been bad. For a deeper look at what’s actually worth grabbing versus leaving behind, the beginner mistakes that cost you loot on day one guide walks through the specifics.
Fast Leveling: How Tech Tree Progression Actually Moves
Early progression follows a simple pattern: deploy with a budget Trampler, scavenge surface-level ruins, extract with modest loot, upgrade components gradually, then attempt riskier targets. Crowns are the universal currency that unlocks Tech Tree nodes, so Crown farming is the fastest path to leveling your Trampler’s capabilities.
Two modes are available right now: Storm Dive and Voyage. Storm Dive is a battle royale format where a shrinking ring steadily cuts off the map, putting constant pressure on your position and resources. Voyage, on the other hand, lets you explore the map freely with no ring closing in. For progression-focused players, Voyage Mode is a persistent, lower-stakes open world where you set your own pace. It is ideal for testing new Trampler blueprints and learning the map without the pressure of a timer.
The best early-game farming locations include wrecked boats, shipwrecks, and smaller points of interest. Wrecked boats are especially useful for solo players because they are usually lower risk than fortified areas and can contain Parts Crates without forcing a long fight. Named forts are more dangerous but more consistent because they contain denser loot. For your first shop investments, check our guide to first shop purchases worth making to avoid wasting early Crowns.
Follow this sequence to get it done fast.
-
1
Start in Voyage Mode
No storm pressure means you control extraction timing and can farm at your own pace without PvP chaos forcing bad decisions.
-
2
Run budget Tramplers early
The Grumpy Walker preset is cheap to rebuild if you lose it and has well-rounded stats. Never risk expensive builds until your Tech Tree supports them.
-
3
Target Radio Beacon Boxes first
Sell Radio Beacon Boxes for 2,000 Crowns each. Three boxes in a single run equals 6,000 Crowns. Four boxes is 8,000.
-
4
Farm Aurogen Crystals on rocky routes
Each Raw Aurogen Crystal sells for 500 Crowns. As soon as you pick it up, it'll start depleting your health bar since it's radioactive. Store it on your Trampler shelf immediately.
-
5
Loot safes at every landmark
Safes are one of the most consistent sources of income. They appear inside buildings at landmarks and points of interest, often containing both Crowns and valuable items. Although a single safe may not seem particularly rewarding, looting several during one expedition quickly adds up.
-
6
Extract before greed kills you
Progress is tied to what comes home. A modest haul extracted cleanly teaches more than a huge haul lost because you stayed for one more wreck.
| Method | Speed | Effort | Best For |
|---|---|---|---|
| Radio Beacon Box runs | Fast | Medium | Burst Crown income (2,000 each) |
| Aurogen Crystal farming | Medium | Low | Consistent 500-Crown pickups in rocky areas |
| Shipwreck looping | Slow but safe | Low | Solo players avoiding PvP hotspots |
| Safe looting at landmarks | Medium | Medium | Stacking income across longer runs |
| Ironclad hunting | Slow | High | Black Boxes and rare materials for Tier II+ unlocks |
Early Tech Tree Priorities
Your early upgrades should help you survive, loot, and extract. Do not rush expensive weapons if your Trampler cannot carry loot or support basic combat. Storage and power upgrades give better value because they improve every run. Cargo Deck should be one of your first storage upgrades. You need proper cargo space before long farming routes become worth it.
Mid-Game Unlocks
Motor-Reactor: Your Trampler needs better power before bigger layouts and heavier systems become practical. Artillery Decks: Unlock this before committing to mounted weapon builds. Small Armament Workshop helps support combat-focused raids.
Late-Game Weapons
Auto Cannon is the best early mounted weapon path for most players because it gives steady pressure without requiring the same commitment as heavier cannons. Larger chassis and advanced armor come after your base extraction loop is stable.
After Early Progression: The Endgame Loop
The game currently splits into two modes built for different risk levels. Voyage Mode is the lower-pressure one, and it is where new players learn map flow, controls, item names, and building fundamentals. Storm Dive is where the actual endgame content lives — it’s the mode with a shrinking safe zone and the highest-value points of interest active. Within Storm Dive, the loot chase runs through a chain of six colored keys rather than six separate finds, with each door you open handing you the key for the next one, running from the Green Key all the way to the Black Key. That chain terminates at the game’s two hardest targets — Fort Istria’s basement, a reliable early Black Key source according to some farming routes, and the Bismarck, described as a massive central fortress that gives endgame rewards including legendary gear and powerful weapons. Late in a match, the Dreadnought also appears as the final extraction beacon, and it’s considered one of the best endgame farming spots since enemies there respawn quickly. Anyone still gathering basic materials before pushing this far should check a dedicated resource farming guide first, since Tech Tree materials feed directly into how viable your Trampler is once you start Storm Diving.
Tip
Fort Istria’s front is sealed behind locked doors you have to blow open with your ship’s cannon, a timed bomb, or a grenade, so pack at least one timed bomb before this run — arriving without a way through wastes the entire trip.
Follow this sequence to get it done fast.
-
1
Clear the early Tech Tree phases first
get your storage bay, extraction-related nodes, and basic weapon slots unlocked before you attempt anything in Storm Dive.
-
2
Build a Trampler for survivability, not looks
prioritize fuel efficiency, a solid storage compartment, and a mounted weapon over cosmetic modules.
-
3
Farm the early colored keys in lower-risk zones
work the Green and Blue key doors in named towns and forts before pushing toward Red and White tiers.
-
4
Push toward Fort Istria or another Black Key source
this is the real gatekeeper zone, and it's heavily defended, so go in geared and with a plan to breach locked doors.
-
5
Time your run so the Dreadnought is reachable
it only appears in the final phase of a match as the last extraction beacon, so track the shrinking zone and be nearby when it spawns.
-
6
Extract instead of pushing for one more crate
a banked Black Box, Mechanical Parts haul, or Radio Beacon Box is worth more than a dead Trampler sitting on unclaimed loot.
| Method | Speed | Effort | Best For |
|---|---|---|---|
| Voyage Mode looting | Slow | Low | Learning map layout and building fundamentals before risking Storm Dive |
| Storm Dive named towns and forts | Medium | Medium | Early-to-mid colored key farming and steady Tech Tree materials |
| Dreadnought endgame runs | Fast | High | Geared squads chasing high-tier loot with fast enemy respawns |
| Fort Istria / Black Key hunts | Slow | High | Players specifically chasing the Bismarck's legendary-tier rewards |
| PvP Trampler destruction | Variable | High | Farming Black Boxes, since they can't be obtained any other way |
Black Boxes and the PvP requirement
This is the material most players run into as a hard wall. Unlike nearly every other Tech Tree material, Black Boxes can only be obtained through PvP, and the Dreadnought area is the usual place to hunt them because enemies there respawn much faster than elsewhere. The process is blunt: destroy another player’s Trampler, loot the reactor, and collect the Black Box. There’s no PvE workaround currently known, so if your Tech Tree stalls out on this material, combat readiness matters more than farming routes.
Crowns and standard extraction payouts
Successful extractions bank currency and materials that feed straight back into your Trampler. SAND: Raiders of Sophie rewards disciplined raiders who plan extraction before looting, protect their Trampler reactor and engine compartments, and bank Black Boxes, Mechanical Parts, and Radio Beacon Boxes every successful run — with Black Boxes valued at roughly 500 crowns and Radio Beacon Boxes closer to 2,000, though treat those figures as approximate given how early the economy still is.
The Bismarck and legendary gear
The endgame ceiling right now is the Bismarck. The Black Key is an incredibly rare, legendary-tier item explicitly used to unlock the most secure, high-value vaults in the game, and it’s deeply tied to secret rooms, locked boxes, and the ultimate endgame challenge: the Bismarck. Getting there means surviving the entire key chain while other squads are actively hunting you the moment you’re carrying it.
Common Misconceptions About Resource Farming
Myth: Rarer Materials Are Always More Valuable
Not true. Higher rarity does not always mean an item is more useful — some common materials are required in huge quantities for research and crafting, and new players often make the mistake of ignoring common materials in favor of rare loot. Metal Scrap looks boring, but late-game research burns through it fast.
Myth: You Should Open Every Container You Find
Fast farming isn’t about volume. Efficient farming isn’t about opening every container you find — it’s about knowing exactly which loot sources provide the resources you actually need. A crew farming random loot ends up with a full hold and no clear next upgrade.
Myth: Storage Capacity Equals Safety
Bigger cargo doesn’t mean a safer run. Confusing storage capacity with safety is a common mistake — more storage can make runs profitable, but it can also encourage overlooting, so use storage as a tool, not an excuse to stay after the route has gotten noisy. Sitting in a hot zone for one more crate is how full holds turn into zero holds.
Our Take: Is Resource Farming Worth It?
Our Take
Yes, but only if you farm with a target — aimless looting is the slowest way to progress in this game.
The extraction-shooter loop here rewards discipline over volume. Voyage Mode exists specifically as a low-pressure way to stockpile Mechanical Parts and crafting scrap without risking a full wipe, and that safety net is what lets you actually take Storm Dive Mode seriously later without a bad run setting you back to zero. Ignoring that structure and just chaining random containers is a real time sink — you’ll fill your hold with materials that don’t move your current Tech Tree goal an inch.
The bigger honest issue is that a lot of the loot system runs on weighted RNG rather than guaranteed drops, so farming a specific rare material can still eat several runs even with a good route. That’s not a flaw so much as the genre working as intended, but it’s worth knowing going in rather than expecting a clean farming schedule. If the grind is dragging, the tips to save time and grind less guide has more on trimming dead time out of runs.
Was this guide useful?