En esta página
Crimson Moon has no character classes, so the question every new Nephilim actually needs answered is what fills that gap. The short version: your build comes from nine gear slots, the Boons your gear and the run itself hand you, a Weapon Art tied to whatever you’re swinging, and a string of choices at Nexus Gates that keep changing the plan mid-hunt. This covers how those four pieces fit together, in the order they actually matter.
En resumen
- Nine gear slots: four armour, two trinkets, a one-handed weapon with shield y a two-handed weapon — all nine are equipped at once, so the weapon question is which to use, not which to bring
- Boons — not raw rarity — decide how strong a build actually is, because the developer’s own framing is built around synergy
- Many weapons carry a Weapon Art — an ability on its own cooldown, separate from stats
- Nexus Gates hand out temporary Boons mid-hunt that last for the rest of that run only
- Armour sets are the specialization layer, unlocked through Purifying gear after a successful hunt
The Nine Gear Slots and What Each One Is For
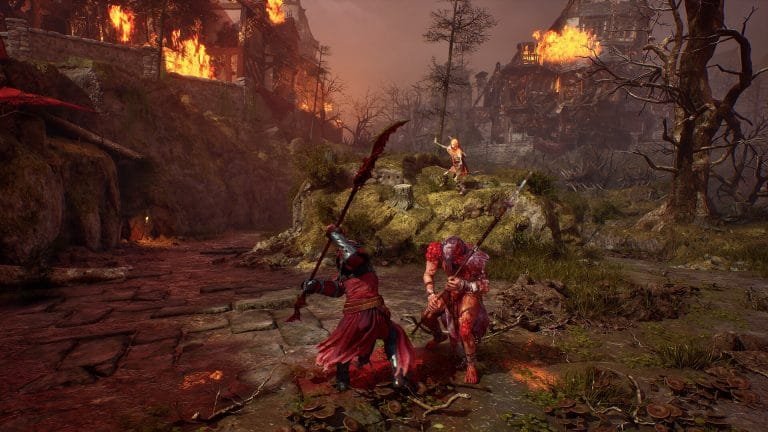
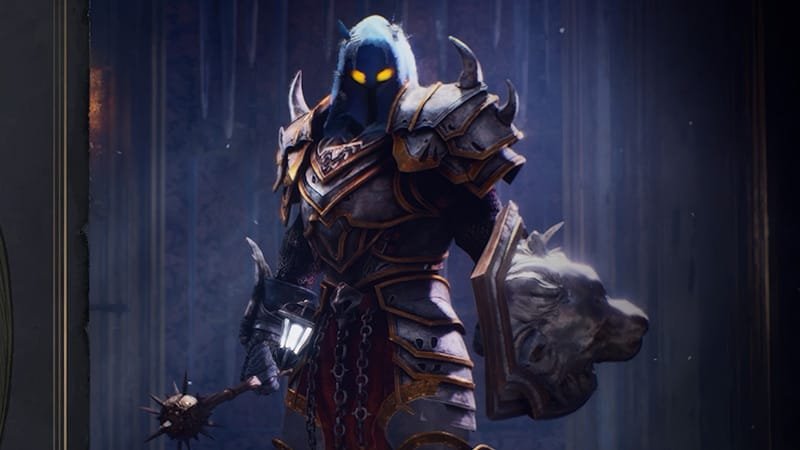
Every Nephilim carries the same skeleton of gear regardless of playstyle. Every Nephilim can equip nine pieces of gear: four pieces of armour, two trinkets, a one-handed weapon and shield and a two-handed weapon. That’s the entire equipment layer — there’s no separate skill tree or class panel sitting underneath it. The half-human, half-angel setup and the fight to retake the fallen city of Gildenarch get more context in the Crimson Moon story explainer, but mechanically, this slot list is where a build actually starts.
| Slot type | Count | What it's for |
|---|---|---|
| Armour | 4 | Core stats plus the pieces that make up matching sets |
| Trinkets | 2 | Supplementary passives and Boon sources without a weight cost |
| One-handed weapon + shield | 1 + 1 | Trades reach for guarding, parrying, and a defensive Weapon Art |
| Two-handed weapon | 1 | Reach and heavier pressure, plus its own Weapon Art — carried alongside the shield set, not instead of it |
Why Boons Decide a Build in Crimson Moon, Not Rarity
As you explore Gildenarch, you’ll discover equipment of increasing rarity, and every Nephilim is defined by the build they create, giving you the freedom to experiment with different combinations of gear, Weapon Arts, Boons and Angels every time you venture into Gildenarch. That last part is the actual point: rarity raises numbers, but better gear improves your core stats and can introduce additional Boons that change how you play, and it’s the Boons — not the item level — that decide whether a build actually works. Boons can push straight damage, debuff enemies, restore health, refill flasks, or reward staying aggressive, and the developer’s own framing of the system leans on combining them rather than stacking the biggest number available.
Myth: the highest-rarity item is always the right pick
A rare weapon with a Boon that doesn’t fit your build is worse than a common one that does. If your loadout is built around bleed stacking or aggressive playstyles, a defensive Boon on a shinier item can actively work against you.
Myth: you need to find a “correct” build before you start
There’s no meta list to memorize on day one — the whole design point is that the way you build your Nephilim is up to you, whether that’s overwhelming damage, a defensive playstyle, or aggressive-play payoffs.
Weapon Arts and Cooldowns: The Third Piece of Every Build
Weapons in Crimson Moon aren’t just stat sticks. Many weapons have a Weapon Art — a special ability on its own cooldown — and these arts are what give a weapon its personality. The developer’s wording is “many”, not “every”, so treat a Weapon Art as something to check for rather than assume. Descriptions floating around early coverage mention things like a two-handed sword carrying a sweeping effect or a one-handed sword carrying a smite-style strike, though exact names and numbers for the full weapon roster haven’t been published yet, so treat specific examples as illustrative rather than a confirmed list. The advice that matters regardless of the exact roster: don’t just pick the weapon with the highest number — pick the weapon whose Weapon Art fits how you want to play. A Weapon Art on its own cooldown is the one build piece that doesn’t rotate out with a gear swap; it’s tied to the weapon category itself, which is why weapon choice tends to anchor everything else you build around it.
Nexus Gates: Where a Build Keeps Changing Mid-Hunt
This is the layer that makes a Crimson Moon build a moving target instead of a loadout you lock in before a hunt. Nexus Gates sit inside each Ward you fight through, and during a hunt, Nexus Gates offer temporary Boons that can add damage, improve survival, restore health, or create synergies. Because two players can enter the same mission with different permanent loadouts and then evolve in different directions as the run unfolds, the actual decision at every gate boils down to one question: reinforce what’s already working, or adapt toward whatever the run has handed you so far. Take the same damage type you’re already stacking and the build gets sharper but narrower. Take something that covers a weakness — survivability if you’ve been getting clipped, a debuff if a boss Ward is coming up — and the build gets more flexible but less specialized. Since there are multiple gates per hunt, that trade-off repeats several times inside a single run, and each pick changes what the next gate’s options are worth. The guide to how runs chain together between hunts covers what carries forward once the run ends and what doesn’t.
Consejo
Nexus Gate Boons only last for the rest of that specific run. They don’t carry into your next hunt, so don’t hold back a strong pick at a gate hoping to “save” it — by the next hunt it’s gone regardless.
Armour Sets: The Specialization Layer
Sets are where a build stops being general-purpose and starts being specific. Matching armour pieces push a build further in one direction than any single item can on its own, layering on top of whatever Boons and Weapon Art you’ve already committed to. Getting there runs through Purification: successfully complete a hunt and you can Purify the equipment you’ve discovered, permanently adding those weapons, armour and trinkets to your collection. That’s also the real cost of chasing a specific set — Purification only fires on a clean finish, not on a partial run, so a hunt that goes badly doesn’t bank the gear you found along the way. Filling four armour slots with pieces from the same set, on top of that, usually means repeating hunts rather than getting there in one clean pass. It’s also worth remembering that the higher-rarity gear worth building sets around tends to open up as your Nephilim gets past the earliest hunts — a freshly started character is working from a shallower pool by design.
Players short on time can put Boosting de Crimson Moon alongside a normal playthrough rather than in place of one.
Co-op Builds: Complementary Loadouts, Not Matching Ones
Crimson Moon’s two-player co-op isn’t built around both players running the same setup. For co-op, complementary loadouts and Boons can amplify a partner instead of simply doubling the same role, and the official framing backs that up directly: players control the battlefield with shifting, divine abilities and can team up in co-op to unlock devastating synergies that amplify their might. In practice that means one player leaning into aggressive Boons while the other picks up survivability or crowd control at the next gate covers more ground than two players chasing the same damage stack. The full rundown of how shared lives and revives work alongside that is in the co-op basics guide.
Our Take: Is Chasing the "Perfect" Build Worth It on Day One
Nuestra opinión
A Crimson Moon build isn’t a thing you set once — it’s a chain of decisions that keeps running for the whole hunt.
Dropping classes and putting everything on gear, Boons, Weapon Arts and Nexus Gate picks is a bet that most players would rather adjust constantly than pick a lane and stay in it. That bet pays off if the Boon pool is deep enough to make each gate feel like a real choice instead of a coin flip — something that’s genuinely hard to judge from a launch-day feature list alone. What’s already clear is that treating rarity as the deciding factor is the wrong instinct here; the system is built around synergy, and chasing the shiniest drop over the one that actually fits your run is the fastest way to feel weaker while your numbers go up.
Sources and Confidence
This table separates what the studio has confirmed from what comes out of press previews, and what is still just circulating. Every link below was fetched before publishing.
| Claim | Where it comes from | Estado |
|---|---|---|
| Crimson Moon has nine gear slots: four armour pieces, two trinkets, and weapon slots | Steam Community (developer post) | Official |
| There are no traditional character classes; a Nephilim is defined by its build | Steam Community (developer post) | Official |
| Completing a hunt lets you Purify discovered gear into permanent ownership | Steam Community (developer post) | Official |
| Nexus Gates grant temporary Boons that can add damage, improve survival, or create synergies | How Builds Work in Crimson Moon (developer post) | Official |
| Many weapons have access to Weapon Arts, each with its own cooldown | Welcome to Sanctus Clypeus (developer post) | Official |
| Co-op partners can pick complementary Boons instead of mirroring the same build | How Builds Work in Crimson Moon (developer post) | Official |
¿Te ha resultado útil esta guía?
Servicios de Crimson Moon
Subida de nivel de personajes
Subida de nivel de personajes
Your Nephilim levelled to the target you set, up to the cap · Gear, materials and War Table progress found on the way…
Desbloqueos de equipo y armas
Farmeo de artefactos y armas
The legendary weapons and artifacts you name, farmed onto your account · Done when each named piece is in your inventory
Misiones y encargos
Misiones completadas
The one mission you name, cleared on the difficulty you choose · Done when the chain continues from where it stalled