En esta página
Helldivers 2 has 10 difficulty tiers, and each one changes more than raw enemy count — patrol composition, heavy armor, outpost size and the samples you can even pick up all shift as you climb. This guide breaks down what actually changes at each rung, which tier unlocks which sample type (including Super Samples), and how to tell if you’re ready to push up a level or should drop back down.
En resumen
- There are 10 tiers from Trivial to Super Helldive, and you unlock the next one by finishing a full operation at your current top tier.
- Rare Samples need at least Challenging (4). Super Samples are gated further up the ladder, but exactly which tier that is has moved with patches — check the operation select screen.
- Reinforcement budget stays fixed at five tickets per Helldiver no matter the tier, while patrol density and enemy toughness keep climbing — that’s the real difficulty spike, not just bigger health bars.
- Failed extractions and burned reinforcements are the clearest sign you jumped a tier too early; clean extractions with time to spare are the sign you’re ready for the next one.
- Super Helldive (10) is generally treated as a coordinated-squad tier, not a solo grind.
Mission Run
50 misiones jugadas contigo en la escuadra, en tu propia cuenta
What Is the Difficulty Ladder in Helldivers 2?
The difficulty ladder is the per-mission slider that sets how hard an operation plays, developed by Arrowhead Game Studios and published on both PlayStation and PC. Helldivers 2 features 10 distinct difficulty levels, ranging from Trivial to Super Helldive. Higher levels introduce more armored enemies, complex objectives, and increased enemy spawns, rather than just boosting enemy health. The tiers aren’t unlocked all at once — you climb one rung at a time, and each rung changes the mission’s enemy composition, its objectives, and what samples you can even find on the map.
Super Helldive wasn’t in the game at launch — when the game first launched, there were just nine Helldivers 2 difficulty levels, with Super Helldive added in a later update, and Arrowhead has kept tuning the top of the ladder since. A February 2026 patch specifically increased enemy intensity at difficulties 8, 9, and 10, so if the top tiers feel meaner than you remember, that’s a deliberate change, not your imagination. The official Helldivers 2 site is the place to check for the current patch notes before you assume anything below is still accurate.
| Difficulty Band | Tiers | What Changes |
|---|---|---|
| Learning band | 1–3: Trivial, Easy, Medium | Introductory, ideal for learning mechanics, with simple objectives and fewer enemy spawns. |
| Mid band | 4–6: Challenging, Hard, Extreme | Casual to moderate, featuring more armored enemies, secondary objectives, and larger enemy patrols. |
| High band | 7–9: Suicide Mission, Impossible, Helldive | High-intensity challenges requiring intense coordination, with massive enemy presence and specialized enemy types. |
| Top tier | 10: Super Helldive | The highest difficulty, designed for the ultimate challenge. |
Not everyone has the evenings for this — Boosting de Helldivers 2 covers the same ground with someone else on the keys.
How Difficulty Affects Sample and Reward Drops
This is the part that actually matters if you’re climbing for a reason: samples and Requisition don’t scale evenly, and one sample type is hard-gated behind a specific tier. Common samples are available in all difficulties. Rare samples are only available in difficulties four to nine — Challenging, Hard, Extreme, Suicide Mission, Impossible, and Helldive. Super Samples are where sources genuinely disagree: some recent guides and the current wiki put the floor at difficulty 6 (Extreme), while other guides still list difficulty 7 (Suicide Mission) as the minimum. One breakdown lists Super Samples ranging from 3-6 samples per mission starting at difficulty level 6 and above. Because this exact threshold has already moved once via patch, treat it as a “check before you commit” number rather than a fixed rule, and confirm it on the operation select screen for your current game version.
Higher difficulty missions have increasing percentage multipliers for Requisition Slips and Experience, from +25% on Medium to +300% on Super Helldive. Medals scale per mission too — Arrowhead’s design ties per-mission medal payouts and XP modifiers to the tier you selected, with Trivial giving a 0% XP modifier and 1 medal per successful mission, climbing from there. That gap is also why samples feed straight into Ship Management upgrades, which is worth reading alongside this if you’re planning what to spend them on in the ship module priority guide.
| Sample Type | Minimum Difficulty | Notes |
|---|---|---|
| común | 1 (Trivial) | Available at every tier; volume depends more on map size than difficulty. |
| Rare | 4 (Challenging) | Confirmed floor across current guides and the wiki. |
| Super | 6 or 7, depending on source | Threshold has moved via patch before — verify in-mission. |
What Actually Changes Enemy-Side as You Climb
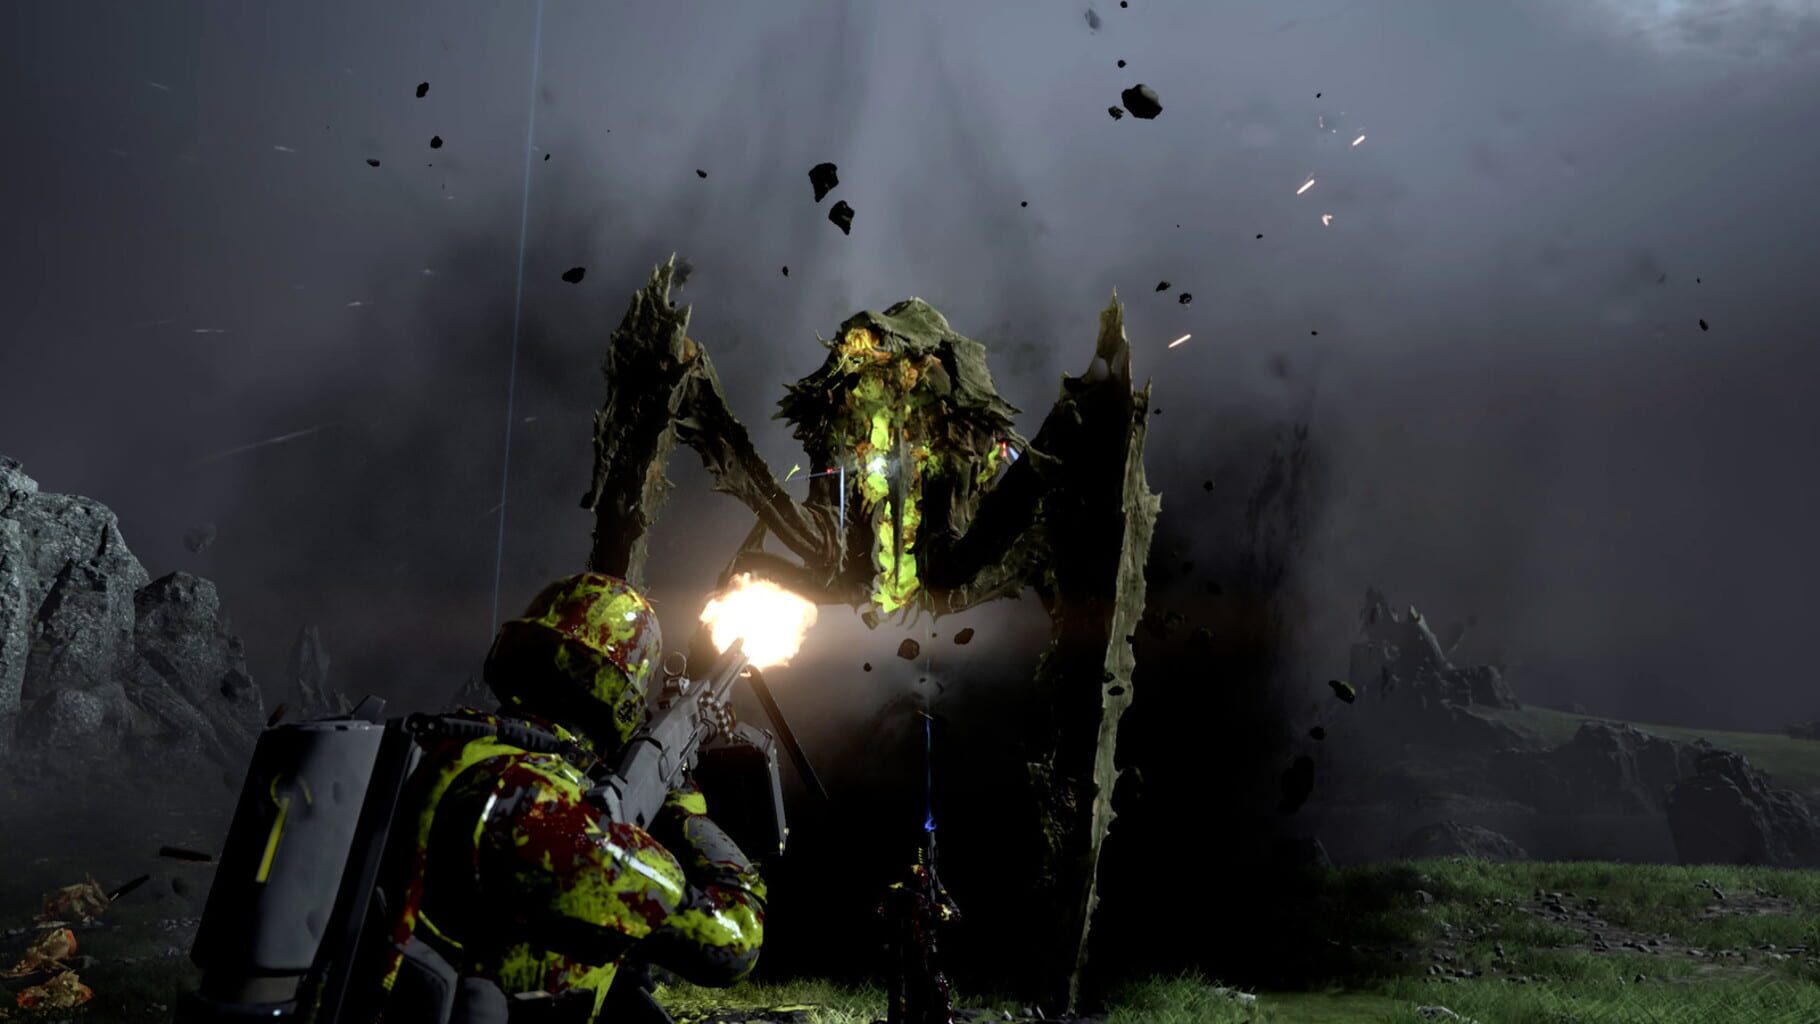
The mid band is where the encounter design shifts, not just the number on the difficulty slider. At these levels you’ll start encountering the heavier enemies — Hulks, Bile Titans, Impalers, and Harvesters — as well as tougher enemy bases and increased patrols. In exchange, you get more Points of Interest to explore for loot, so the trade isn’t purely punishment. The frequency of enemy patrol spawns increases alongside difficulty, and in relation, the frequency of DSS Eagle Strike and other tactical actions during missions decreases. At the very top, Helldive and Super Helldive introduce Super Heavy Outposts — Mega Terminid Nests and Automaton Fortresses that guard objectives with concentrated elite spawns, which don’t exist at lower tiers at all.
The part that catches people off guard is reinforcement math. Patrol spawn frequency roughly doubles between Challenging and Helldive, and per-encounter group size grows further on top of that, but your reinforcement budget stays fixed at five tickets per Helldiver regardless of which tier you select. For a four-player squad that’s still 20 lives total; for solo, it’s still five. That’s the actual difficulty curve — not more health bars, but the same safety net covering a much bigger threat.
Advertencia
Sample thresholds and top-tier enemy tuning have both changed via patch before, most recently at difficulties 8 through 9 in early 2026. Don’t plan a squad’s build around a specific tier number without checking the operation select screen first.
Signs You're Ready to Move Up a Difficulty
You’re extracting clean with time left over
If your squad is consistently finishing objectives with reinforcements still in the bank and time on the clock, the current tier isn’t testing you anymore. That’s the strongest “move up” signal there is — a comfortable extraction, not a close one.
Your reinforcement tickets aren’t running out
Since the reinforcement budget never changes with tier, watching how many of your five tickets per diver you actually burn is a better gauge than kill count. Spending one or two per mission and still cruising to extraction means the next tier is probably reasonable.
Signs it’s too early: failed extractions and burned tickets
Repeated wipes at the extraction point, running out of reinforcements before the objective is even done, or one modifier consistently causing a squad-wide collapse — those are the drop-back signals. A single rough run isn’t a pattern; three in a row on the same tier is.
Step-by-Step: Climbing the Difficulty Ladder Safely
Put a number on it and the ladder is a real time cost, not a quick unlock: getting a squad from Trivial to a Helldive-capable loadout, while also banking enough Common, Rare and especially Super Samples to finish out Ship Management, realistically runs in the range of a couple dozen hours of regular play rather than a single weekend, since the samples you need most only start dropping once you’re already comfortable at the harder tiers.
Sigue estos pasos para hacerlo rápidamente.
-
1
Finish a full operation clean at your current top tier
you unlock higher levels by completing operations on the highest currently available difficulty, one clean operation at a time, not a single mission.
-
2
Confirm the sample floor you're chasing
Rare Samples are safely available from Challenging (4) up; verify the current Super Sample threshold in the operation menu rather than assuming 6 or 7.
-
3
Bring an anti-tank answer before you queue
start considering what types of weapons and stratagems your team brings at these levels, with one or two players carrying an anti-tank weapon ready at a moment's notice.
-
4
Test the new tier in a smaller group first
a duo or trio run at the next difficulty exposes the patrol density jump faster than a full squad that can brute-force through mistakes.
-
5
Track reinforcement spend, not kill count
kills don't give XP; you earn progression by completing objectives, and enemies are obstacles, not a point source, so a mission with heavy fighting but a clean extraction is a win, not a warning sign.
-
6
Drop back a tier without hesitation
if extractions keep failing, a lower difficulty that still drops the samples you need beats repeated wipes on one that doesn't.
What to Do If You're Stuck on One Difficulty
Fix your loadout before you fix your skill
A squad wiping repeatedly on the same tier is usually missing a role, not missing aim. If nobody is carrying a dedicated anti-armor stratagem or support weapon, that’s the first gap to close — heavier enemies introduced in the mid band don’t go down to standard primaries the way earlier tiers do.
Assign roles instead of everyone doing everything
Splitting anti-tank, crowd control, and objective-support duties across the squad tends to matter more at higher tiers than individual gun skill. If your squad is struggling with specific armored threats, the Crusher and Wretch weak points guide covers which enemies actually need dedicated anti-armor versus which ones a primary weapon can handle.
Reconsider your stratagem loadout for the mission type
Stratagems that work fine at Medium can be liabilities at Extreme and up if they’re slow to deploy or leave you exposed during a call-in. Match your loadout to the operation’s stated modifiers rather than running the same four stratagems on every tier.
Subida de nivel
Tu nivel y tus armas principales, agrupados
Common Misconceptions About Helldivers 2 Difficulty
“Higher difficulty is just bigger numbers”
It isn’t. Higher levels introduce more armored enemies, complex objectives, and increased enemy spawns, rather than just boosting enemy health, and the reinforcement budget stays flat while patrol frequency climbs — the math of the mission changes, not just its toughness stat.
“You need Helldive for decent samples”
Rare Samples only require Challenging (4), and Common Samples drop everywhere. You don’t need to jump straight to the top of the ladder to make real progress on Ship Management — only the last upgrade tier actually needs Super Samples.
“Kills equal faster progress”
Kills don’t give XP — you earn progression by completing objectives, both primary and secondary, and enemies are obstacles, not a point source. A squad that sneaks past patrols and clears objectives fast will out-progress one that fights every patrol on the map, at any difficulty.
Our Take: What Difficulty Should You Actually Be Playing?
Nuestra opinión
Play the highest tier your squad can clean-extract on consistently — not the highest one it can survive.
The reinforcement budget never grows, so a “win” at a difficulty that leaves your squad regularly down to its last ticket isn’t sustainable, it’s a countdown. Climb one rung, run it until extractions feel routine, then climb again — the sample and Requisition gains scale hard enough at the top that there’s no reason to skip the middle of the ladder to get there faster.
¿Te ha resultado útil esta guía?
Servicios de Helldivers 2
Nave y Warbonds
Desbloqueo y subida de nivel de Warbond
The number of Warbonds you set on the slider, each opened and completed to the last page · Done when every ordered…
Medallas de Warbond y muestras
Paquetes de muestras
Common, Rare and Super Samples farmed · Funds the ship module upgrades they gate
Medallas de Warbond y muestras
Medallas de Warbond
Medals earned through operations · Unlocks Warbond pages and what sits on them