En esta página
Voyages are large endgame expeditions created by combining nine Charts into a single underwater adventure with greater rewards than running individual Lost Charts. After charting enough areas, players can connect them on the Voyage Board to create a Voyage, forming one large expedition across the ocean floor; each Chart included in a Voyage can be revisited, allowing its rewards to be claimed again. The defining characteristic is placement: modifiers on completed Charts affect adjacent slots or the entire voyage, so the order and layout you choose determines your total reward multiplier. You work with Valerie, captain of The Sovereign, to plan and launch each Voyage from a 3×3 grid, and the edges of the Voyage Board feature randomised effects that influence adjacent Charts each Voyage, adding extra rewards.
En resumen
- Nine completed Charts combine into one Voyage on a 3×3 board — placement is the skill ceiling.
- Chart modifiers spill onto adjacent slots or the whole Voyage; edge bonuses add a second layer of adjacency math.
- Allflame Lanterns create safe zones but fade after you place the seventh — every encounter runs against a clock.
- The Allflame Crafting Bench shows multiple outcomes before you commit, removing RNG from item crafts.
- Voyages and Atlas Anomalies are separate endgame systems; do not conflate them.
Atlas completo
Los 118 mapas del Atlas completados
Why Chart Placement Decides the Outcome
The moment you slot nine Charts into the Voyage Board, their modifiers interact. Every Chart has an implicit modifier that gets revealed once it’s charted; these modifiers apply in one of two scopes: adjacent Charts (the effect only impacts squares directly connected to it) or Voyage-wide (the effect applies to every relevant area in the entire Voyage). A single well-placed Chart in the center of the grid can touch four neighbours, multiplying its bonus across half your run, while corner pieces are enhanced by two edge bonuses, while the center receives none. The community has not yet settled on universal placement rules for every modifier type; GGG revealed examples such as converting equipment drops in adjacent areas into Gold, spawning friendly jellyfish alongside monster packs for additional loot and experience, and empowering adjacent monsters with Wildwood Wisps, but the full modifier pool remains under testing. Border modifiers are randomly chosen each time you complete a Voyage, and will likely influence the strategy of what Charts you choose to run when.
Banking Charts and planning a layout beats firing one off the moment you have enough. Rather than filling every slot with the strongest options, plan from the reward target outward: pick the Chart you most want to revisit, identify every adjacent or global effect that supports it, only then add optional difficulty; a visually full board packed with conflicting modifiers is almost always worse than a lean layout built around one clear goal. If a Chart repeatedly causes deaths or forces you to skip encounters, removing it can improve real returns even when its reward text looks attractive; a board that your character clears reliably is more useful than an ambitious layout that ends before its premium encounters.
Players short on time can put Boosting de Path of Exile alongside a normal playthrough rather than in place of one.
Where to Get Lost Charts and Complete Voyages
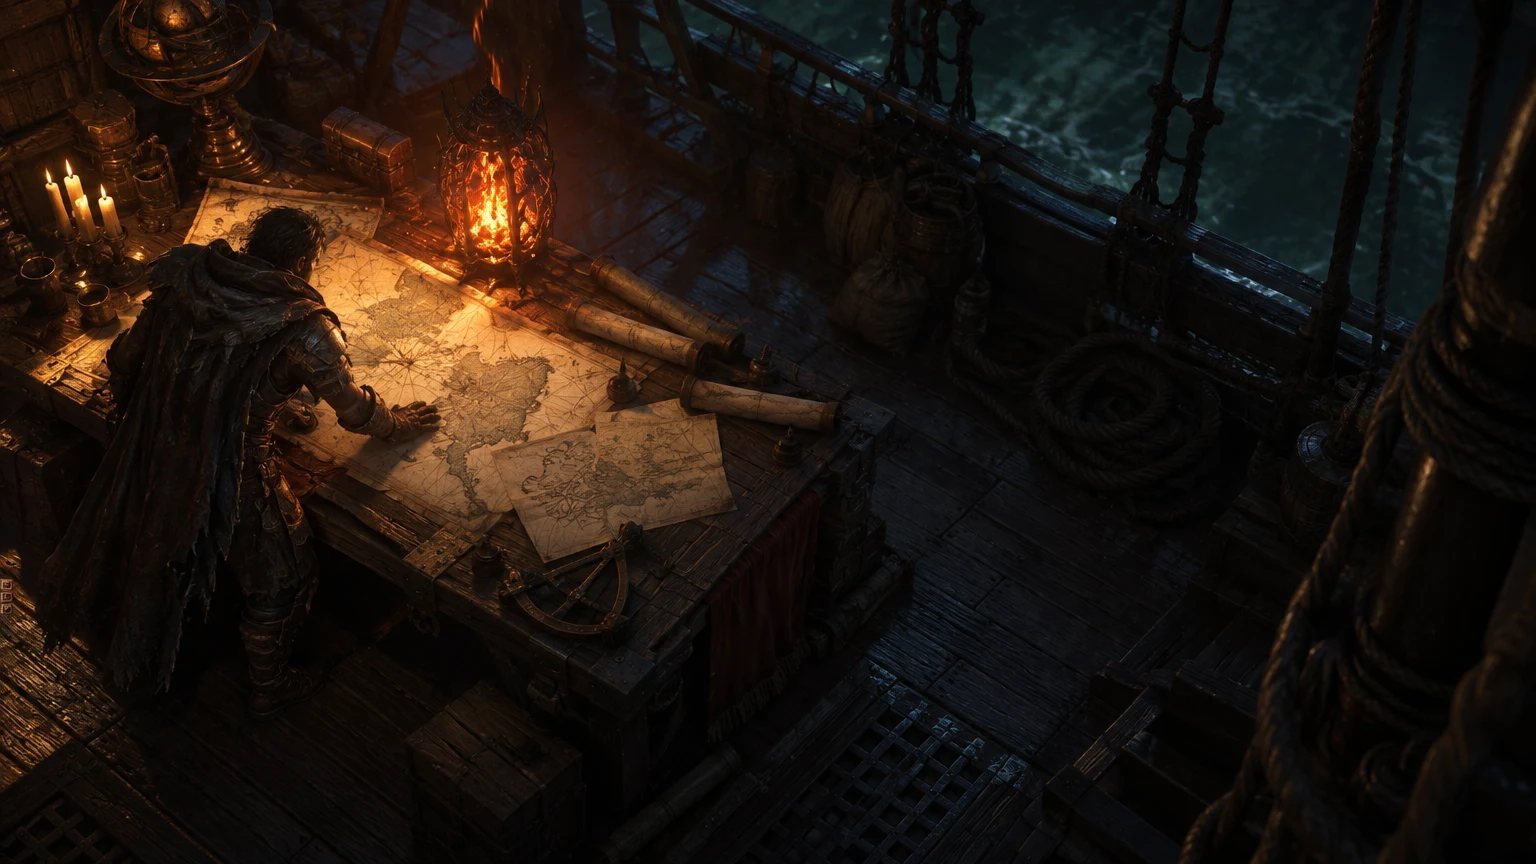
During the 3.29 Challenge League, you’ll find Cursed Treasure in every zone in the game; killing the surrounding enemies and opening the treasure will drop a Chart and grant a bonus for the remainder of the zone. Every zone contains at least one Chart, and sometimes two; you’ll receive your first Chart from Valerie shortly after boarding The Sovereign, meaning access to the mechanic begins in Act 1. Completing the Lost Chart grants a regular Chart, which can be used to start Voyages. Speak to Valerie after you’ve gathered 9 Charts to begin planning your Voyage, which is a far larger area comprised of 9 connected Charts. The Chart Storage chest allows you to store all of your Charts — whether they’re charted or uncharted; this chest can be added to your hideout, and you can enable the Chart stash affinity to automatically store all your Charts.
Who Guards the Chart and What the Fight Gives You
Every Lost Charts encounter is a treasure guarded by one of three factions: Undead, Rival Corsairs or creatures of the deep. Defeating the guards and looting the treasure grants a Chart plus a special effect that depends on the faction. Community tracking suggests Charts scale within fixed level bands so they stay usable while leveling, which means a Chart picked up in the campaign is not wasted if you sit on it. You do not need nine Charts to get value either: an individual Chart can be run solo for baseline rewards at any point, and nine are only needed to plan a full Voyage.
Which Lost Chart Types Are Worth Running
The guard faction changes the bonus you get on the spot; the Chart’s modifier changes what it does once it’s slotted into a Voyage. Sorted by how much gear the fight asks for:
| Chart type | What it gives | Verdict | Best for |
|---|---|---|---|
| Undead-guarded | Faction bonus for the rest of the zone | Run as you pass it | Any build — these sit on your normal path |
| Rival Corsairs-guarded | Faction bonus for the rest of the zone | Run as you pass it | Any build — no detour needed |
| Creatures of the deep-guarded | Faction bonus, harder fight | Be selective | Characters that already clear harder maps comfortably |
| Ducat modifier | Ducats for warping item mods | Bank it for the board | Anyone crafting rather than selling |
| Gold or Gilded modifier | Gold conversion via Allflame Ember of the Gilded | Bank it for the board | Players whose bottleneck is gold, not currency |
| Wisp modifier | Higher danger for higher payout | Skip on a squishy build | Tanky characters that can survive the extra pressure |
What to Do With Charts Not Worth Running
If a Chart’s connector doesn’t line up with anything useful, or its faction bonus doesn’t fit your build, run it solo for the baseline loot during a normal map clear instead of forcing it onto the board, or leave it out of your nine and keep it in Chart Storage for a future Voyage where it fits better. There is no confirmed way to trade Charts directly on the market as of this patch, so “selling” a weak Chart in practice means running it cheaply rather than discarding it.
Step-by-Step: Running Your First Voyage
Sigue estos pasos para hacerlo rápidamente.
-
1
Collect nine completed Charts
clear Cursed Treasure encounters in maps, complete the Lost Chart area underwater, and bank the resulting regular Chart in your Chart Storage chest.
-
2
Return to The Sovereign and speak to Valerie
open the Voyage Board and inspect the edge modifiers; these randomised bonuses affect adjacent tiles and will guide which Charts you place where.
-
3
Place nine Charts on the 3×3 grid
each Chart's icon has lines on it, which must connect to the previous piece; position Charts with voyage-wide buffs in low-adjacency slots, and place high-value targets where edge bonuses stack.
-
4
Descend in the Bathysphere and manage your Allflame Lanterns
you can call down the Allflame Lanterns either automatically or by command; talk to Valerie to change the settings; "Automatic" will deploy a Lantern as soon as you cross the air pocket, while "on command" gives you control of where to drop it.
-
5
Push encounters before the light dies
once you've placed all 7 Allflame Lanterns, the Lanterns begin to flicker and fade, forcing you to rush back to the Bathysphere as creatures of the deep rush towards you.
-
6
Bank loot in Allflame Capsules and extract
each chart area contains an Allflame Capsule, and therefore 9 in total, which serves as a way to return loot to the surface in a 5 by 12 inventory; this is very useful for any Voyage where you would run out of Inventory space otherwise, as you cannot portal out of the area.
Best Voyage Planning Strategies
Consejo
Build the board around one clear reward goal. Before starting the Voyage, review every Chart modifier and the connection lines shown in the interface so you do not waste a strong Chart on a layout that does not support it.
Planning a voyage well is half of it; the other half is an atlas built to feed them. Which nodes actually pay for a voyage-focused map pool is covered in our atlas tree guide.
| Chart Type | Where to Place | Why | What It Affects |
|---|---|---|---|
| Adjacent-modifier Chart | Center position | Touches four neighbours | Up to four Charts |
| Voyage-wide modifier | Low-adjacency slot (edges, not corners) | Does not consume valuable neighbour connections | Entire Voyage |
| High-value reward Chart | Corner position | Benefits from two edge bonuses | The Chart itself plus edge buffs |
| Named special area | Next to supportive modifiers | Unique encounters deserve stacked buffs | The special Chart's unique rewards |
| Difficulty spike or conversion Chart | Only after testing your clear speed | Risk should support a clear goal, not exist for its own sake | Adjacent or voyage-wide depending on text |
Launching a Voyage on an Incomplete Nine-Chart Set
The most avoidable failure happens before the dive starts: grabbing whatever nine Charts you have on hand just to fill the board. Some sets of Charts simply don’t connect cleanly, so the result is either a board that won’t let you commit or a layout of disconnected modifiers that barely interact. Completing a Chart on its own reveals its Implicit Modifier, so scout Charts individually first, bank a few extra before you open the board, and treat nine as the slot cap rather than a quota you are rushing to hit.
Voyage Mistakes at a Glance
| Mistake | Warning sign | What to do instead |
|---|---|---|
| Random Chart placement | Danger and time pressure stack in the same slots | Match connector shapes and build around one clear reward goal |
| Ignoring the lantern timer | Water closes in with no warning noticed | Treat the final lantern placement as a hard countdown |
| Launching on an incomplete set | Board won’t connect or the layout is disjointed | Bank extra scouted Charts before opening the board |
How the Allflame Lantern Timer Actually Works
Lanterns imbued with a spark of the Allflame provide protection from the crushing waves; while the lanterns remain active, players can explore the area and search for lost Gold, valuable chests and other rewards. These lanterns establish safe, breathable bubbles on the ocean floor; as you push into the darkness to find treasure, Valerie will automatically deploy extra lanterns, though you can also place them manually to carve out custom paths. The critical mechanic: once the final Lantern is placed, the existing Lanterns begin to fade and deep-sea monsters close in; return to the Bathysphere before the water reclaims the area. Once you’ve dropped all of the Allflame lanterns, you’ll be on a timer before the lanterns run out of energy; finish up your tasks, pick up any valuable loot and head back to the bathysphere to avoid drowning.
This is where most runs are lost. Every encounter becomes a timed decision about how deep to push before calling the escape. When your lantern fuel depletes and the light begins to flicker out, hostile deep-sea monstrosities will swarm you; do not get greedy, cut your losses, grab what you have, and head back to the Bathysphere — dying down here means losing your hard-earned expedition rewards. The mechanic is built around controlled expansion: placing more Lanterns reveals more monsters, treasures and Sulphur, but it also commits the player to a longer escape once Vesper’s limited power starts running out.
Which Monster Packs Are Worth Seeding a Lantern Toward
Each Allflame Lantern points to the closest Sunken Object when it is placed, so follow the arrow first and then decide whether the pack guarding the reward is worth the detour. Compare the walking distance to your remaining Lantern budget, not to the reward alone: the fade timer on your existing bubbles doesn’t pause while you’re mid-fight. Pack size often matters more than faction — a dense Undead pack that takes three times as long to clear can cost more than the buff it grants, while a thin Rival Corsair pack blocking a Chart drop is nearly free. GGG has not published a fixed pack-to-bonus table, so treat the faction column below as an early-league reading.
| Pack type | What it gives | When it’s worth it |
|---|---|---|
| Undead guard packs | Killing undead possesses your character with ghostly power for the rest of the zone — the only faction bonus described in specific terms so far | When the pack is small and the buff will carry into several more encounters |
| Rival Corsair packs | A straightforward fight; no distinct faction bonus confirmed beyond the loot and the Chart | When you need a fast, reliable clear to unlock a Chart |
| Creatures of the deep packs | Access to the Sunken Objects and luminous coral that feed Dead Man’s Sulphur | Whenever you are short on Sulphur for Allflame Crafting |
| Rare and Unique monsters in a bubble | Each one spawns crabs on death, one of the confirmed encounter bonuses | When the pack already sits inside your current bubble |
How to Leave a Voyage and Keep Your Loot
You cannot portal out of a Voyage; the only way out is back through the Bathysphere. Each Voyage gives you a maximum of seven Allflame Lanterns. Start heading back once you are down to your last one or two, not after the final one is already down: from that moment the safe zones shrink in sequence from the last lantern placed, and sea creatures swarm towards you.
Extraction is also how you protect what you found. Send loot up in batches through the Allflame Capsule in each Chart area as you go instead of carrying everything back for one last sweep. Losing the race against the water does not wipe everything you looted: what you lose is whatever hasn’t yet gone up through a capsule or the Bathysphere, which is exactly why early capsule runs matter more than a full inventory.
Using the Allflame Crafting Bench
This new crafting system is somewhat similar to a Hinekora’s Lock; you’ll be able to place your item into the window along with the currency you wish to use on it; instead of providing a single outcome like it would have done if you simply performed the process normally, it will provide you ghostly visions of several different outcomes. Once you have enough Dead Man’s Sulfur, head below deck to visit Vesper in the forge; there, you can use the Sulfur along with an item and currency to get multiple possible outcomes. The Dead Man’s Sulphur that you’ve been stockpiling to power The Sovereign isn’t just for that purpose, as it will also enable you to make use of a brand new, powerful crafting mechanic: Allflame crafting.
Choosing an outcome changes crafting from a gamble into a plan. You see every result before committing, so high-value bases and expensive currencies carry far less risk. Vesper can generate several possible outcomes from one crafting action, allowing the player to keep the best result. The system rewards Dead Man’s Sulphur farming: harvesting Strange Coral yields Dead Man’s Sulphur, the lifeblood of the league’s crafting system, and stronger crafting actions require more Sulphur.
Voyages vs. Atlas Anomalies: They Are Not the Same
Voyages are the underwater league mechanic built around Valerie, The Sovereign, and the nine-Chart Voyage Board. Atlas Anomalies are a separate endgame system introduced in the same patch. Voyages, Mercenaries, Atlas Anomalies, and Vestigial implicits open up new endgame pursuits, but they are distinct paths. Voyages reward Dead Man’s Sulphur, Chart modifiers, and Allflame Capsule loot; Atlas Anomalies are self-contained reward areas tied to Atlas progression. Do not expect Voyage modifiers to affect Atlas Anomaly encounters, and do not confuse the two when reading patch notes or planning your endgame. The confusion is natural — both systems arrived in 3.29 and both involve additional mapping content — but treating them as one mechanic will lead to wasted planning.
Subida de nivel 1-70 + los 10 actos + 3 labs + 24/24 puntos de habilidad
Del nivel 1 al 70 con los diez actos superados
Voyage Rewards and What You Unlock
Primary Loot: Dead Man’s Sulphur and Regular Drops
For Curse of the Allflame, the primary loot you get is the Dead Man’s Sulfur along with the regular items like gold, gear, and Uniques. You’ll find Luminous Coral (refined into Dead Man’s Sulphur), gold and valuables, and Messages in a Bottle that grant random rewards. The Sulphur is the real endgame chase: every crafting bench use consumes it, and higher-tier outcomes demand more.
Ducats and Special Modifiers
Another type of loot you can get from the special Lost Chart mods is Ducats, which are another currency item used for getting favorable mods of an item. Find valuable Ducats on the seafloor and use them to warp and twist items in ways not seen in centuries. These are not common; prioritise Voyages with Ducat-specific modifiers if your build benefits from the exclusive crafts.
Capsule Loot and Extraction Rewards
Completing every Voyage in Path of Exile: Curse of the Allflame will also fill up loot capsules on the ship, which you can claim upon returning to The Sovereign for currency and all kinds of items. Each Chart will contain an Allflame Capsule – these Capsules can be filled with loot, and then sent back up to the surface, turning every Voyage into a nine-inventory expedition even if you have limited carry capacity.
Patch 3.29.0b: How the Hotfix Changed Voyage Loot
Launch-week impressions of Voyages split sharply. Players farming white and yellow maps found the mechanic highly profitable, while players who rushed straight into red maps often felt it barely dropped anything worthwhile, and complaints about too few drops followed. Day-one hotfixes had already changed some Allflame loot behavior, and on 27 July Grinding Gear Games released Patch 3.29.0b, which increased the range of lootable items that Allflame Lanterns can point to in Charts and Voyages from 20% to 40%, depending on the Chart. The same patch made Golden Lantern directly increase the quality and quantity of loot from defeated monsters, after players had not seen it as a valuable modifier. Chart and Voyage value rankings made before that hotfix no longer reflect the live reward rates.
Common Misconceptions About Voyages
Myth: Any Nine Charts Make a Good Voyage
A complete board uses nine Charts, but filling the slots is only the starting point. Nine random modifiers can produce a harder, less rewarding run than a board planned around one goal. Prioritize compatible rewards and difficulty modifiers, then arrange the Charts so the strongest effects support the route you can actually clear.
Myth: The Lantern Timer Is Fixed
The timer begins when you place your seventh and final lantern, not when you enter the area. Once you’ve placed all 7 Allflame Lanterns, the Lanterns begin to flicker and fade, forcing you to rush back to the Bathysphere as creatures of the deep rush towards you. You control when the clock starts by choosing when to drop that last lantern; delaying it lets you clear more safely but reduces your total explorable area.
Myth: Voyages and Atlas Anomalies Share Modifiers
They do not. Voyages are a league-specific mechanic tied to The Sovereign, Valerie, and the Voyage Board. Atlas Anomalies are a separate endgame system. Chart modifiers apply only within the Voyage; they do not carry over into Atlas Anomaly encounters, and Atlas passives do not affect Voyage scaling unless explicitly stated in the passive text.
Nuestra opinión
Voyages reward planning over speed, and that is rare in Path of Exile.
Most league mechanics since 3.13 have been density funnels: throw yourself at monsters, pick up splinters, move on. Voyages ask you to stop, read nine modifiers, calculate adjacency, and commit to a layout before you touch the water. The placement math is not obvious — corner slots gain two edge bonuses but touch only two Charts, the center touches four neighbours but receives no edge buffs, and voyage-wide modifiers do not care where they sit — so the first week will be full of failed boards and wasted Charts. That friction is good. The mechanic has a skill ceiling beyond clear speed, and players who bank twenty Charts to test different layouts will pull ahead of those who fire them off one at a time.
The lantern timer is less forgiving. Seven lanterns, then the light dies, and you either extract or lose the run. It punishes hesitation and rewards route memorisation, which means every Voyage layout demands a clear path from entry to Bathysphere. The best boards will not be the ones with the highest raw modifier count; they will be the ones you can clear in the time you have. That is where the carry demand will concentrate: players with weak defenses or inconsistent damage will hit the timer wall hard, and no amount of placement optimisation fixes a build that cannot move.
The Allflame Crafting Bench is the long-term hook. Seeing multiple outcomes before you commit removes the gut-punch of a bricked craft, and Dead Man’s Sulphur becomes the real endgame grind. Expect Sulphur to be the bottleneck by week two, which means Voyage efficiency — Charts per hour, Capsule loot density, Sulphur per run — will matter more than any single lucky drop. If GGG does not adjust the Sulphur costs or the craft outcome pool, the mechanic will age well; if they overreact to early feedback and flood the economy with Sulphur, the crafting bench becomes a convenience feature instead of a chase system.
¿Te ha resultado útil esta guía?
Servicios de Path of Exile
Challenge League · Subida de nivel
Subida de nivel — rango a elegir (1-100)
Pick your start and target level, 1 to 100 · Full act completion and three Labyrinths
Standard · Atlas y jefes
Atlas completado — los 118 mapas
All 118 Atlas maps completed · Unlocks the full Atlas passive tree and bonuses
Challenge League · Atlas y jefes
Voidstone — una
One Voidstone acquired and socketed on your Atlas · The biggest single jump in endgame reward density